How to Make a Mood Board (Completely Free!)
This post may contain affiliate links, please review my disclosure policy.
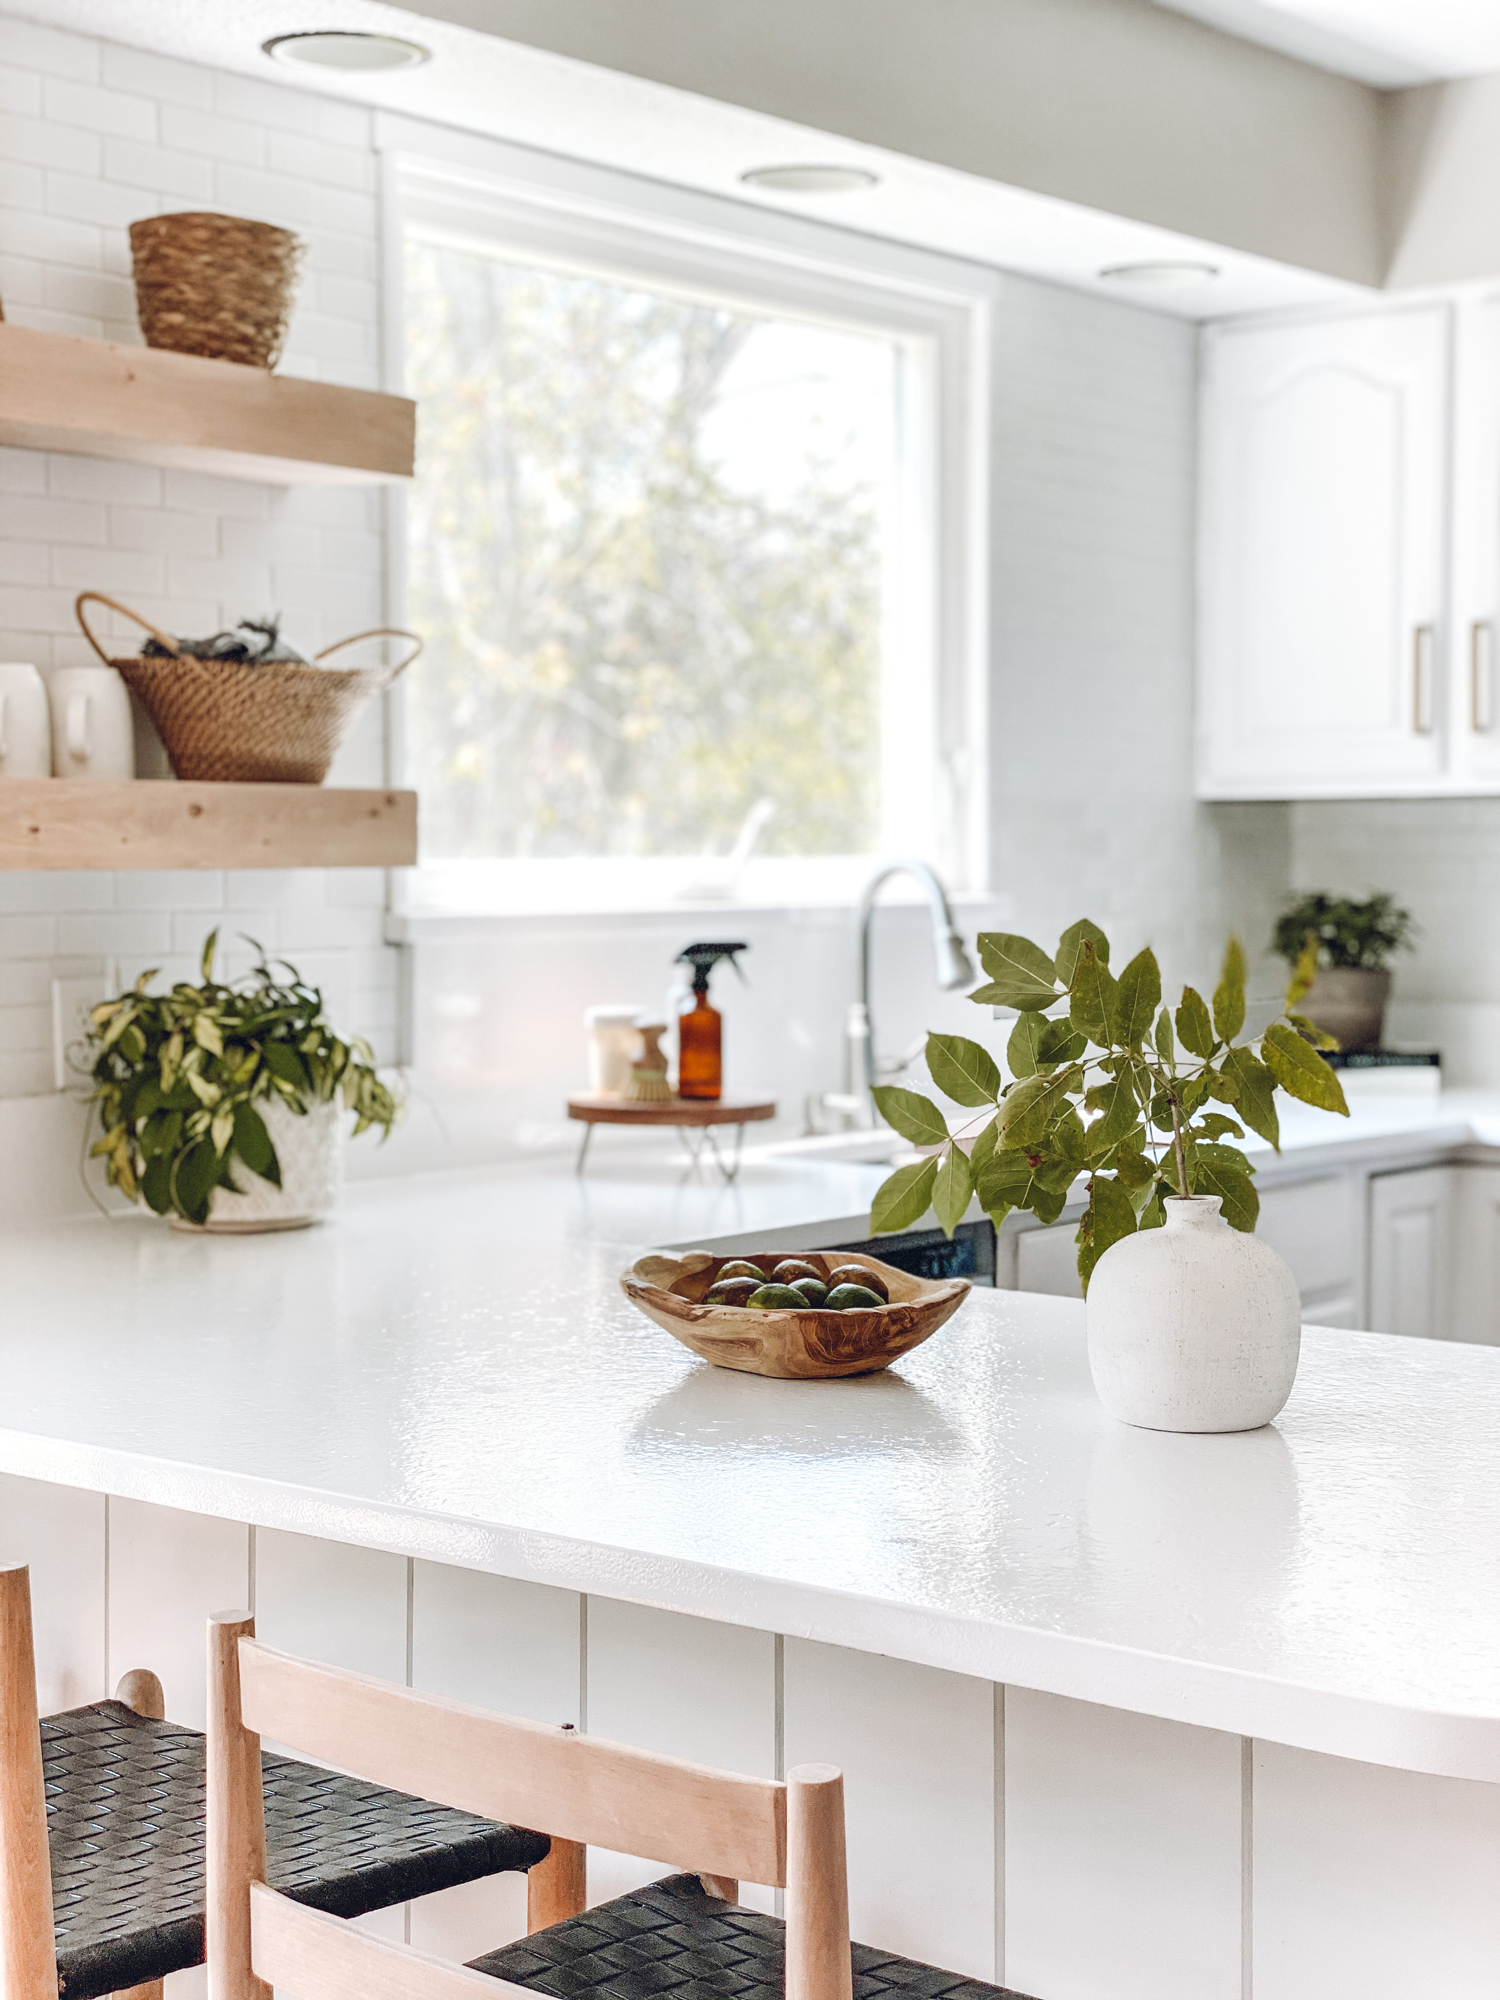
Hi friends! Today I am sharing how to create a mood board (completely free!)
I am such a visual person and have learned that I have to actually SEE a room together and play around with colors/textures before I can move forward with purchasing or building anything. The great thing about THIS tutorial is that I teach you how to create an actual mock-up of the space so that you can physically see the end result.
Why make a mood board?
Creating a design board is 100% my top suggestion for creating a space that you love and brings you peace, and also allows you to make a plan to stick to budget while doing it. When we bought our first home, I would buy a bunch of random decor from thrift stores, and on a wing and a prayer, just hope it would all go together. I’ve since learned to create my ideal space in a design board, and then make a plan to bring it together. This usually involves shopping my home, shopping Marketplace, DIY’ing, and/or re-purposing — with an occasional new purchase.
So let’s get into how you make one of these! FOR FREE!

Why should I use photopea?
Photopea is awesome because it has a lot of the same abilities as photoshop, but is COMPLETELY free. I’ve seen software and sites that allow you to create a design board, but it’s always associated with a fee of some kind.
I have the blessing of having worked with photoshop for years as a wedding photographer, so I was able to take that skill and put it towards my love of having a beautiful home on a tiny budget.
So here we go! I’m breaking the process down into steps below. It looks like a lot, but it’s honestly really simple. And once you’ve done it once, you won’t need this tutorial again!
**If you DO own and know how to operate photoshop, you can follow these steps to do the same within your software!
This tutorial has been created using a laptop/desktop, so I HIGHLY recommend following these steps from a laptop or desktop! I haven’t tested on mobile or tablet, so I’m not sure if it would work.
Step-by-Step for How to Make a Mood Board:
- On your laptop/desktop, visit www.photopea.com
- Select “New Project”
- In the upper left of the New Project screen, make your width 10 inches and height 8 inches (this can be any width or height — this is just the dimensions that I usually work with!) Make sure to change “px” to “in”. Set DPI to 300. Name your project if you’d like. Your specs should look like the photo below, and then press “create”!

- Once your blank canvas has been created, make sure that “Auto Select” and “Transform controls” are on (a check will be in the box directly beside them). See the photo below to see where these are located:

- You now have a blank canvas to paste in inspiration and move it around as need be! Start by copying and pasting an image that you want the room to center around (couch, desk, bed, etc.) To do this, google what you are wanting to see in the room. For instance, “pottery barn couch.” Find the image, and you will be able to CNTRL+click or right click to select “copy image.” Often, clicking the image on the website allows you to view a larger image. This is the image that will most often let you “copy” it. Once you have the image copied, you will be able to go back to photopea and select Edit (top left), and then “Paste Image.”


- Once your image has been pasted, make sure that you have the cursor button selected at the top of the left-hand tool bar! From there, you can click and drag the image, and use the transform controls to make larger or smaller (drag the little boxes that appear in the borner of the image).
- TO TURN YOUR IMAGE: If you want to turn an image, for instance — turn a rug to be horizontal instead of vertical — hover on one of the transform boxes at the outer edge of the image. A semi-circle with arrows will pop up. From there, you can drag your image to turn it!
- You will repeat these steps of copying and pasting your inspiration to create your room!
***TO MAKE A COPY OF AN IMAGE/LAYER: hit command+j OR go up to the top of the menu bar and select “layer” and then “duplicate layer”
**If for any reason it seems to be “STUCK” and won’t let you click something else, hit control+d
- To remove the background of an image, copy & paste it in, and then look for the Object Selection tool on the left-hand toolbar. It looks like a little bean in a box LOL (for lack of a better way to describe it). Once you find it, right click it and a smaller menu will appear. Select “magic wand.” Alternatively, you can hit the “W” key 3 times until a magic wand icon appears in the upper lefthand corner of the screen.

- Once you’ve selected the magic wand tool, hover over the background that you’d like to remove and click within that space. Once the area is selected and outlined, use the delete button on your keyboard to erase it. Sometimes, this gets all of it, sometimes it doesn’t — so it may take a several select and deletes. If there is just too much left behind, you can also use the eraser tool in the left-side tool bar. (Not all backgrounds can be completely removed this way, so it may be a little rough… but that’s okay! It’s free, and it helps give you an idea for the space — even if a little rough around the edges!) No need for perfection!
- Use the boxes in the outside edge of the outline square to adjust size. Click and drag the image to where you’d like it to be.

- CHANGING OBJECT POSITION (BRINGING OBJECTS BACKWARDS OR FORWARDS): To make working with multiple layers (images) easier, double click each individual layer and name it in the Layers column on the right-hand side of the screen. These can be dragged up or down to bring certain objects frontwards or backwards.

- CHANGING OBJECT POSITION (BRINGING OBJECTS BACKWARDS OR FORWARDS): As stated, you can drag the layers within the layer column to change the position of objects. You can also select the image, and then select “Layer” in the left of the screen, and then “arrange,” and then “bring to front.” Alternatively, you could use these same instructions to send an object backwards.

- When you’ve completed your project and would like to save it — go up to “File” in the top left-hand corner of the website, and then “Export as” and then “JPG.” Set Quality to 70% and then “export”! This will save your file to your computer!

You now have all the steps you need to make a mood board!
If you just have no idea where to start, I encourage you to browse Pinterest and see what catches your eye in spaces. Maybe a gray vintage rug, a fiddle leaf fig, a throw pillow, a gray couch, etc. See what draws your eye and then google image search/shop to find similar pieces to add to your inspiration board!
Have fun with it, friends!
Need more home ideas? Check out these posts!
The Best Dark Green Paint Colors
Free Vintage Art Digital Downloads