Our Favorite Raw Wood Stain Combination
This post may contain affiliate links, please review my disclosure policy.
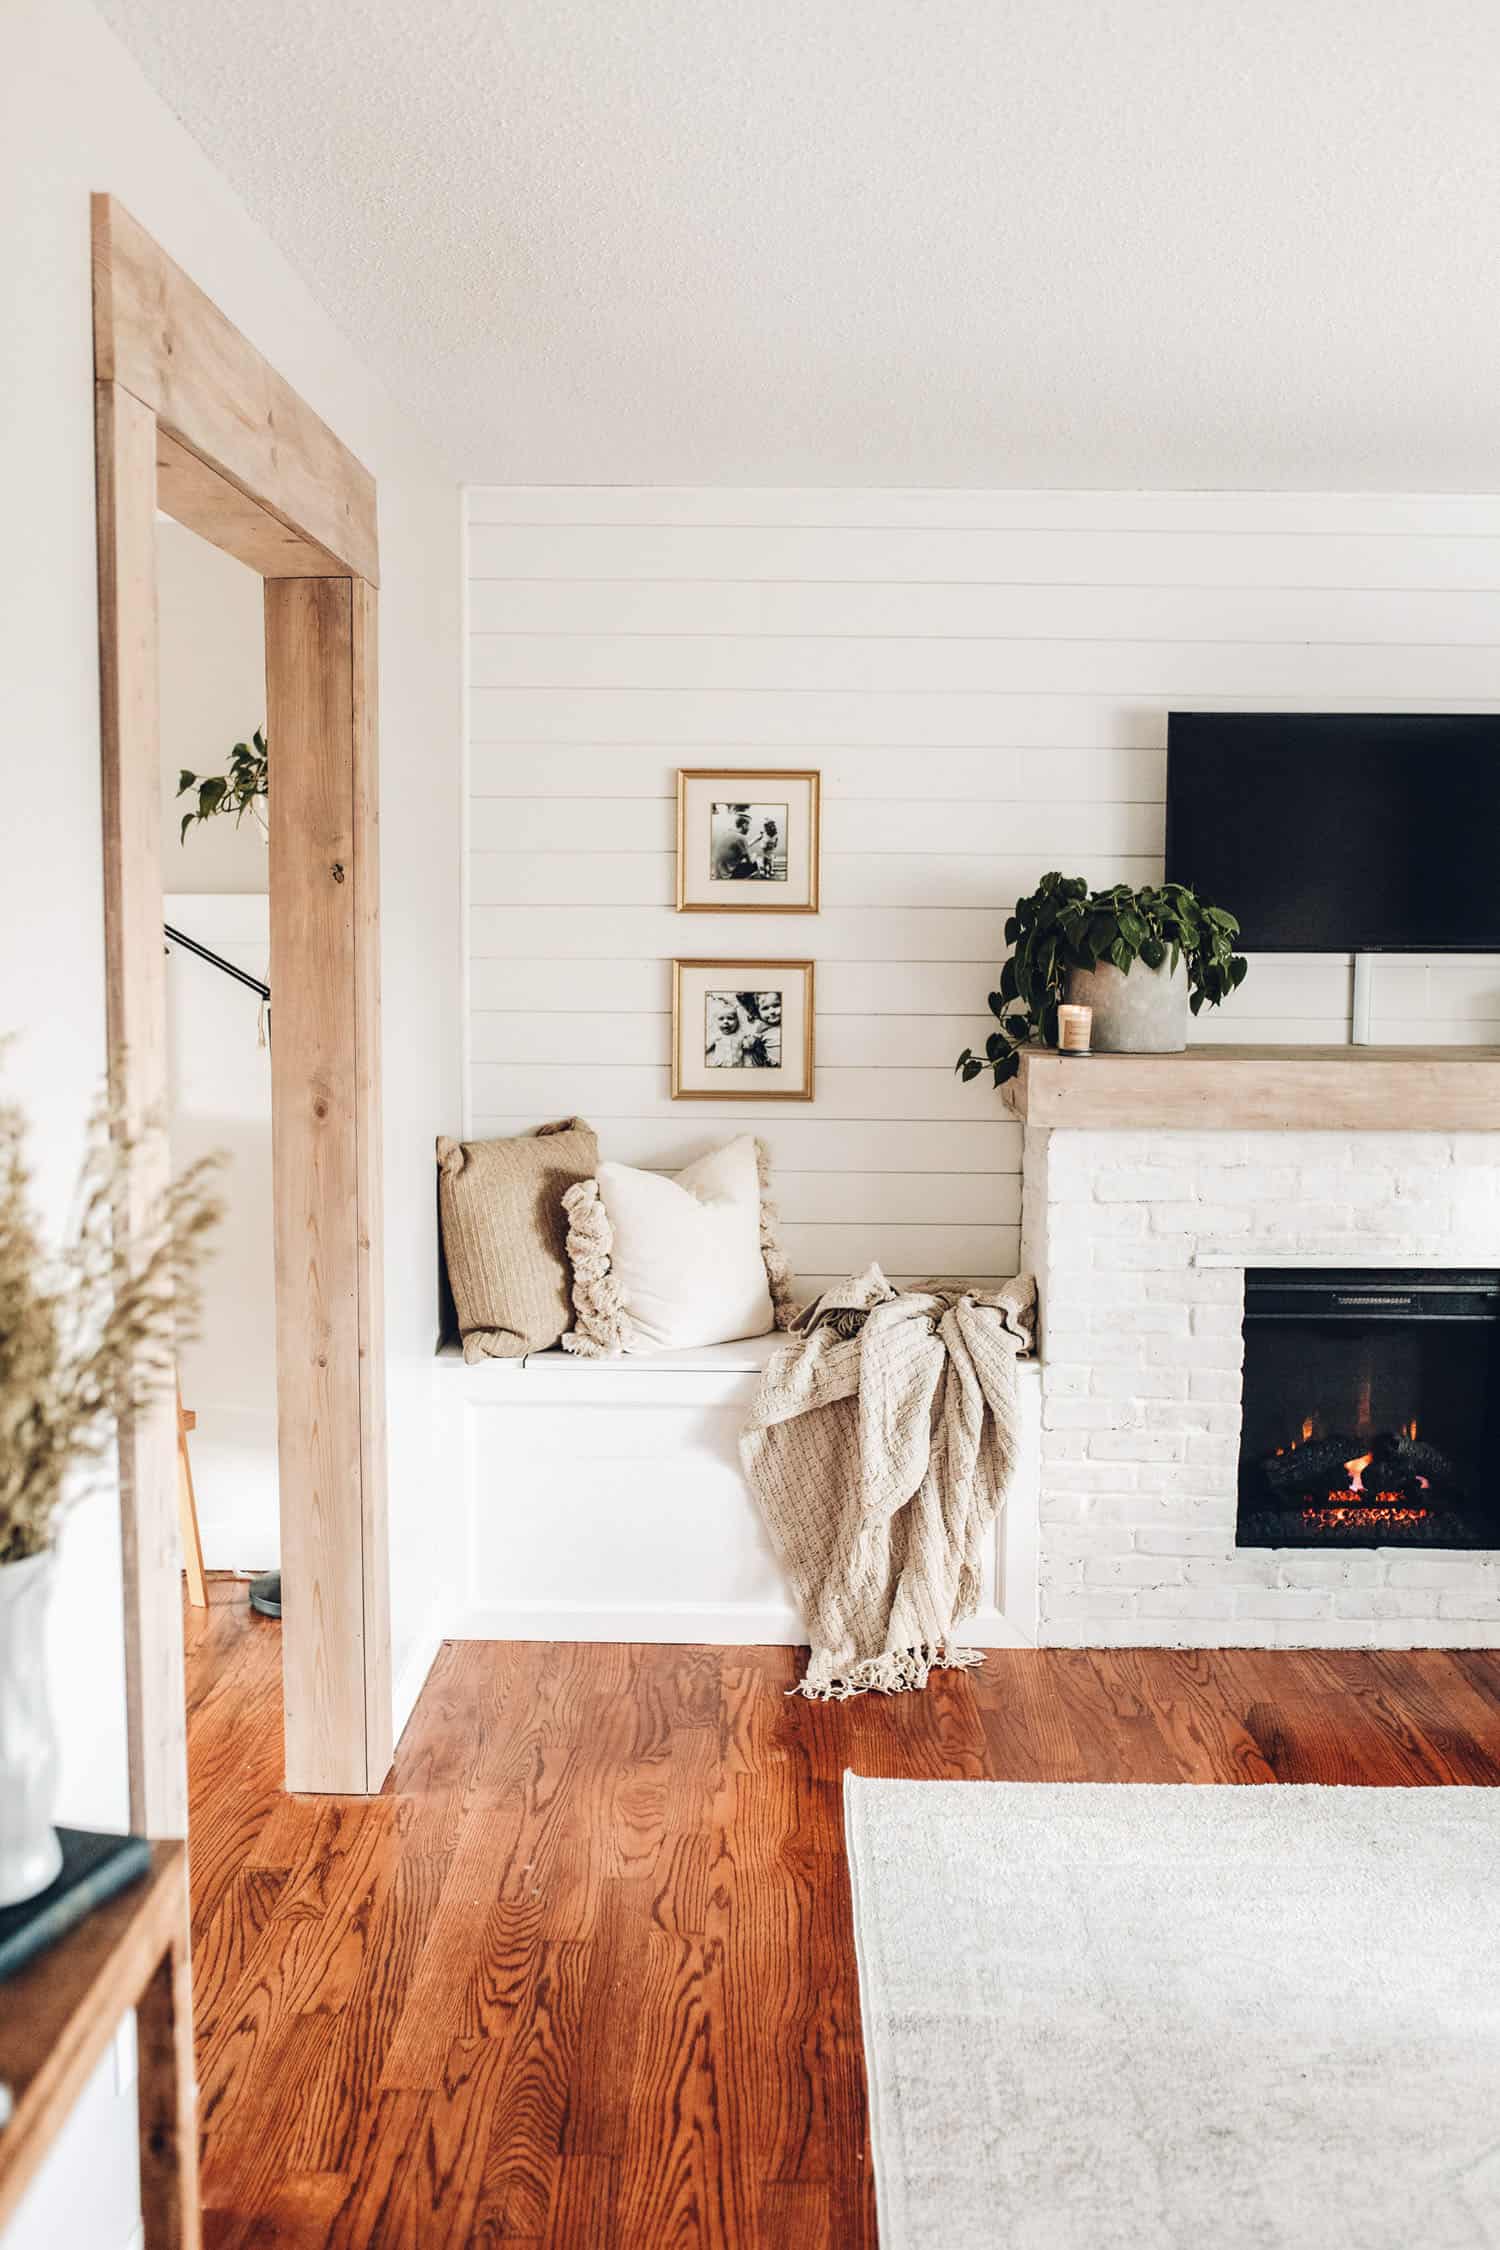
Hey friends! If you’re here, I am guessing you are looking for how to get a raw wood look.
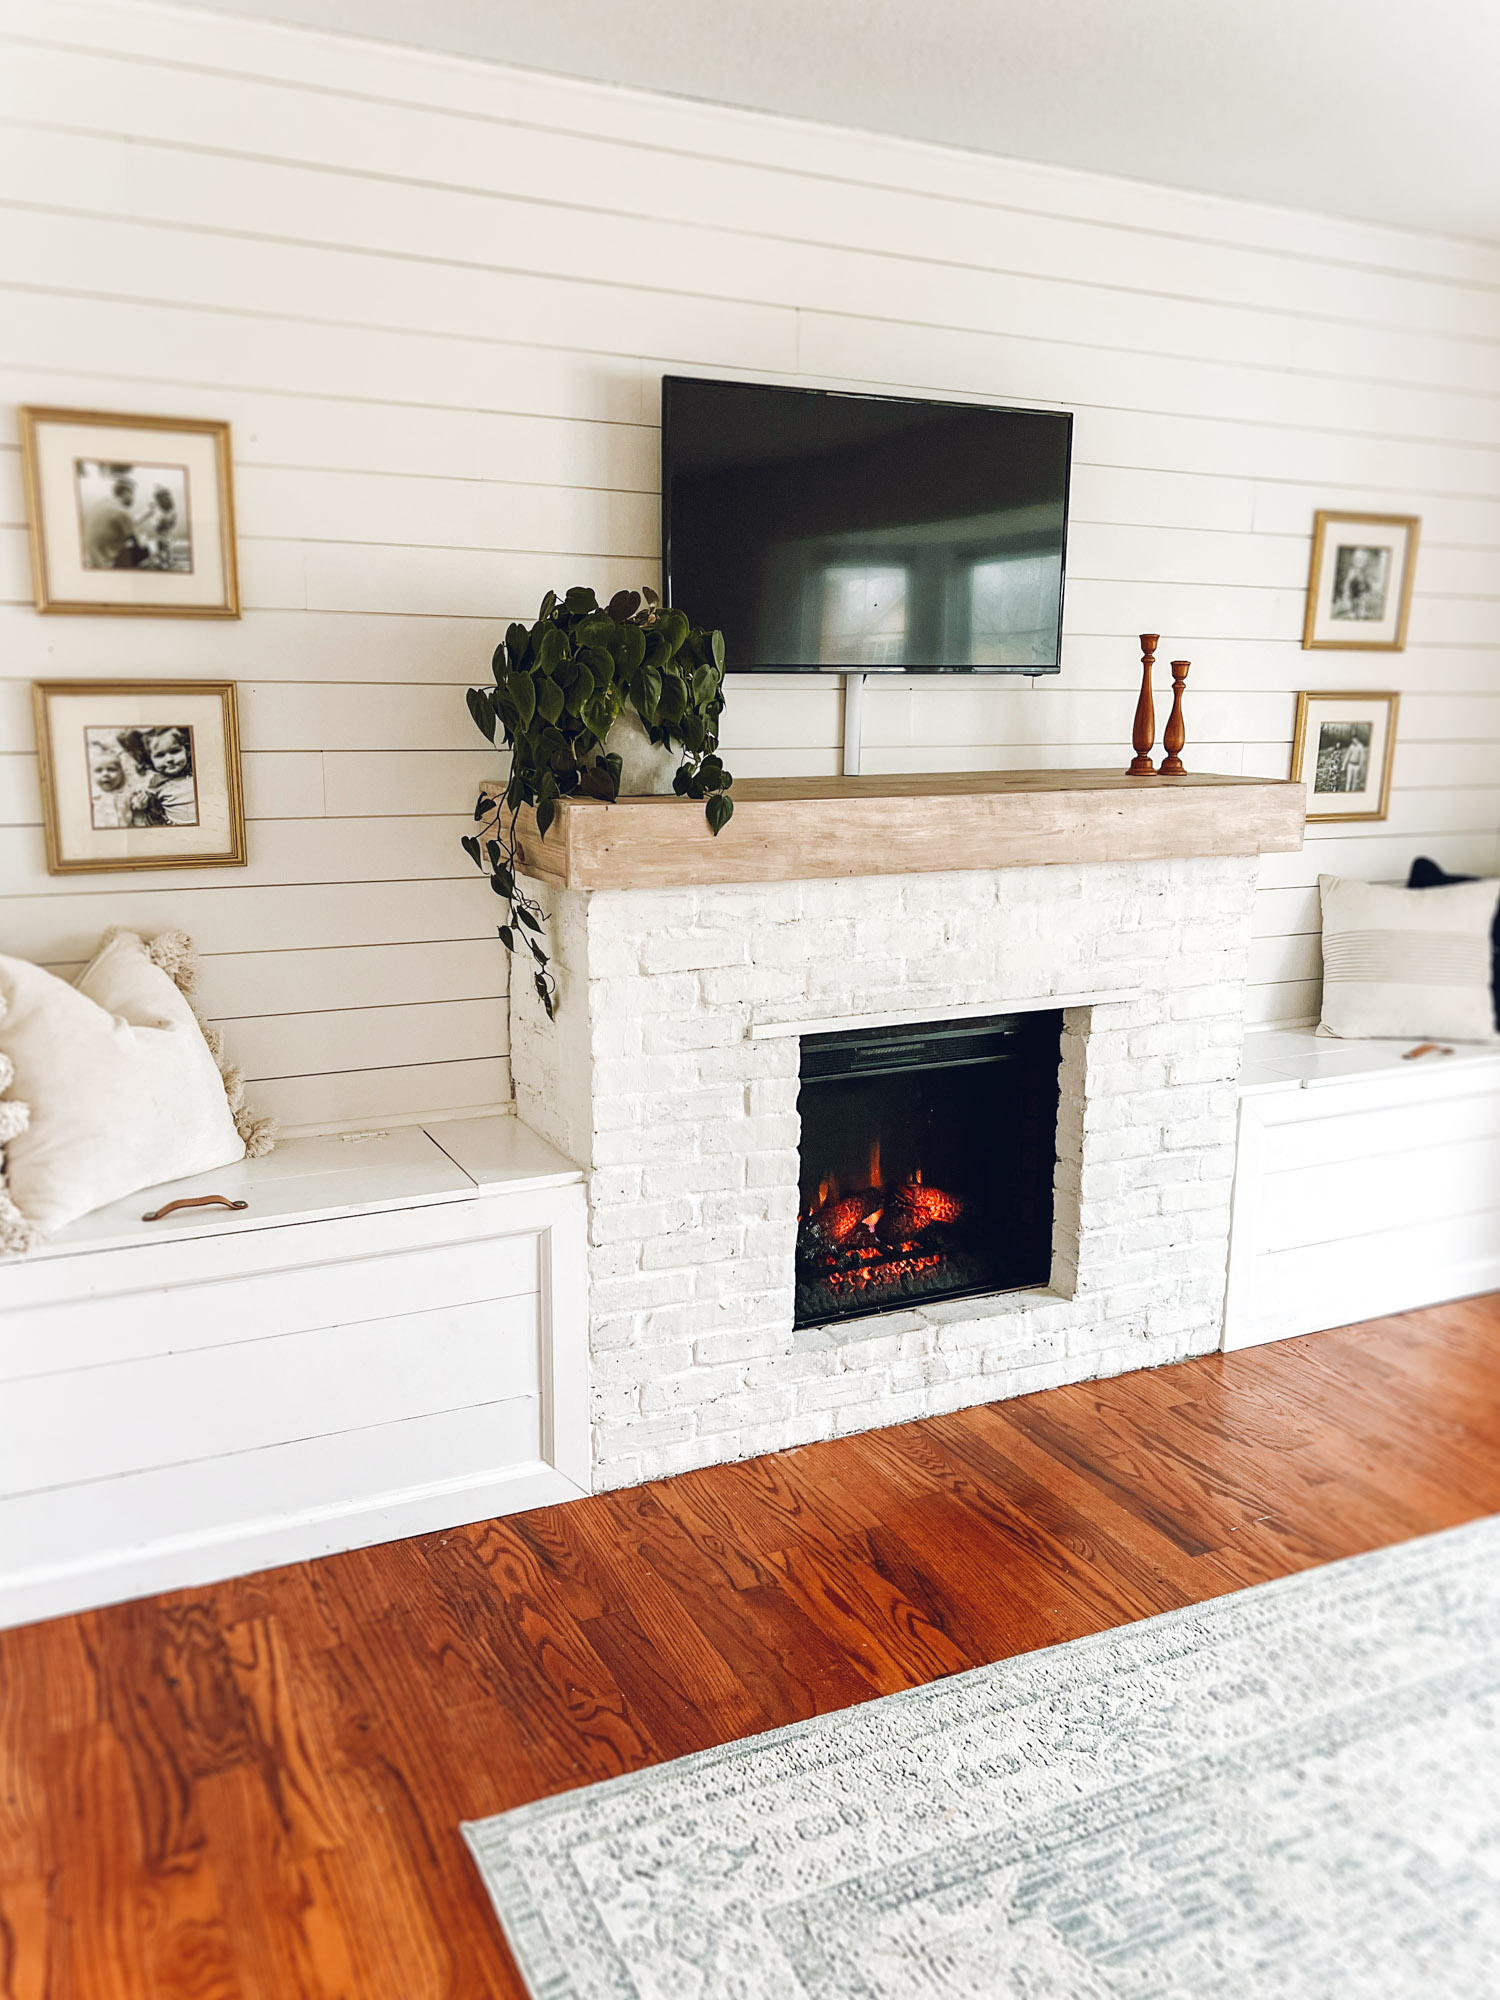
I’ve tried SO many stains over the years. And while I have many favorite stain colors, this one is my no-fail, non-yellow, cottage-inspired raw wood look that I’m always happy with. I can confidently say that this is the best raw wood stain combination that I have personally found, so I’m happy to be sharing it with you today.
*to note: Our projects involving stain are almost always being applied to pine. This stain combo may look different on other types of wood.
This post includes affiliate links. For more info visit my disclosure policy.
How to get the raw wood look:
Mixing a few stains is how I’ve been able to achieve the weathered, warm look that I love! White Wash, Special Walnut, and Weathered Oak. I’ll be sharing the exact combination below.

how to apply the stain combination:
Whitewash
The key is to start with a coat (or two) of white wash to take the yellow out of the wood and give it that gorgeous weathered finish. I have used Minwax and Varathane’s version of White Wash Pickling for our projects and had great results with both. Any white wash would probably do the trick. I usually give the wood one or two coats to create a very light-colored pine base to work with. You want to make sure all the yellow is gone.
I do this by applying one coat with a sponge brush or cloth and then wiping off the excess. I wait a few minutes and then apply the second coat and again, wipe off the excess. Repeat as many times as necessary.
Edited to add: It seems White Wash Pickling is hard to find these days. I recently used Minwax ColorWash and it’s essentially the same idea, just more watered down – so it takes more coats. But will definitely do the job!
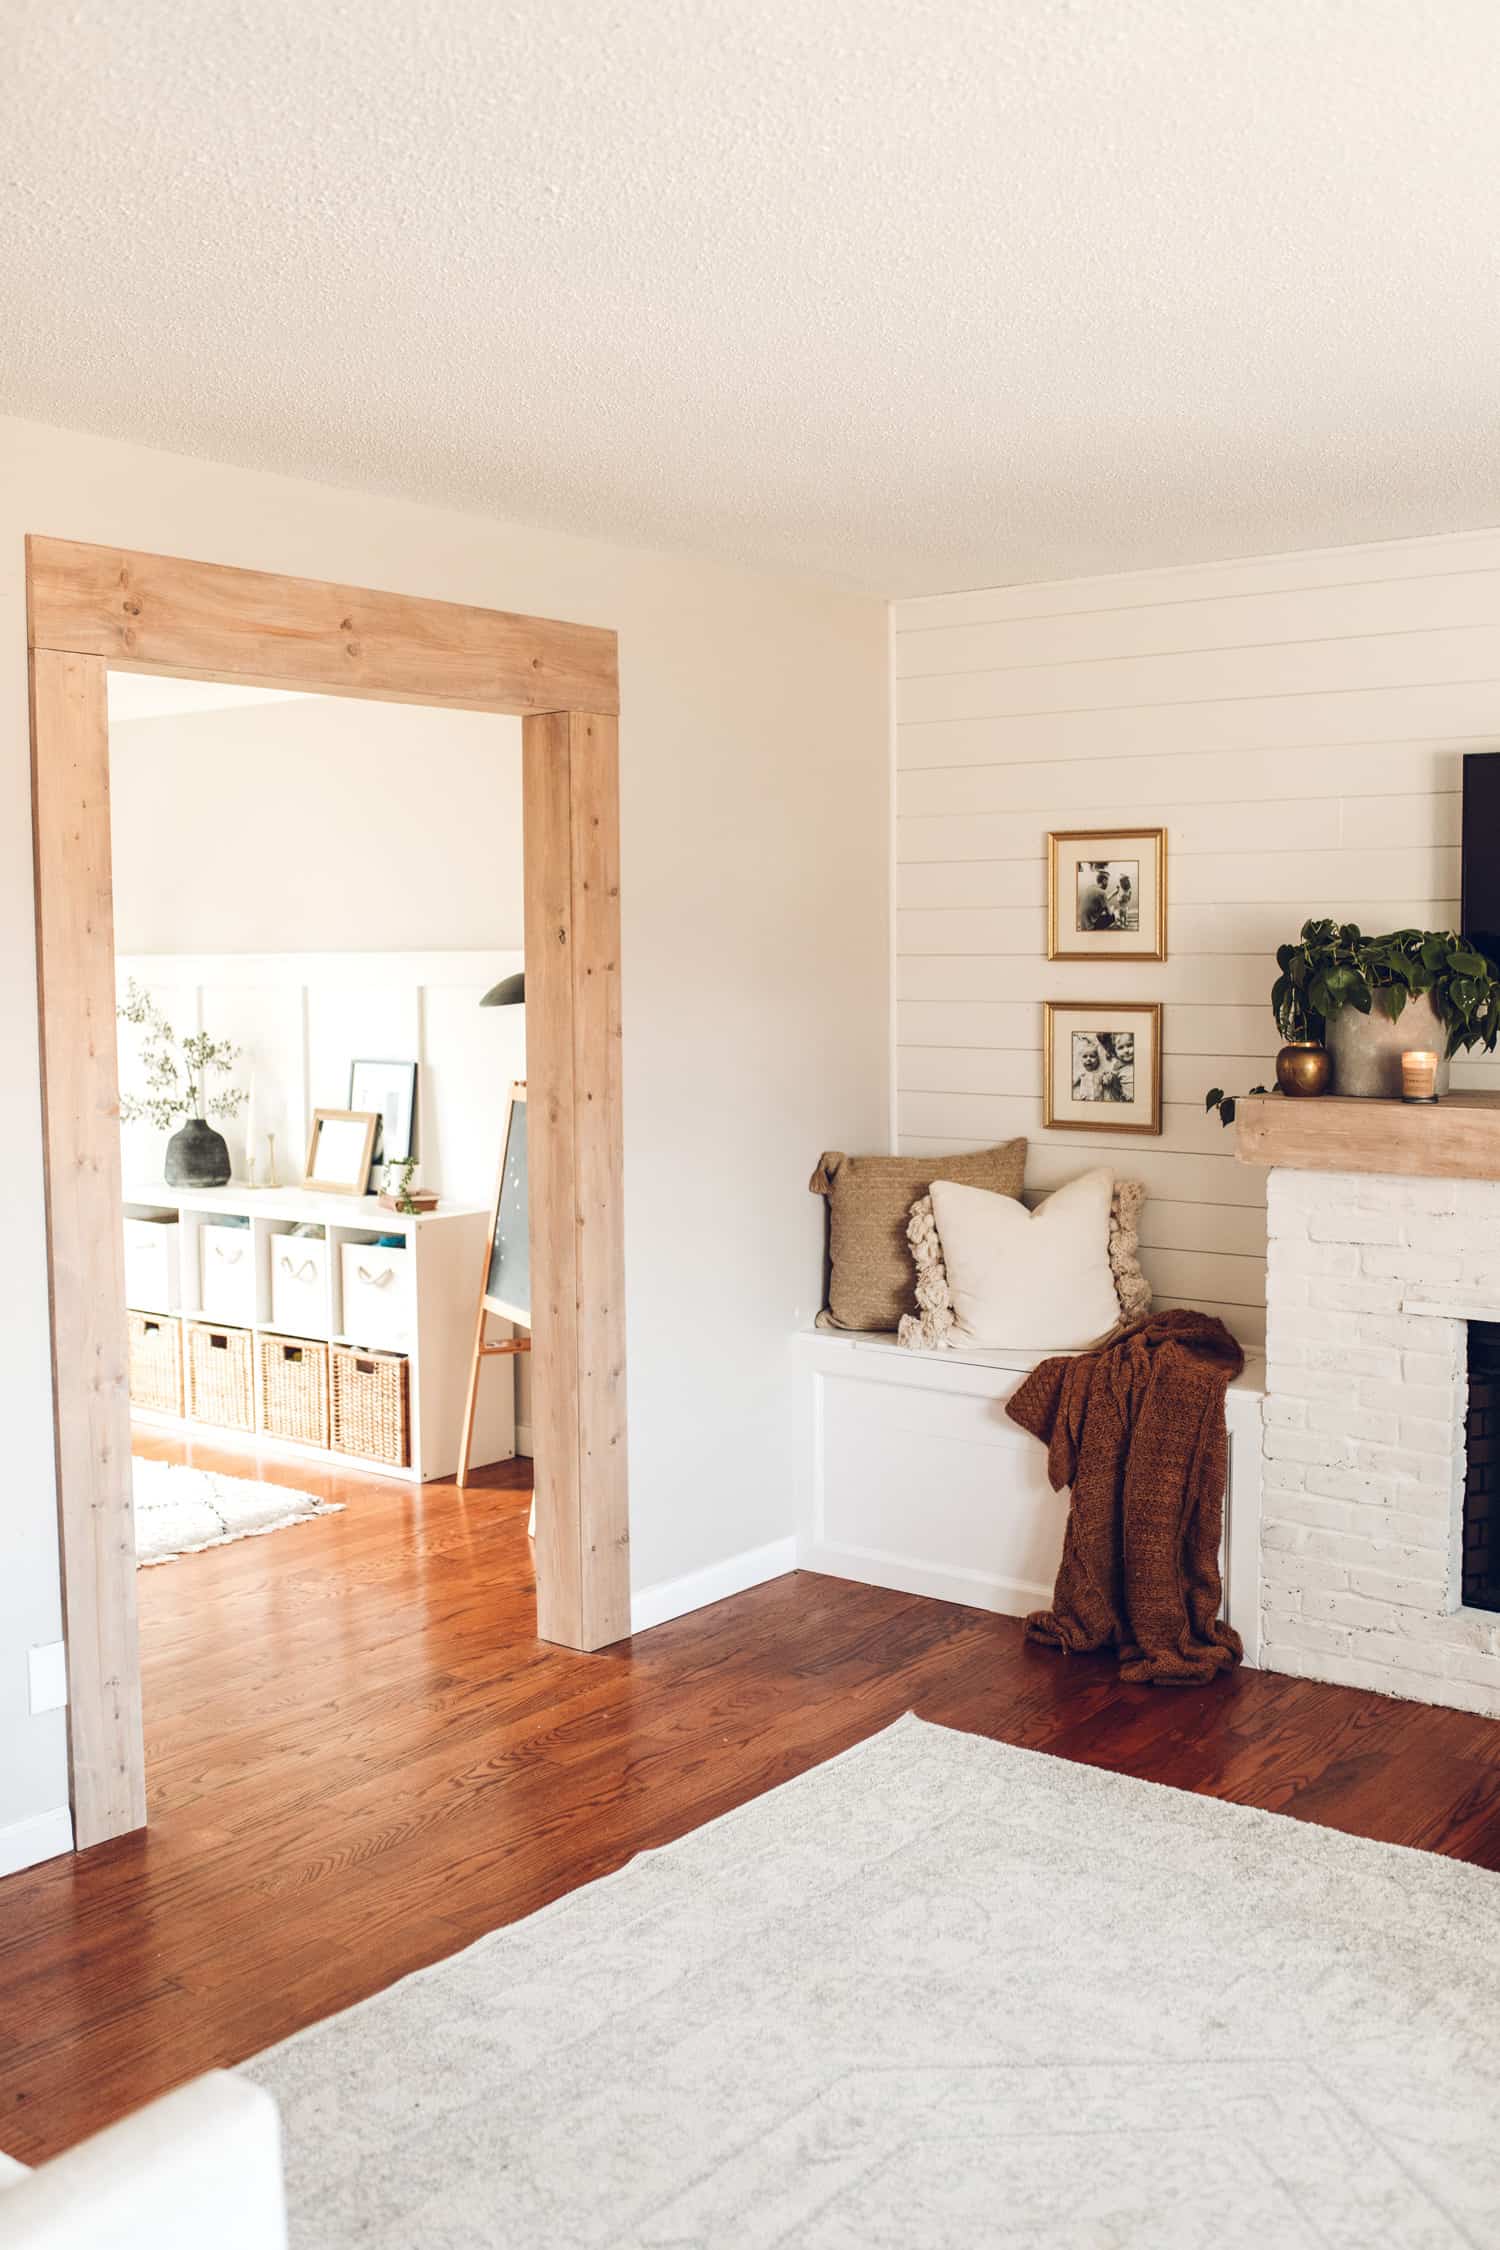
Combine Special Walnut & Weathered Oak
In a separate container, I combine Special Walnut & Weathered Oak. My mixtures usually end up about 2/3rds Weathered Oak and the rest Special Walnut. My best advice is to make Weathered Oak your base and add Special Walnut, little by little, until you reach your desired color. Weathered oak gives the wood a bit of a rusticness, and special walnut brings in the warmth.
Do this by staining a piece of scrap wood with whitewash, and then testing your stain color with a separate sponge brush or cloth. Apply your combo stain over the white washed wood, and wipe off excess. I apply anywhere between 1 to 3 stain coats until I reach desired color. Don’t be afraid to start small and apply more as needed.
HOW TO SEAL WOOD WITHOUT CHANGING THE COLOR:
If you need to protect your wood project from water, I suggest sealing with matte or satin polycrylic. I swear by this brand. Polys can often alter the color of the wood after staining, and this one keeps the color you intend!
You can see our raw wood stain combination on our kitchen shelves as well.
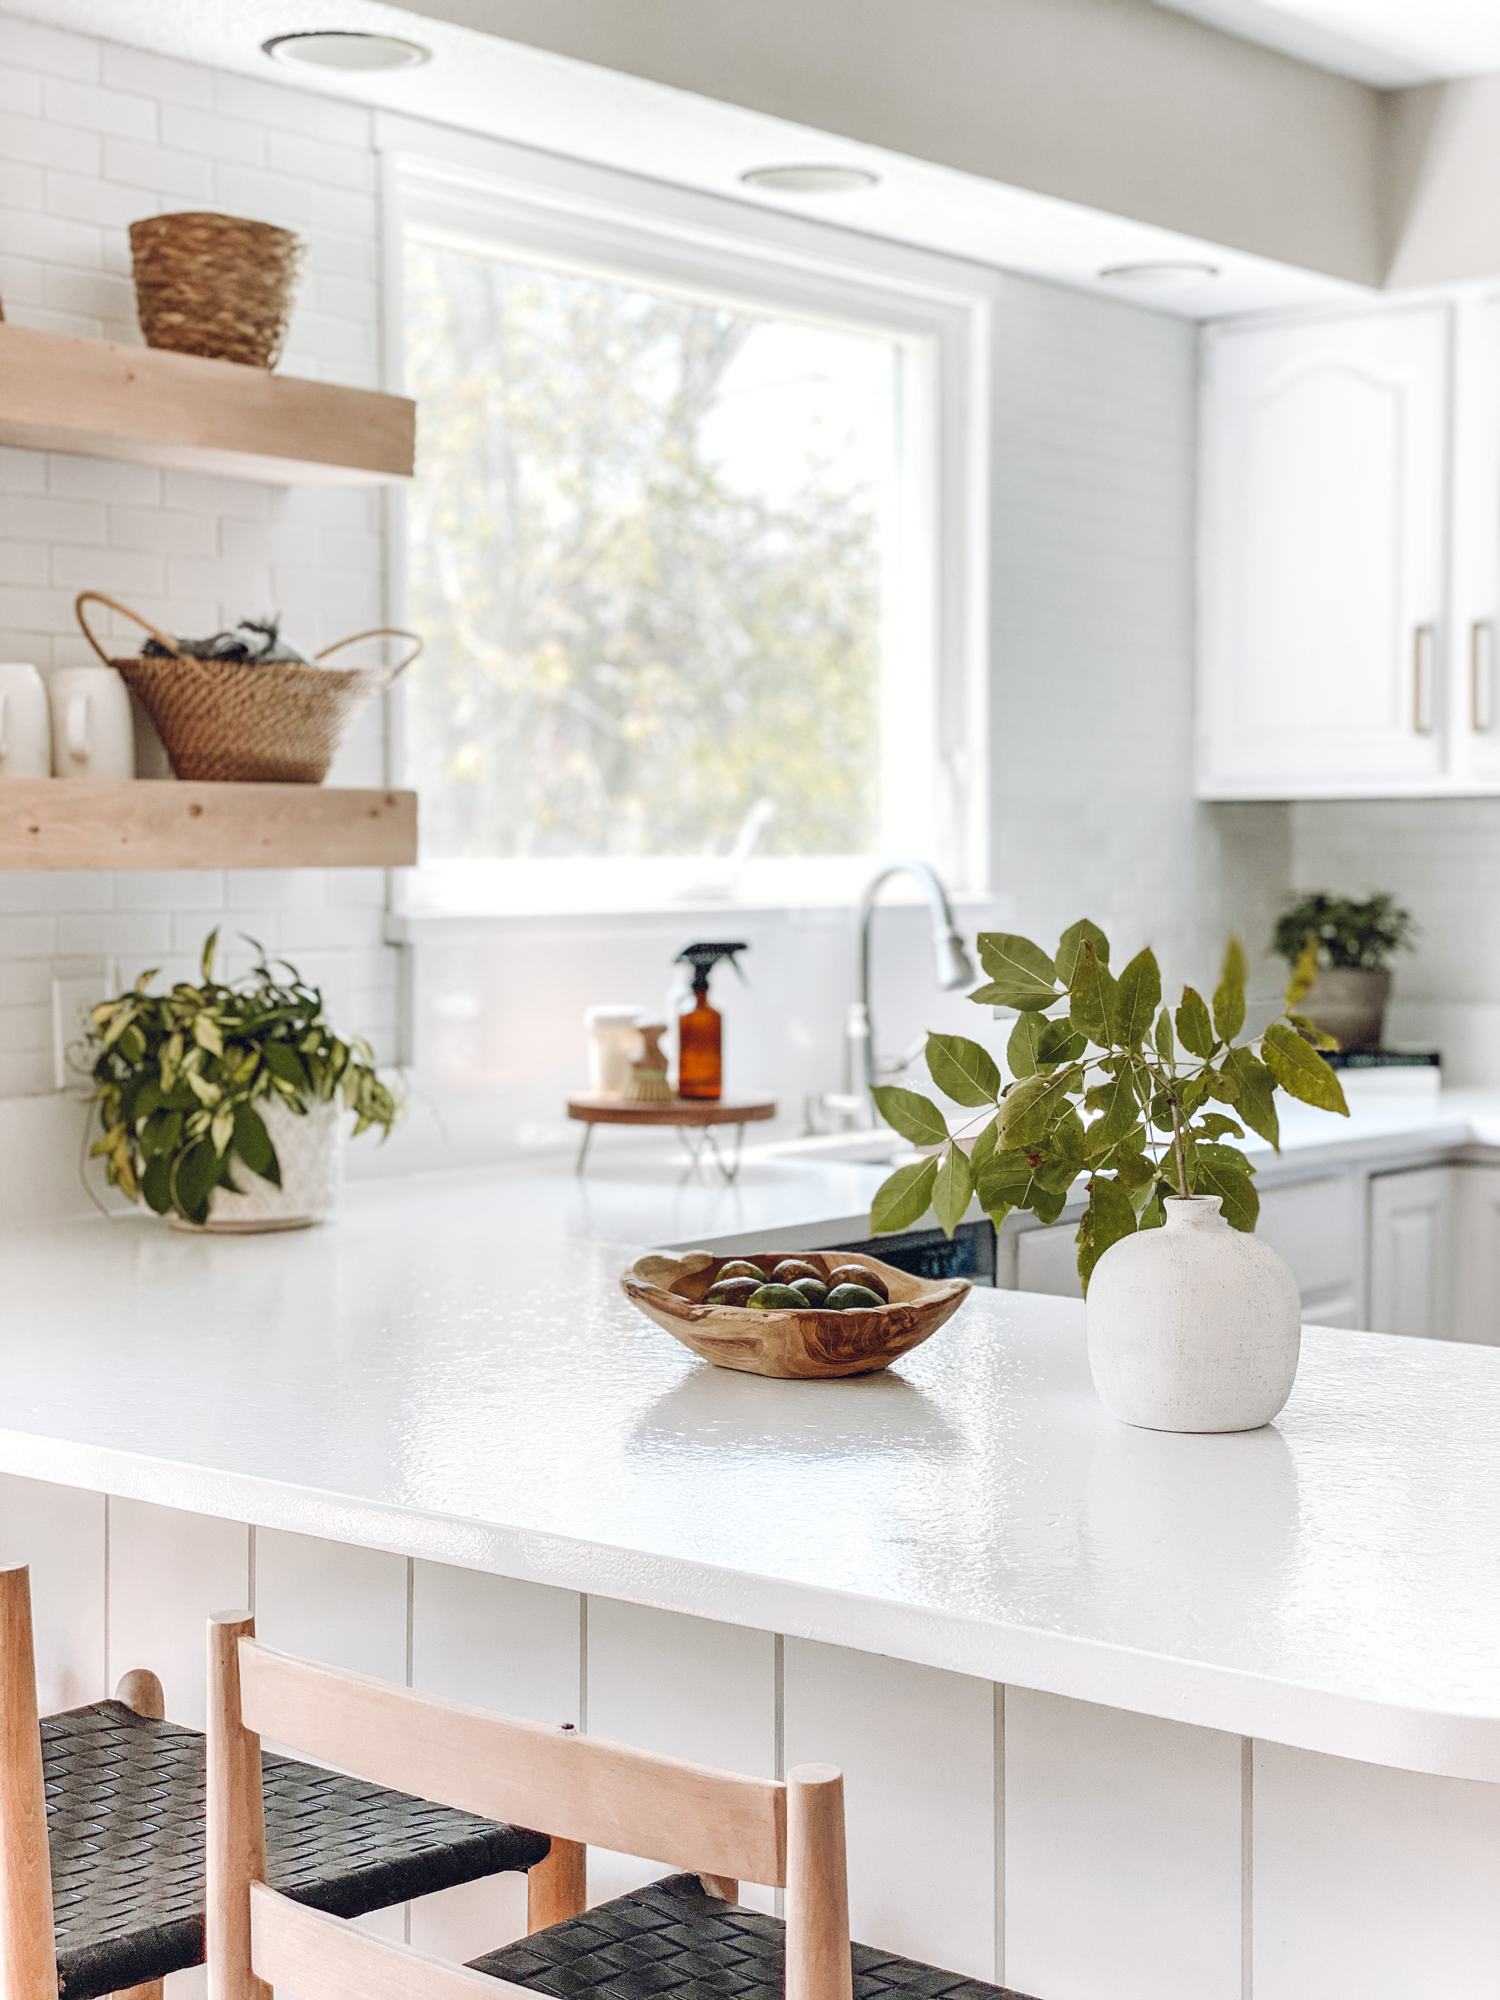
RAW WOOD STAIN COMBINATION:
White Wash
3/4 cup Weathered Oak
1/3rd – 1/4th Cup Special Walnut (test this and add more if you’d like more warmth)
I hope this helps you achieve the perfect raw wood look!
Happy staining, friends!

Need more home ideas? Check out these posts!
1) Weekend Home Projects Under $100
3) Exterior Porch Columns Stain Color



Hello! I love this idea for getting that perfect natural stain color. In this article, do you use oil based or water based products? Thank you for the reply!
Hi Alyssa! We use oil-based stains! I hope this is helpful.