How to Build a DIY Couch Arm Table Tray for Your Sofa
This post may contain affiliate links, please review my disclosure policy.
Hello friends! Today I am sharing how we built our DIY couch arm table for around $20 and in just one afternoon (a double win).
We found ourselves in need of a side table or sofa table alternative, as the layout of our living room unfortunately has no convenient place for one. Specifically on this end of the couch, which just so happens to be the end that it is my favorite to sit at. After seeing me haphazardly balance my coffee cup for years, my husband suggested building a table over the top of our sofa arm to finally give us a place for drinks. And I’m not sure why I didn’t think of it first, as it’s the perfect solution!
And it’s just a sweet bonus that we finally have a surface for the remote control that is forever getting lost in couch cushions 🙂

There are many different versions of couch arm sleeves with different features and bells and whistles, but I really just wanted something truly simple, sturdy, and best of all – affordable. This is an easy DIY project. I would dare to call it a great project for beginners. And the icing on the cake is that it requires very few supplies!
So let’s talk about how we built our wooden sofa armrest table.

Materials List to Build a DIY Couch Arm Table:
1x12x4 common pine (this will vary based on the width of your sofa arm)
measuring tape
circular saw
wood glue
power drill
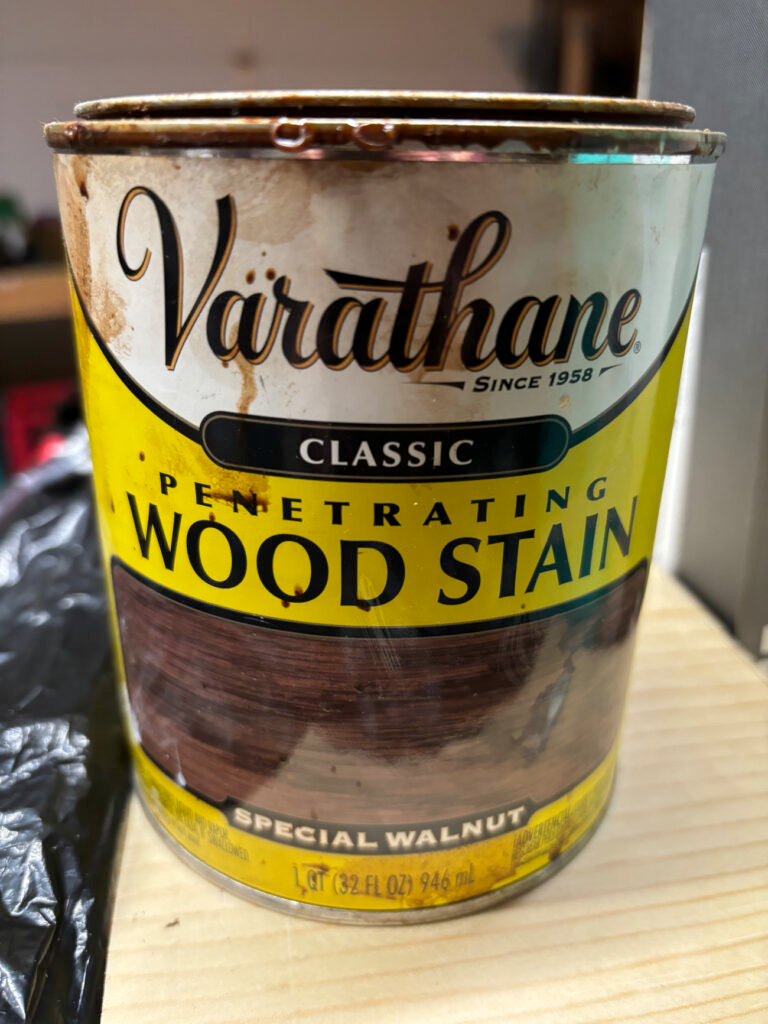
stain – we used Varathane Special Walnut
poly – we used Minwax Clear Semi-Gloss
This plan for a wooden couch sleeve/sofa sleeve will slightly vary based on the dimensions of your sofa arm.
HOW TO BUILD A DIY SOFA ARM TABLE TRAY:

1. Measure the arm of your couch.
I want to start by saying that if you have an Ikea Ektorp Sectional or couch, you can use our exact measurements! However if not, you will need to measure the arm of your sofa (the arm width) in order to build your table to the correct dimensions. But no worries, I will walk you through this! So for instance –
Our sofa arm is 10 inches wide. We knew we wanted to add at least 1 1/2 inches inches of width to your couch arm with to give 3/4 of an inch per side. This allows room for the inside bracketing. So again! The width of your sofa arm + 1 1/2 inches is what you’re after.
2. Measure the vertical length of your couch arm and decide how much of the arm you’d like the board to cover.
We chose to have the inside board go down and wedge between the edge of the couch and couch cushion for extra support and “staying power.” I haven’t really seen others designed this way, but for our couch, we really liked this.
We measured the outside edge of the couch arm to be the vertical length of the outside couch arm.

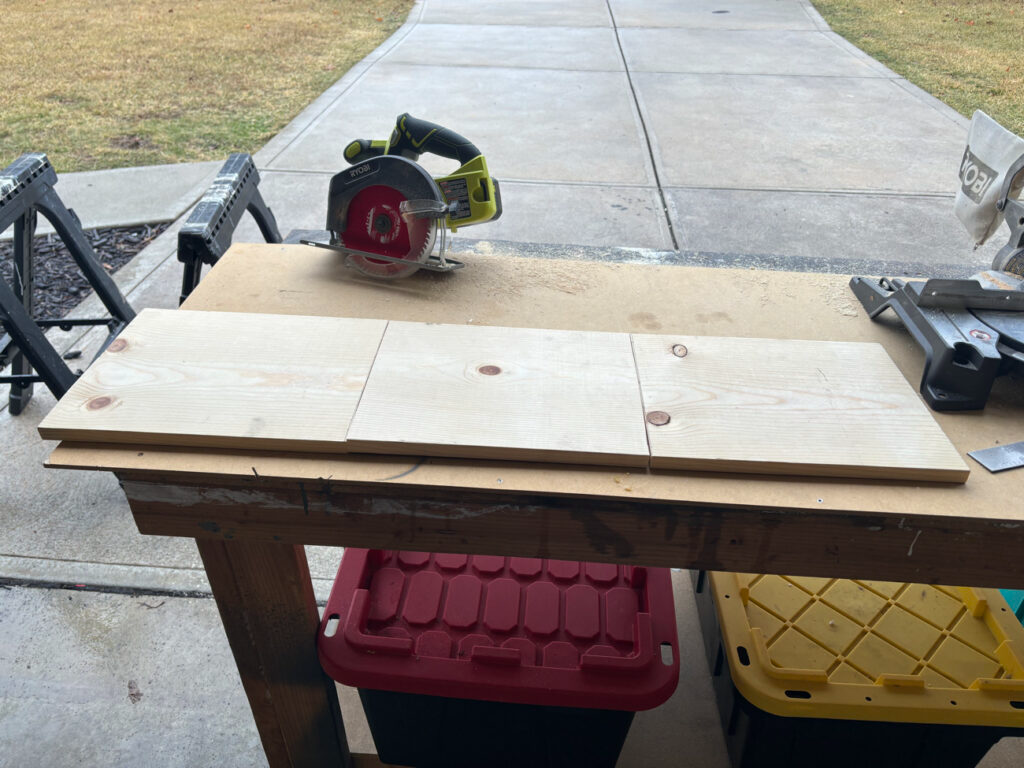
2. Cut board into (3) 14 inch-length pieces of wood. Or the right lengths based on your custom measurements.
The wooden boards can be cut with a circular saw or miter/chop saw.
You should have 3 small pine boards now. The top, inside, and outer portion of the tray. Two of the boards will be the same size, and the outside board will be shorter (the vertical height of the couch arm).
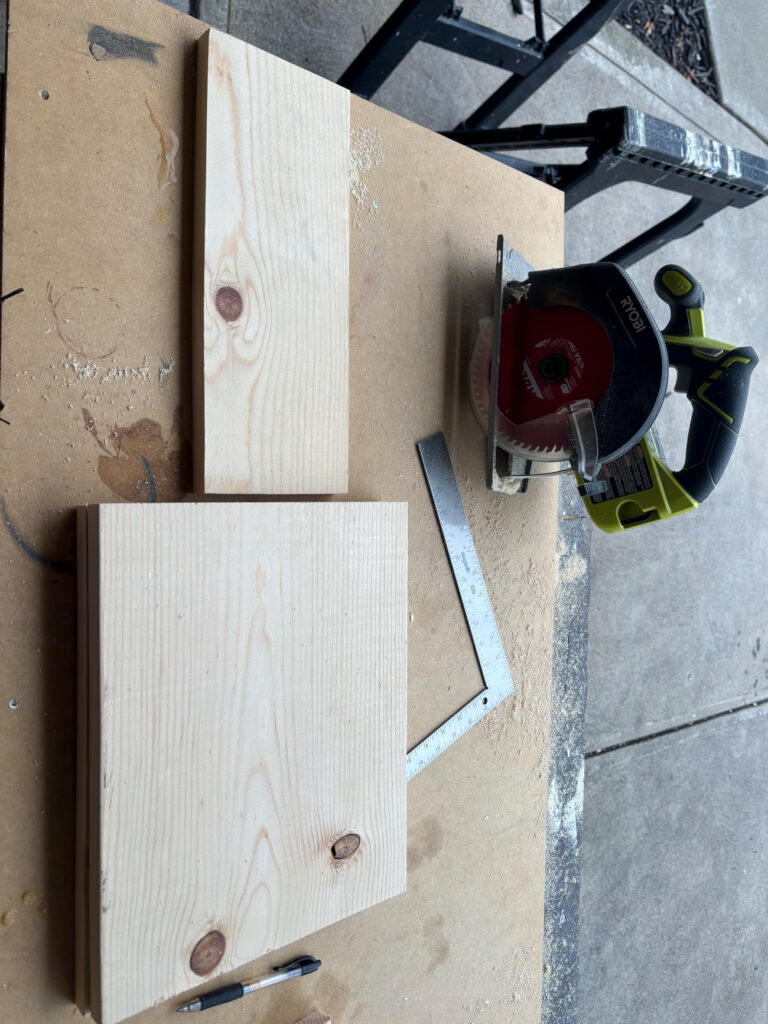
3. Trim down your outside board based on your the vertical length of your sofa arm.
We removed 6 inches in order to reach the the desired height for the outside of our sofa arm table.

4. Ready your boards for joining with brackets.
Find a flat surface, and using something to support the back and bottom of your cut boards, make an L of the two longer boards. Make sure you are mounting the side piece to the underside of the top.
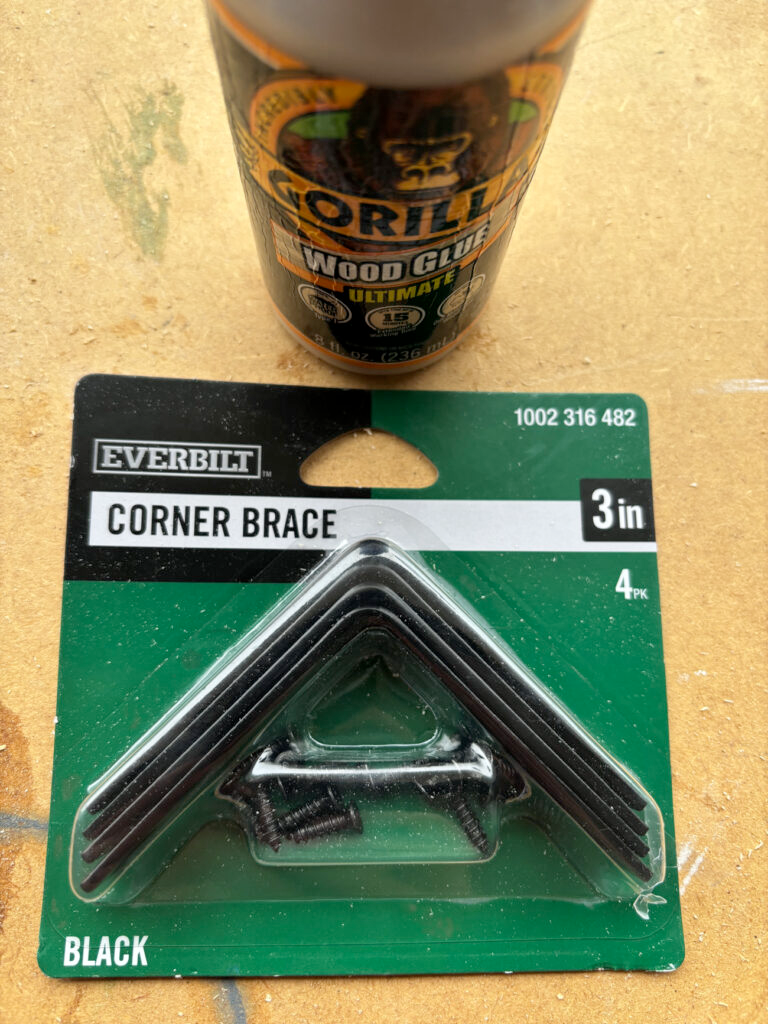
Set brackets into place so that they are up against both boards. Making sure everything is clean and lined up. We used these 3 inch corner brackets from Home Depot.
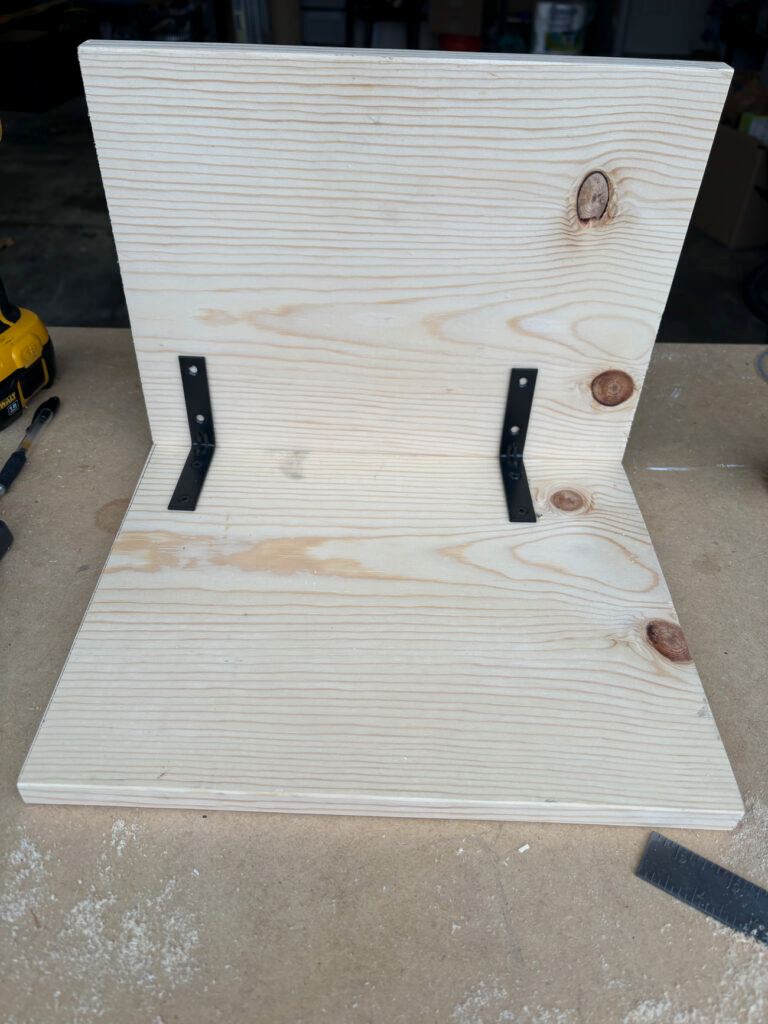
5. Screw brackets into top piece.
6. Put strip of wood glue where joint will be.
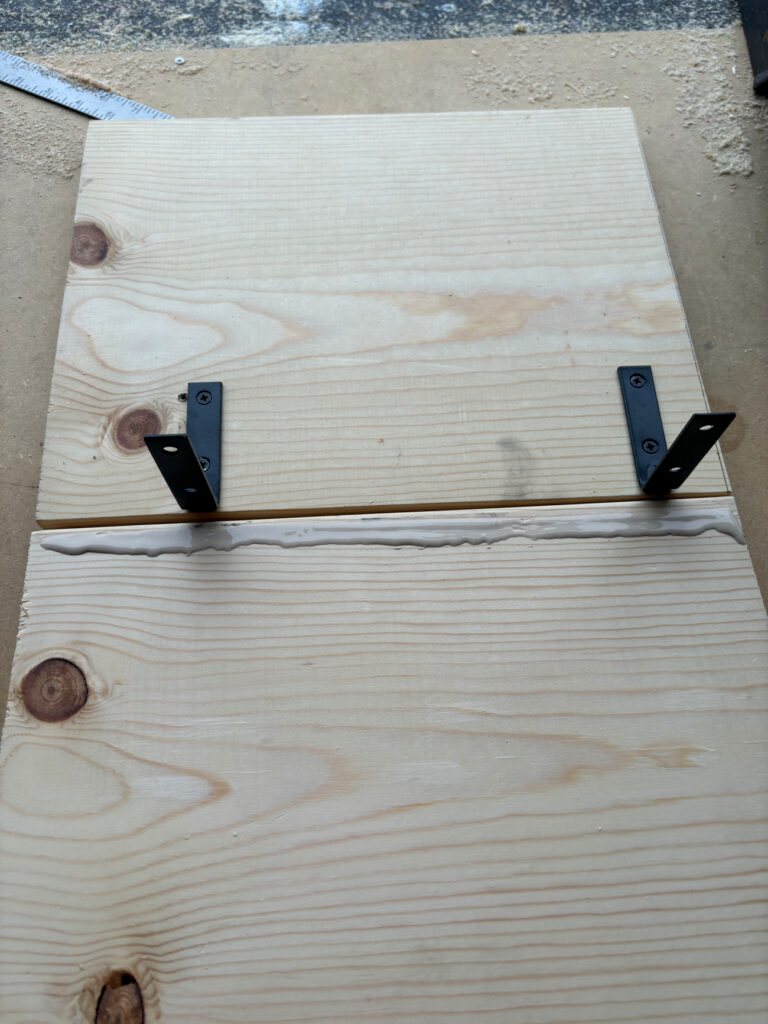
7. Set side piece in place on top of glue.
8. Screw bracket into side piece.
Clean up any excess glue at this point, as well.
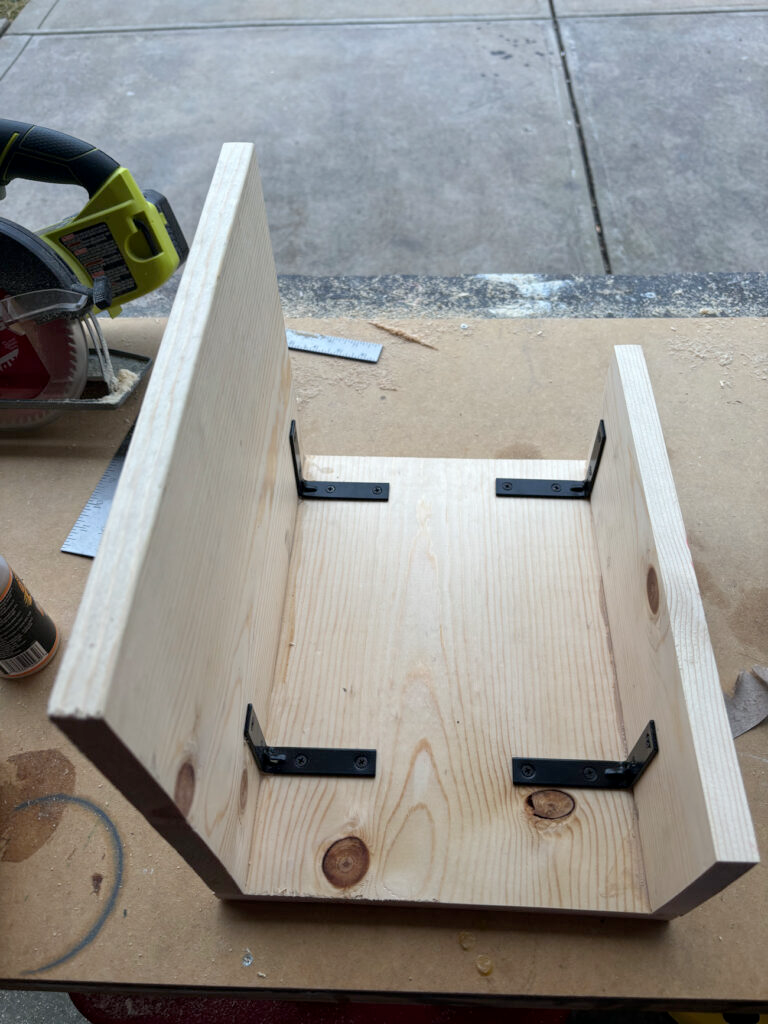
9. Repeat for other side.
It’s a perfect fit!
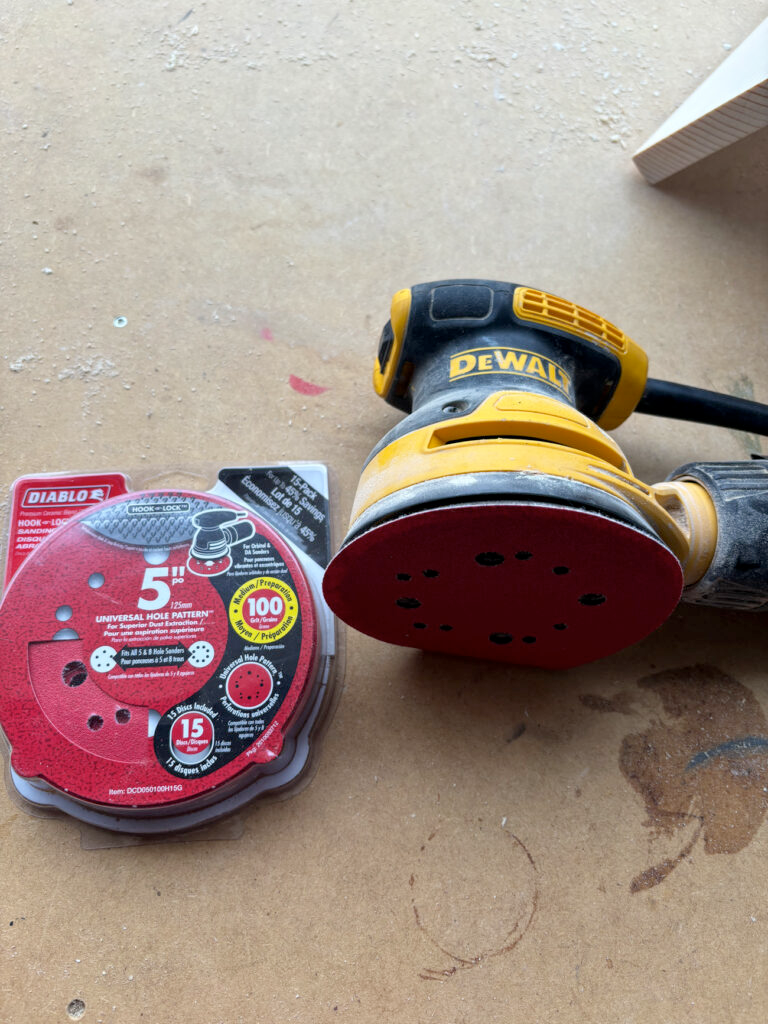
10. Sand with a lower and higher grit sandpaper.
You will want to sand this with sand your wood down with a fine grit sandpaper to give it a smooth to the touch feel. We started with 100 grit on the hand sander, and finished with a 220 grit to give it an incredibly smooth feel.
10. Stain the wood with your chosen color.
We chose to use Special Walnut for this project. It’s a lovely wood shade that stands the test of time for me. I’ve loved it since our very first project, and imagine I’ll continue to do so. It’s warm and classic!
Don’t mind the mess that is this can. Clearly it has lived some LIFE!

11. Seal with polyurethane or polycrillic.
I chose a semi-gloss polyurethane for this. I often opt for polycrillic for our projects if I want to keep the stain its true color, as polyurethane often adds a warmth or yellow tint. However, in this instance, we had the polyurethane already on hand and I wanted this to be a warm wood color!
I recommend applying poly with a foam roller or a foam brush for a smooth application.
And ta-da! The finished product!


This cute little thing is the perfect place to put my coffee during my morning quiet time. It also adds a lovely visual appeal to our couch arm. I’d highly recommend it as a great way to save space and create a practical surface in your living room for drinks. I hope it’s helpful in the making of your own DIY couch arm table!
Until next time,

YOU MAY ALSO BE INTERESTED IN:
15 Ways to Update Your Home Without Renovating
save this pin for later: