
DIY Wood Beam Doorway
This post may contain affiliate links, please review my disclosure policy.
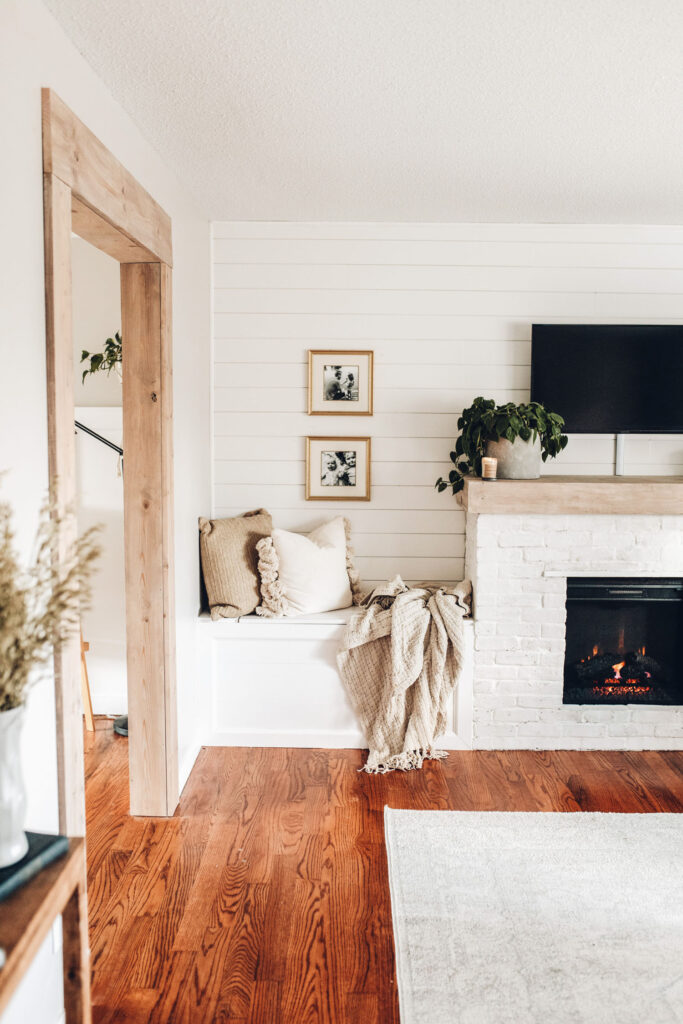
Hey friends! Here today sharing how we built an affordable DIY Wood Beam Doorway to add rustic charm to our builder-grade home. If you can believe it, we completed this project for just $100 and in one day.
Framing out our doorway has been the most affordable and most impactful project we’ve done in this space. So if you’re on the fence – DO IT!
Okay, on to the good stuff.
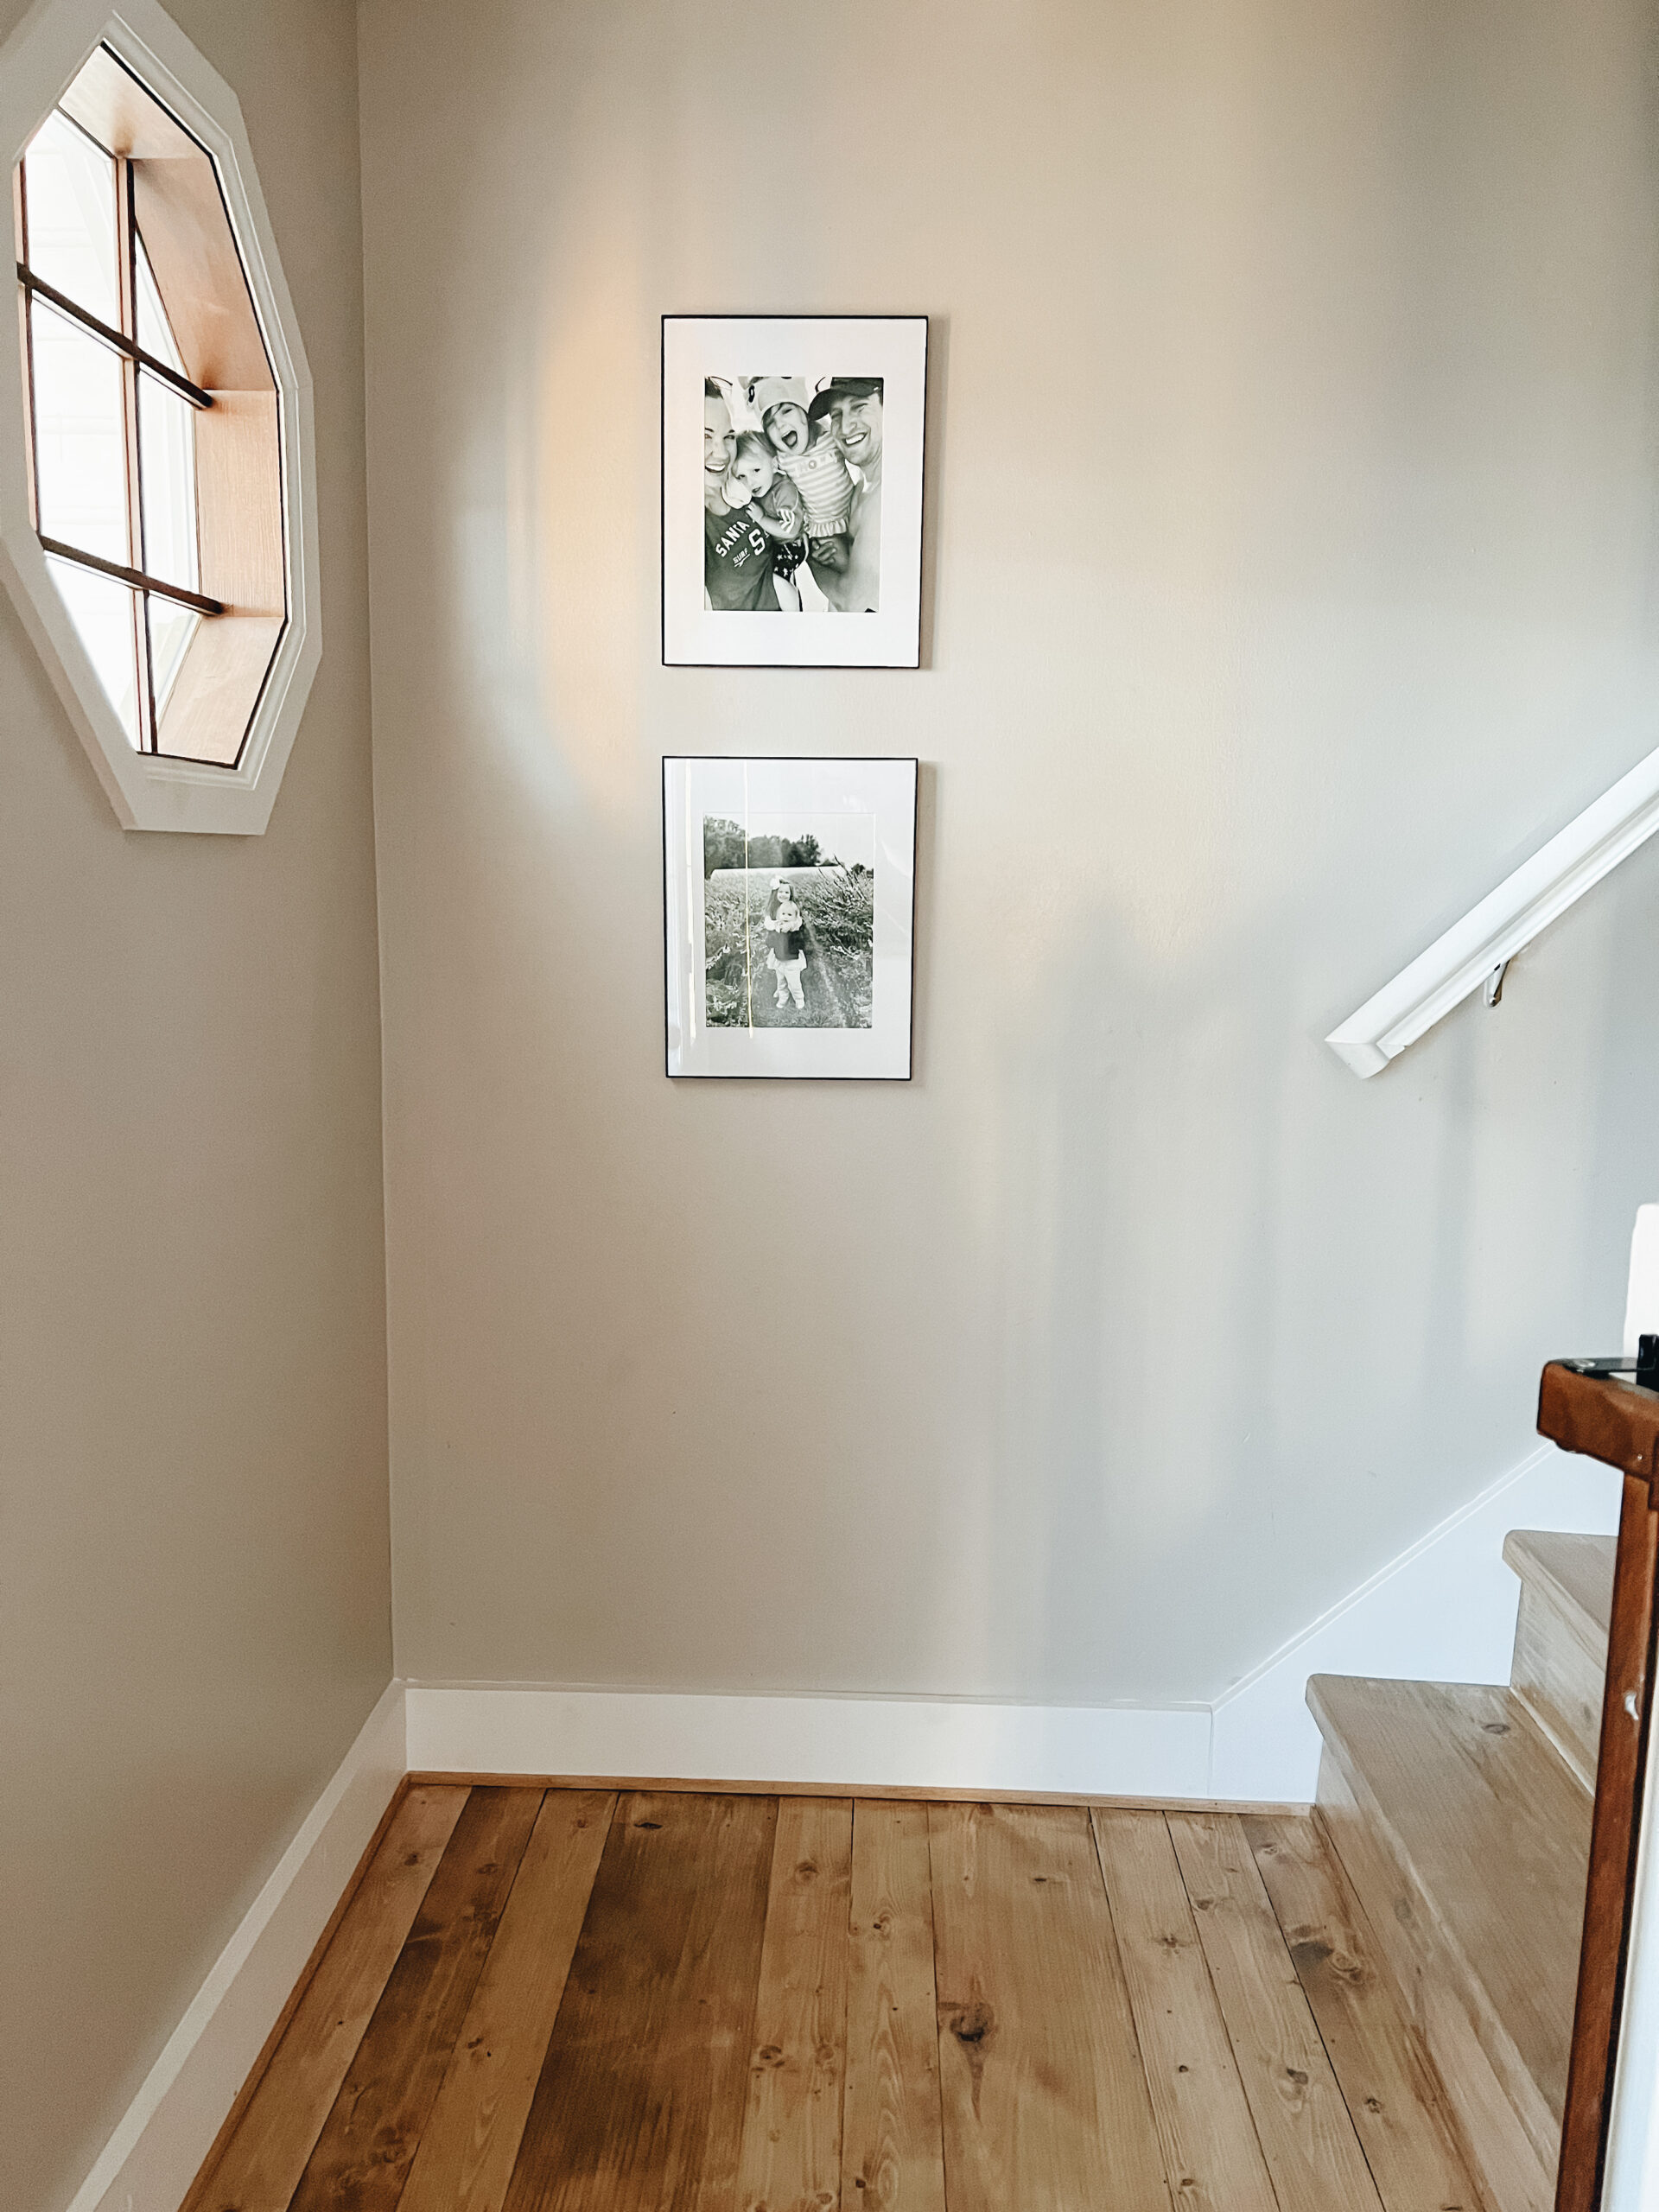
How did we build a faux wood beam doorway?
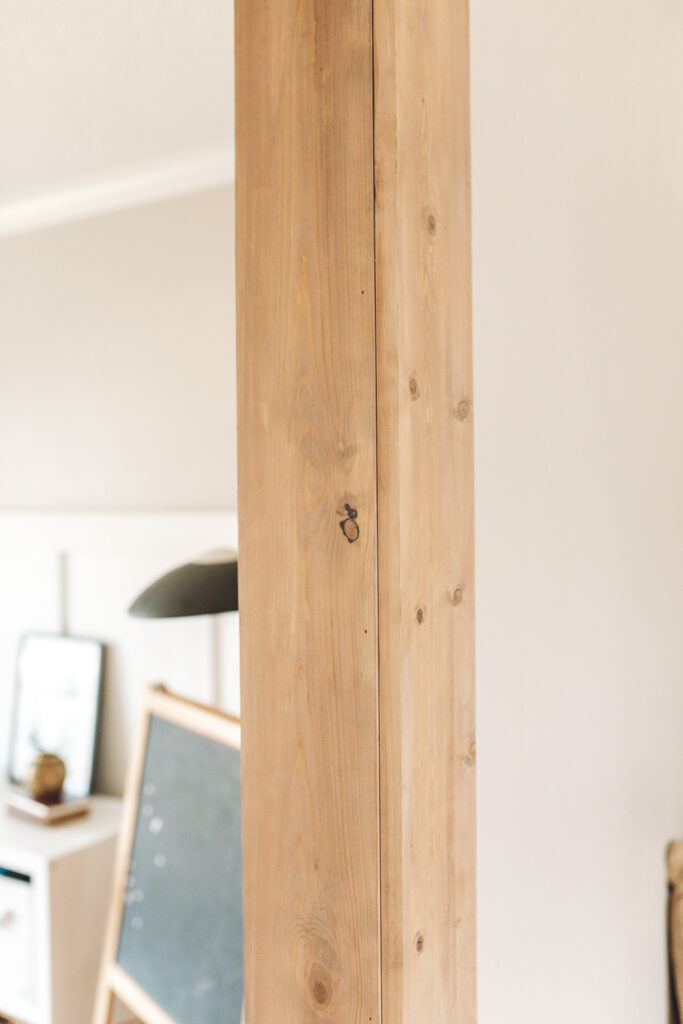
I feel like a wood beam look can scream COUNTRY if you aren’t careful. I like a country cabin as much as the next person, but I like a good mix. To keep this project from going too far rustic, I went with a lighter stain to give a lighter, more modern look. I cannot suggest this enough if you are wanting it to lean more modern than rustic. I give directions on how I did this below.

WHAT YOU’LL NEED FOR YOUR WOOD BEAM DOORWAY:
1x6x8 (2) pine boards
1x8x8 (2) pine boards
1x6x8 (2) pine boards
1x6x6 (1) pine boards
Liquid Nails
Pry Bar (for removing existing trim)
Wood stain of choice (we used a mixture of whitewash, special walnut, and weathered oak). Varathane or Minwax works great
Satin Polycrylic to seal (optional) — we opted not to do this as it’s not a doorway that is touched often. But if you poly, definitely use polycrylic! I live by this stuff for our home projects as it does not alter the color of the wood after staining.
Measuring tape


STEP-BY-STEP FOR FRAMING OUT DOORWAY:
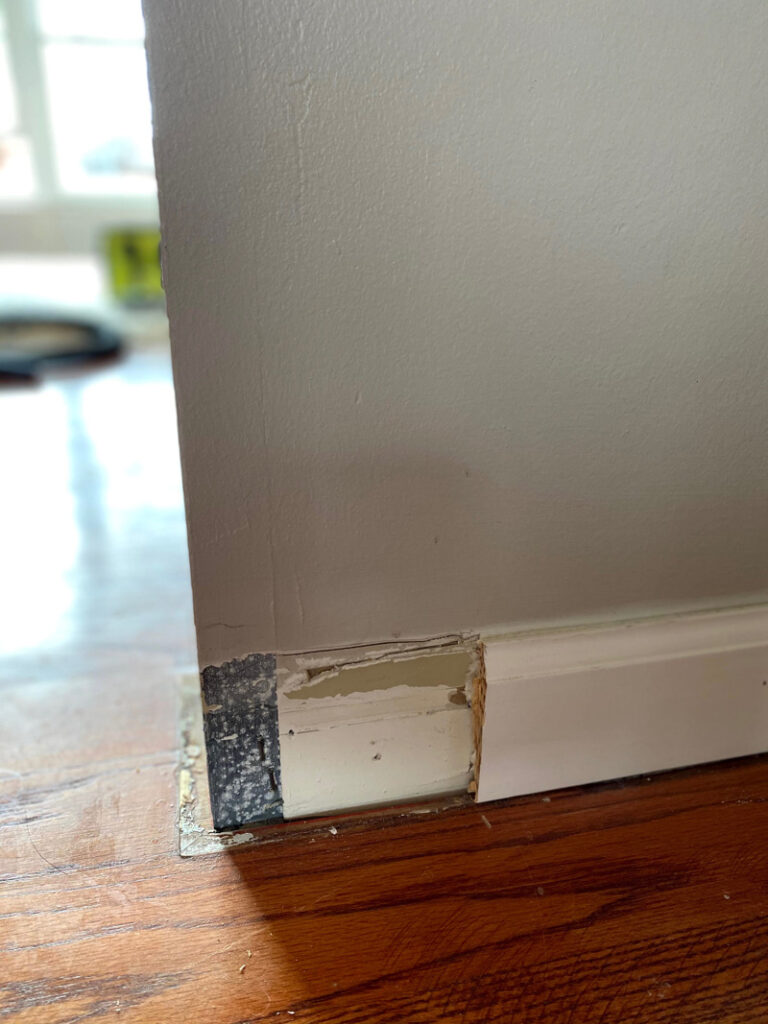
- Remove trim from the area you will be framing out with a pry bar.

- Measure your doorway and cut boards accordingly. After measuring our doorway and deciding on the look we wanted, our shopping list looked like this —
Outer frame – 1x6x8 (4)
Top boards – 1x8x8 (2)
Inner frame – 1x6x8 (2) & 1x6x6 (1)
- Cut your boards to size at home or at the store.
- Sand boards. We did this with our palm sander. Also take this time to mark the “fronts” of your boards so you’ll know which side to stain. We did this with a pencil and mark a little X at the bottom.
- Stain boards. We applied two coats of Minwax white wash pickling (I know varathane has a version of this — but any white wash would do the trick). Wiped off the excess and immediately applied a coat of Special Walnut & Weathered Oak mixed together. I have a blog post written up on this stain combination here.
Note: Some of the boards took the stain better and I only had to do one coat of the combo, but some took another to get the desired color. I recommend bringing your boards inside between coats if you are staining outside. This helps gauge what your final stain color will be inside!
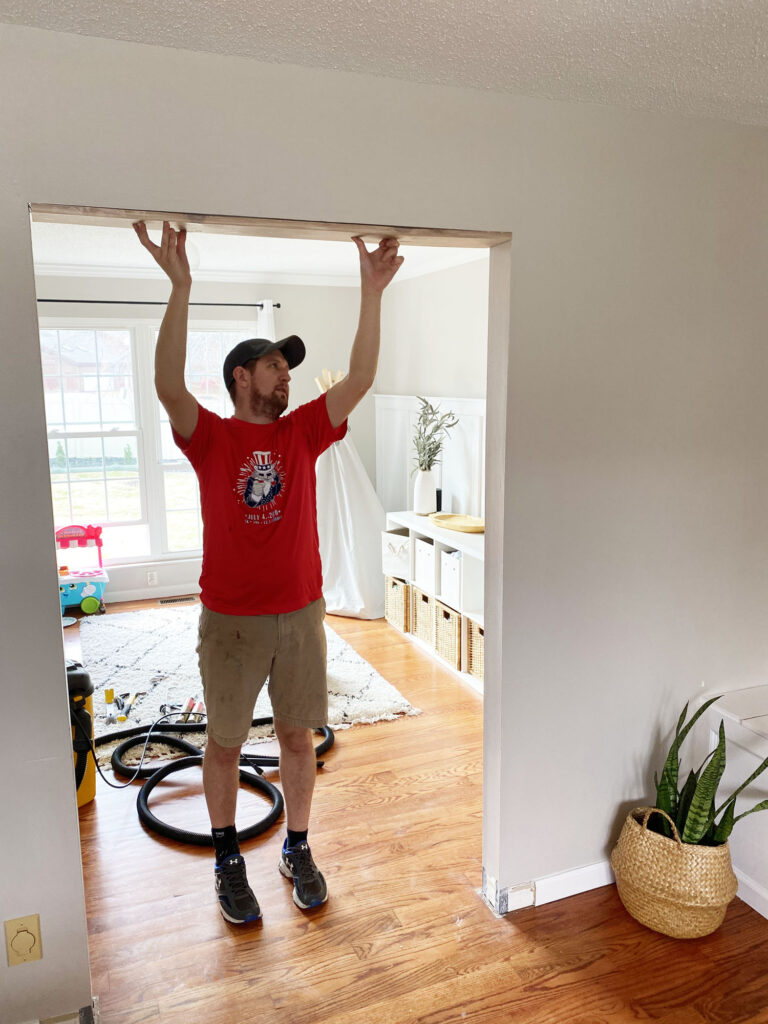
- After boards have dried, you will start by installing your top interior piece, and then the interior pieces on both sides. We did this by coating the backs with liquid nails and then nailing up with our brad nailer.

- Install exterior pieces on sides.


- Install exterior top boards.
- All done!

Framing out this doorway with faux wood beams has completely changed the space. We did it for $100. AND it took it from boring builder-grade to a space with a cozy, custom feel. I believe it’s a timeless way to add character to your home.
I hope our wood beam doorway tutorial has been helpful, my friends!
Until next time,

Interested in other ways to add character to your builder-grade home? Check out these posts!
DIY Brick Fireplace with Electric Insert
Weekend Home Projects Under $100
Small Bathroom Remodel in One Day


Great job! Following these steps myself now.