Mirror Makeover
This post may contain affiliate links, please review my disclosure policy.
I was SO excited when I found this beautiful arched mirror on Facebook Marketplace a couple of weeks ago for $20! I’ve had my eye on this arched mirror (pictured below) from Target for quite some time. But as with most of our home projects… I find inspiration in items that are usually out of budget. To get around this, I check Marketplace frequently and keep my eye out for alternative pieces of furniture to “shape” into my pricier item for a fraction of the cost!
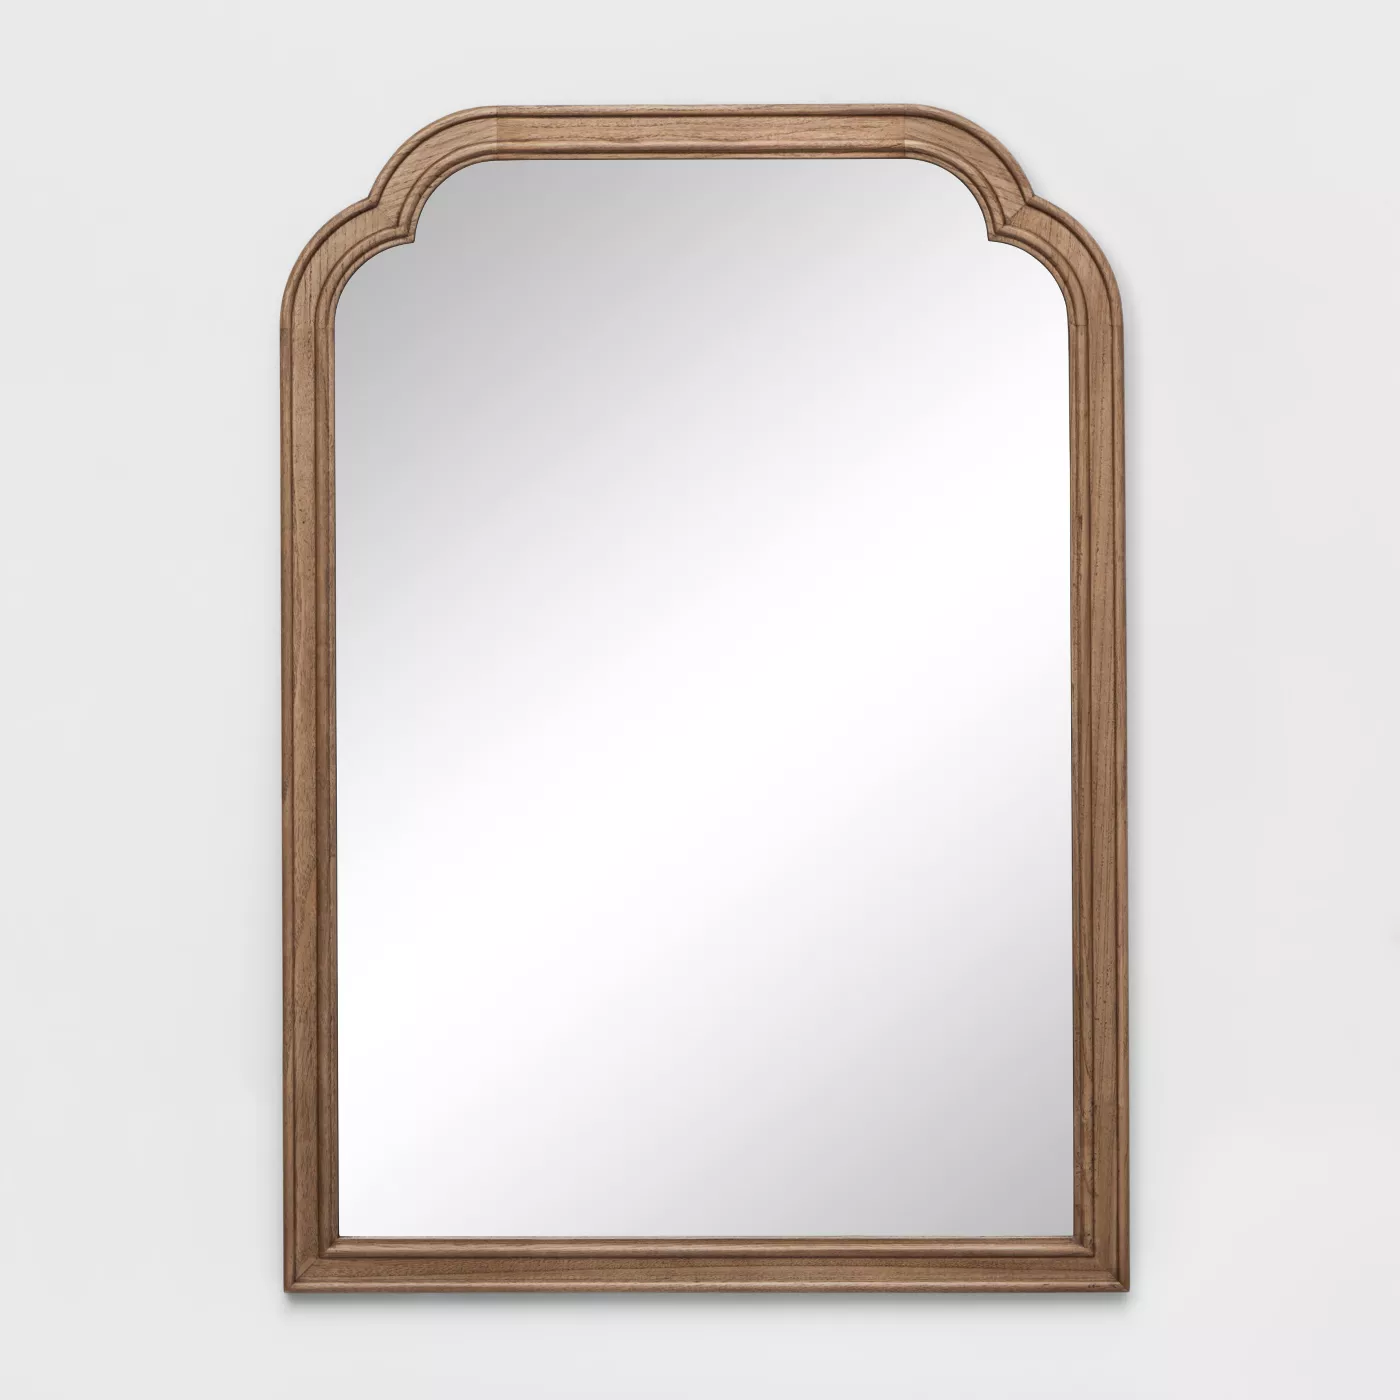
The mirror that I found didn’t have the same exact shape, but it was arched with a real wood frame. It was also just a few inches short of being the same size, so I knew I could work with that!
The only issue was that I didn’t love the color of the wood. It would have been too similar to the color of our floors (in the warm/reddish tint family).

1. My first step was taking our orbital sander and sanding down as much of the frame as possible. Because of the curves of the wood, I wasn’t able to sand it all this way.

2. For those curved or tight areas, I used a dremel tool on medium-low speed.
3. I went back over the whole mirror with 80 grit sandpaper by hand to even it all out!

4. Once I had cleaned it up, I went over the whole mirror with White Wash Pickling to take the yellow tint out of the wood. I applied 2 thin coats of this. It takes the yellow out of the wood while also adding a gorgeous aged effect!
5. I wiped off the excess pickling, and then applied a thin top coat of Behr Cordovan Brown stain.

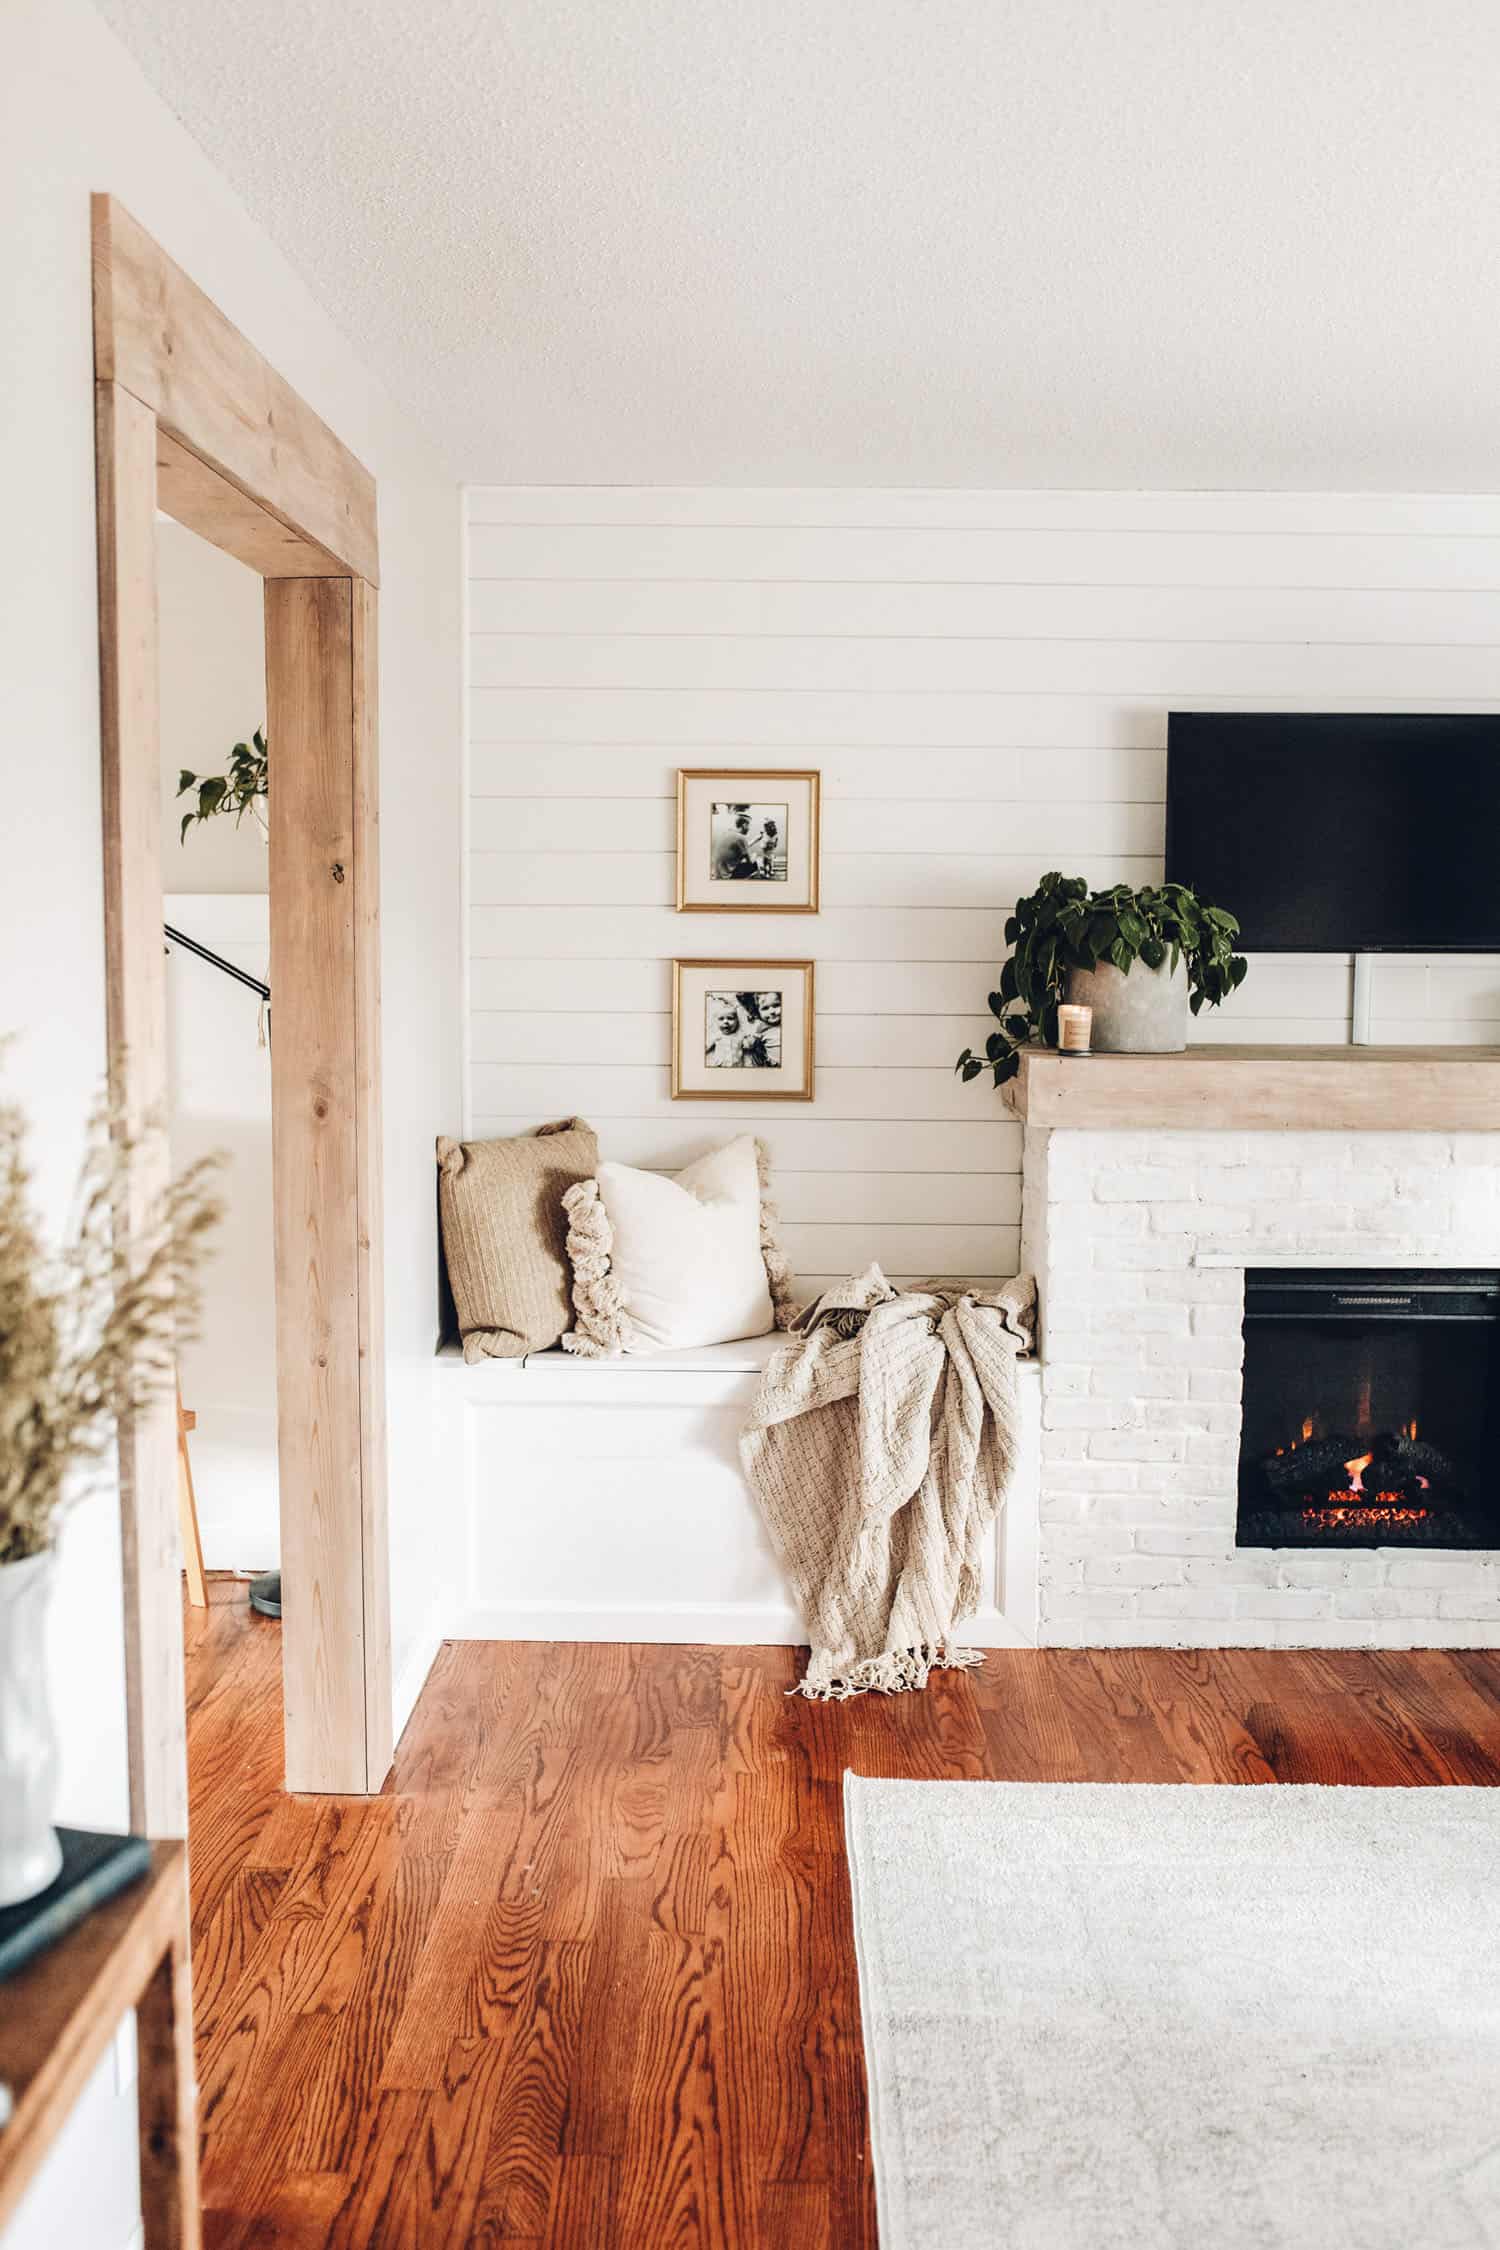
And the final product!! This is exactly what I was aiming for! I’m still looking for a more permanent place for this beauty, but for right now — it’s bringing me so much joy right here in our entry!