DIY Realistic Faux Branches
This post may contain affiliate links, please review my disclosure policy.
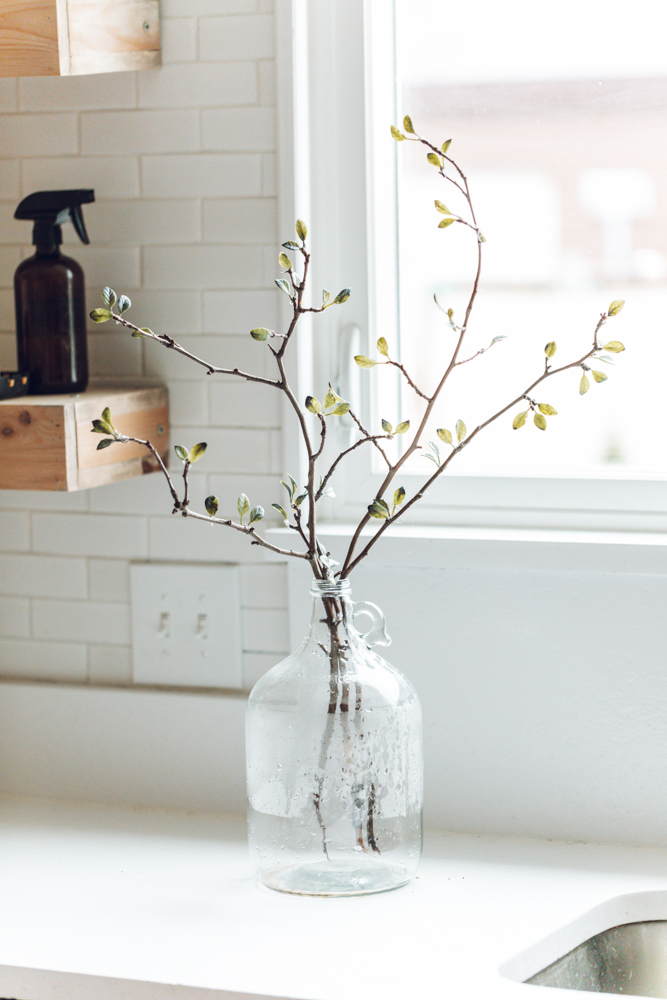
I don’t know about you, but I love the blooms that come with Spring. I recently pruned and brought in some blooming branches to bring that fresh, Spring feeling indoors. After the flowers died, I found myself sad to get rid of the stems that had been bringing so much beauty to our home.
So I decided that instead of throwing them out, I would use the branches to DIY some realistic faux branches to keep bringing beauty year round!

I completed this simple project in 30 minutes on a rainy Spring afternoon. It’s an easy-peasy, incredibly affordable project that will have you wondering why you haven’t done it sooner.
The added bonus is that you can use any faux foliage or florals you have on hand, and it really does look real!

This post includes affiliate links. For more info visit my disclosure policy.
What You’ll Need:
- Tree Branches (I used 3 small branches that I had recently pruned)
- Faux Stems (I used this one from Hobby Lobby because I already owned it). The great thing about this project is that you can use almost any faux florals or foliage you have on hand to make something beautiful!
- Glue Gun
- Scissors
- Vase
- Glove (not necessary, but recommended!)

How to DIY Realistic Faux Branches:
1. Collect real branches. If not fallen branches, you’ll need to prune them from a tree.
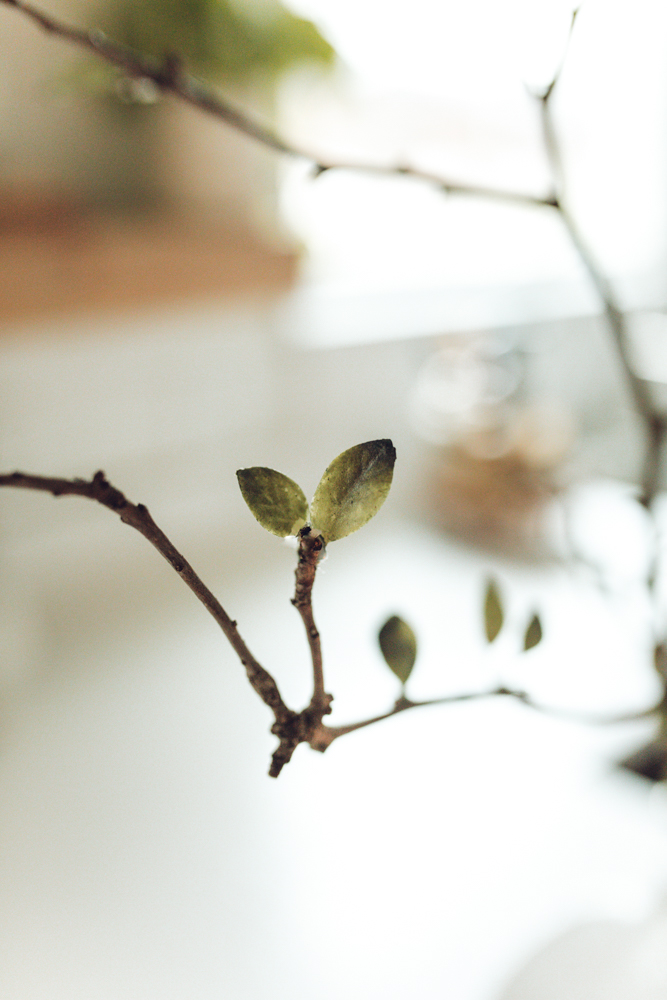
I used 3 thinner branches that I had recently pruned. Look for branches with “character.” I like branches with interesting curves to add a little more drama 😉 Also important to look for branches with natural places for buds. These are great for this DIY because of all the little bud notches.

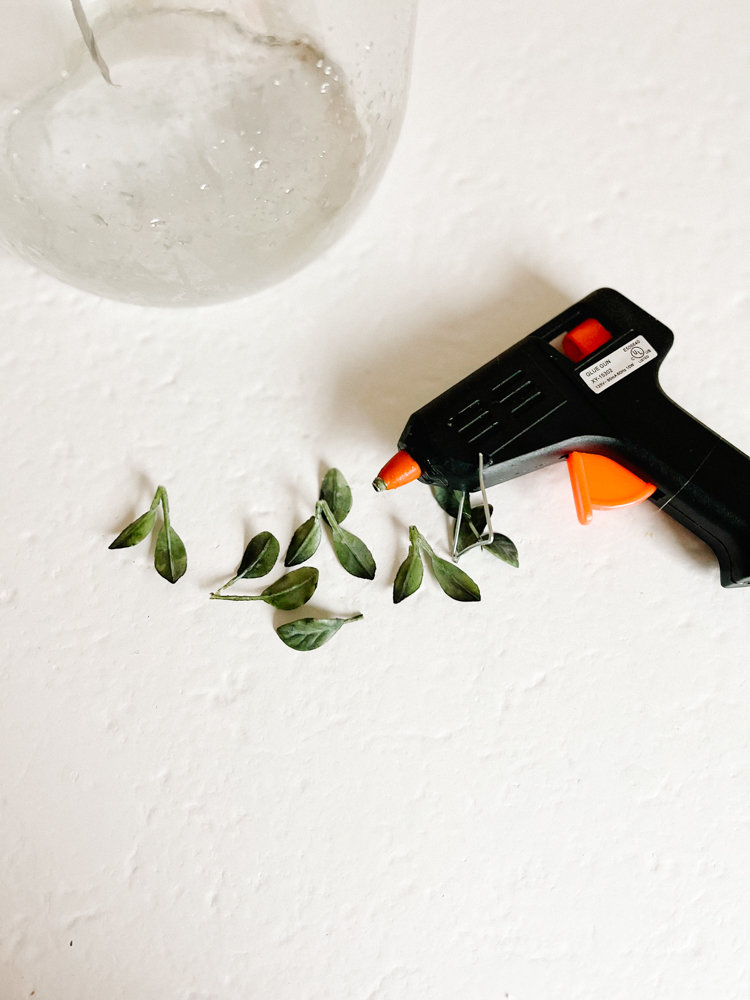
2. Trim or pull foliage off of your faux stems.
I trimmed off the leaves in groupings of 1 – 3 leaves for variation. You may not have the option to do this with another foliage or flower. Just aim for realistic looking! Use google and pull up photos of a real branch to replicate if needed.
I tried to group them together in some areas and then leave others a little sparse.


3. Place branches in vase, trim if necessary, and position them as you will want them to be displayed.
This is important because you don’t want to move the stems around after you have glued on your foliage. So get the branches positioned exactly as you want them before you start!
You will also want to make sure you are glueing your leaves/flowers forward facing. So adding the hot glue to the back of the area you want to display.


4. Use a glue gun to glue your leaves/flowers in place.
I glued leaves to places on the branch that they would naturally grow. The little bud spots made it easy. I varied the leaves by groups of 1 to 3 for a more realistic look. Start small and go back and add in more as necessary.
I went back at the end and added more to certains areas.
To glue your foliage in place, you will add a small dot of hot glue to the back of the stem, making sure that your foliage/floral is forward facing before pressing it into the glue. Hold tight for a few seconds to make sure it’s really stuck before letting go.
I found that using a glove for this part helped me to move a lot faster, because – HOT glue. I’m ashamed to say I did a full branch before I realized a glove might be smart (lol).

5. Add leaves/flowers until you reach your desired fullness!
I wanted mine to look like freshly bloomed branches, so I kept it minimal (for now!) Add until you think it looks right!

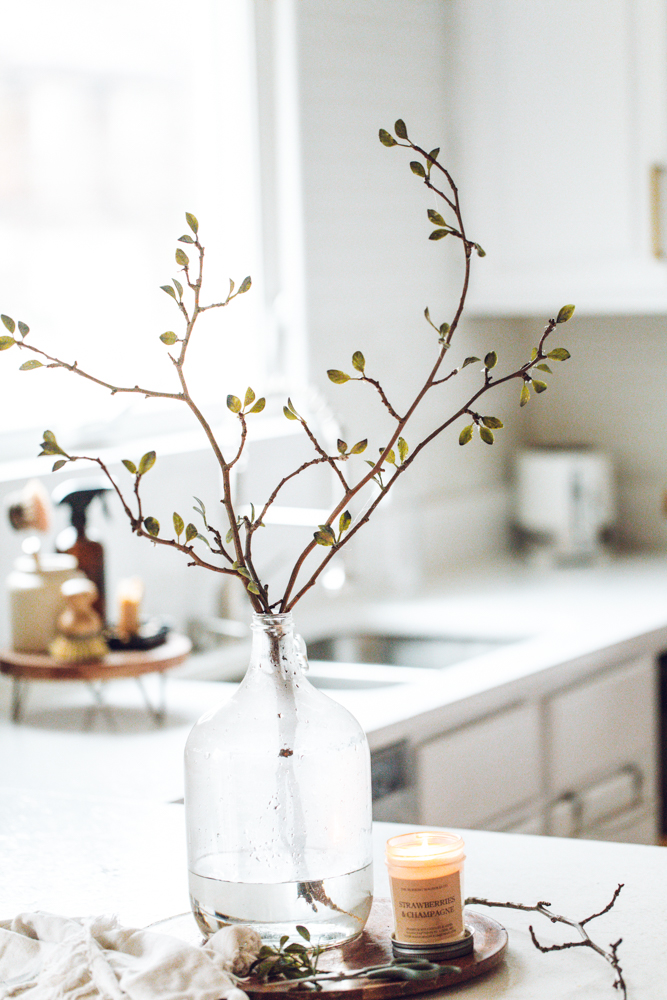
6. Add water to your vase for a more realistic look.
You can’t tell me this doesn’t look real, my friends. My husband knew I was working on this but when finished thought for sure this was all real 🙂

The final product is VERY realistic faux branches that look like fresh, Spring blooms. But the great thing is – these stick around 🙂
I hope this DIY Realistic Faux Branches tutorial helps you to bring some year-round Spring beauty to your home!
Until next time,

Looking for more easy home decor DIYs? Check out these posts!
Affordable Spring/Summer Porch Decor