

DIY Kids Art Display Board
This post may contain affiliate links, please review my disclosure policy.
Hey friends! Today I’m sharing how we made this DIY kids’ art display board in just a couple of hours with no sewing required!
If you’ve found your way here, I’m guessing your house is ALSO overflowing with your beautiful kids’ artwork too. I absolutely love seeing my kids create, and create they do! I wanted a simple and inexpensive artwork display to showcase their art projects while still keeping our home feeling calm and uncluttered. This easy DIY turned out to be the perfect solution!


SUPPLIES NEEDED FOR A DIY KIDS ART DISPLAY BOARD:
You’ll only need a handful of inexpensive supplies for this project:
- Insulation foam board (Multiple 2′ x 2′ boards OR a 4′ x 8′ sheet)
- Fabric or a tablecloth large enough to wrap around your board
- Hot glue gun and glue sticks
- Tape (optional if using multiple boards)
- Scissors
- Stapler (optional, for extra security)
- Picture hanging hardware or command strips(depending on how you plan to hang it)
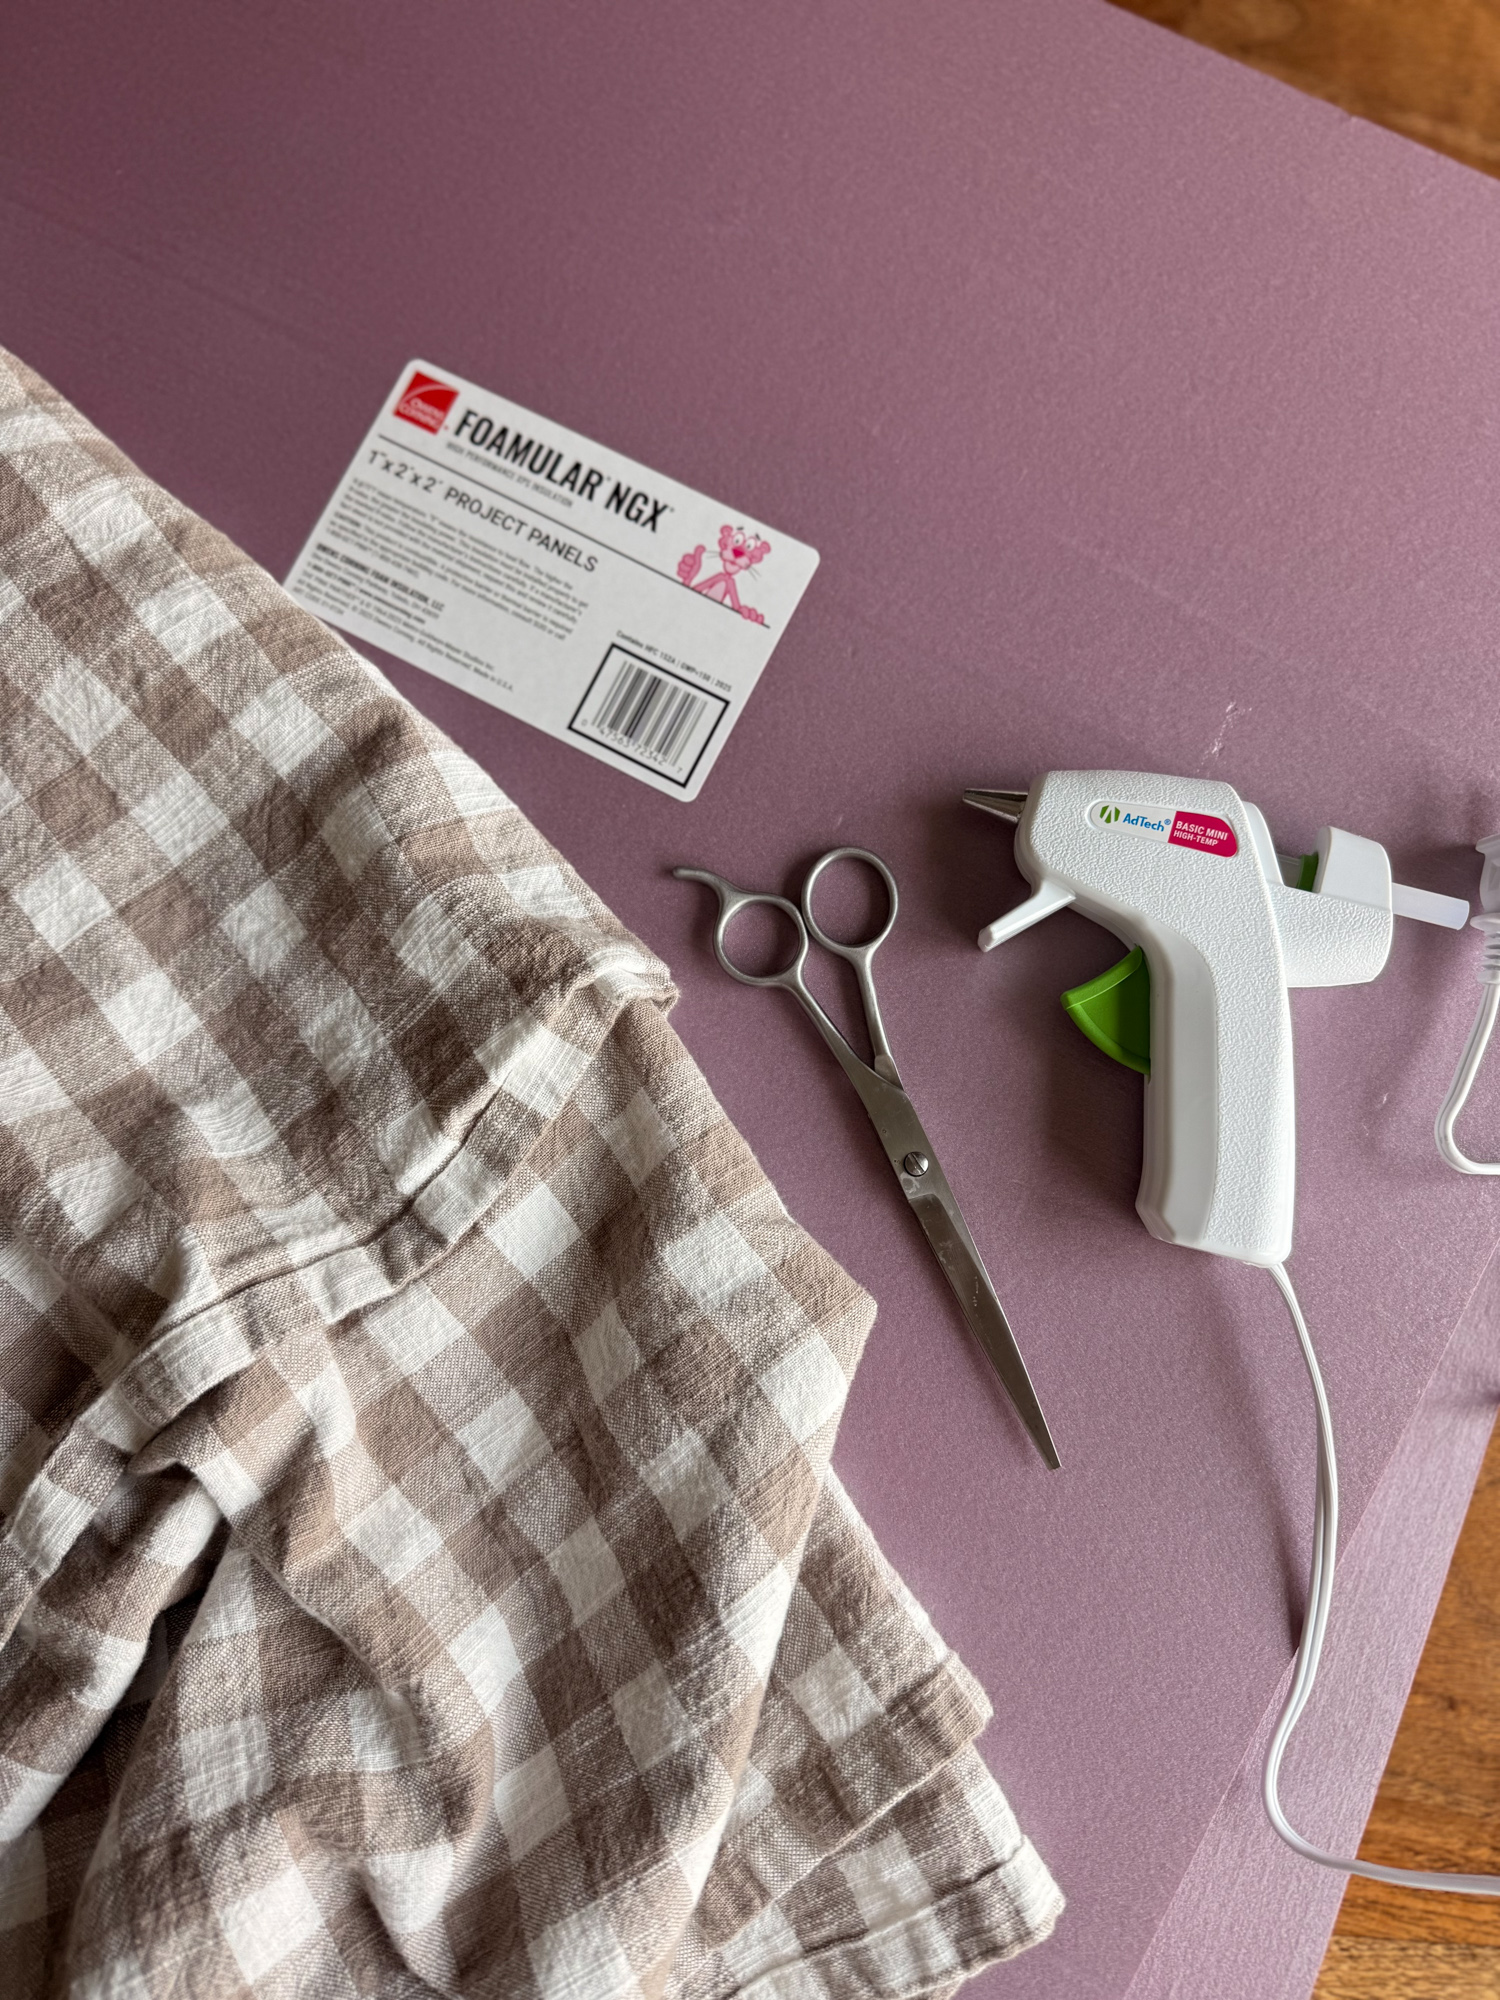
Step 1: Decide on the size of your art display and purchase insulation board.
Before purchasing anything, decide how large you’d like your display board to be. Whether you’re creating one large display or several art display boards, deciding on the size first will make the rest of the project easier.
The most budget-friendly option is to purchase a 4′ x 8′ insulation foam board and cut it down to size. Home Depot sells these for around $15. If you’re hoping to cover a large space or an entire wall, this may be the right option for you. If you don’t have a vehicle large enough to transport it, many home improvement stores can cut it in half for you before you leave.
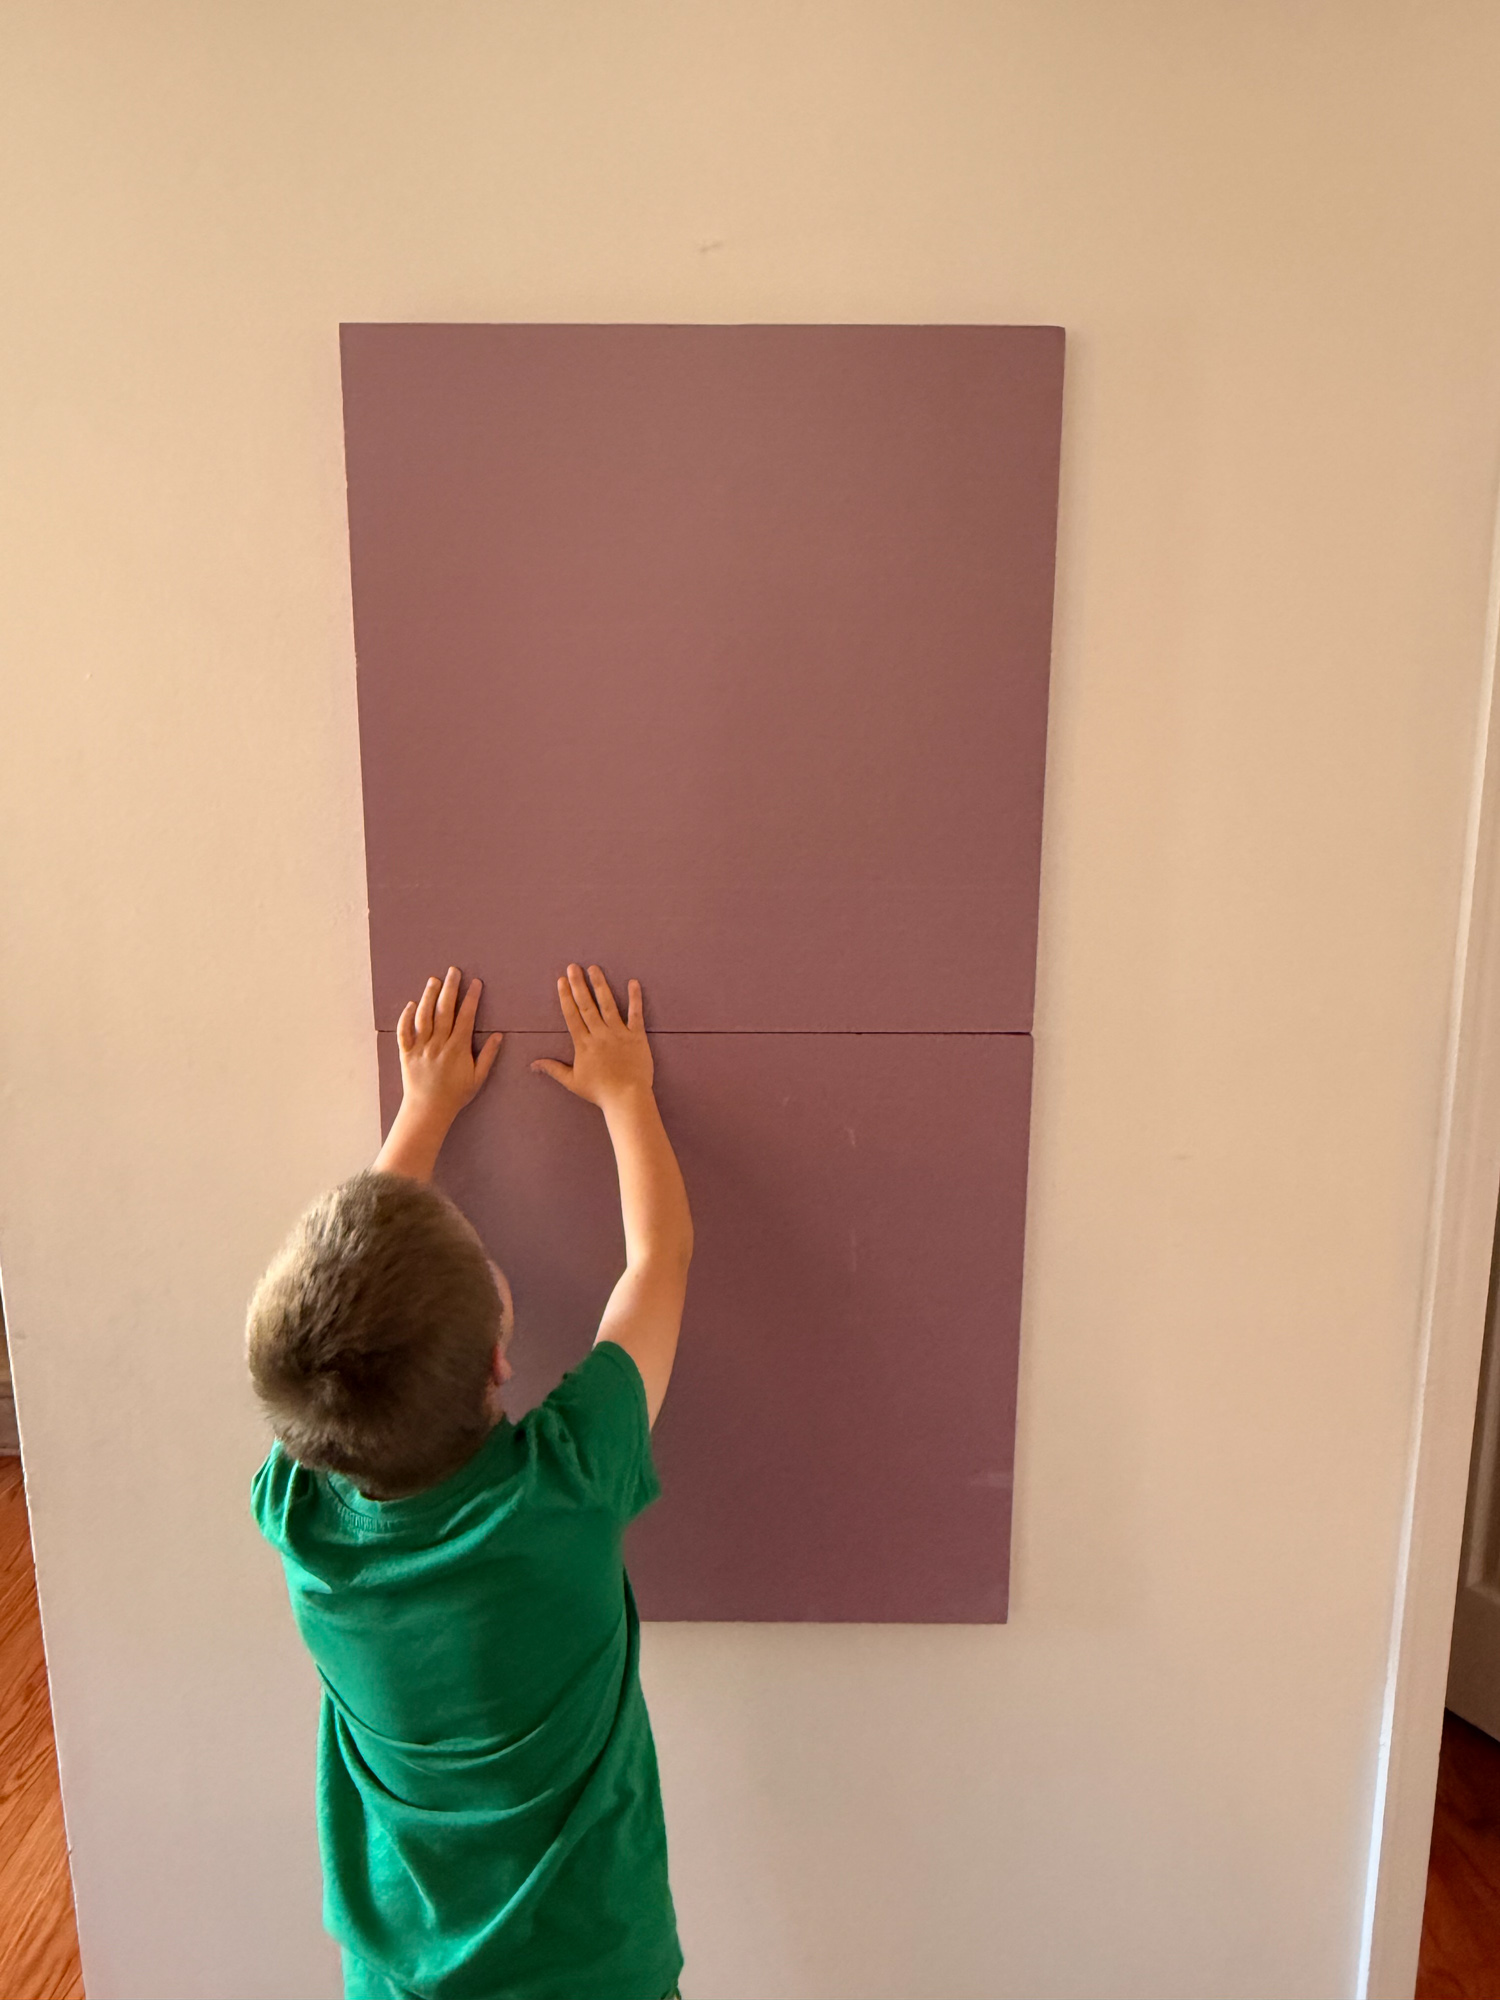
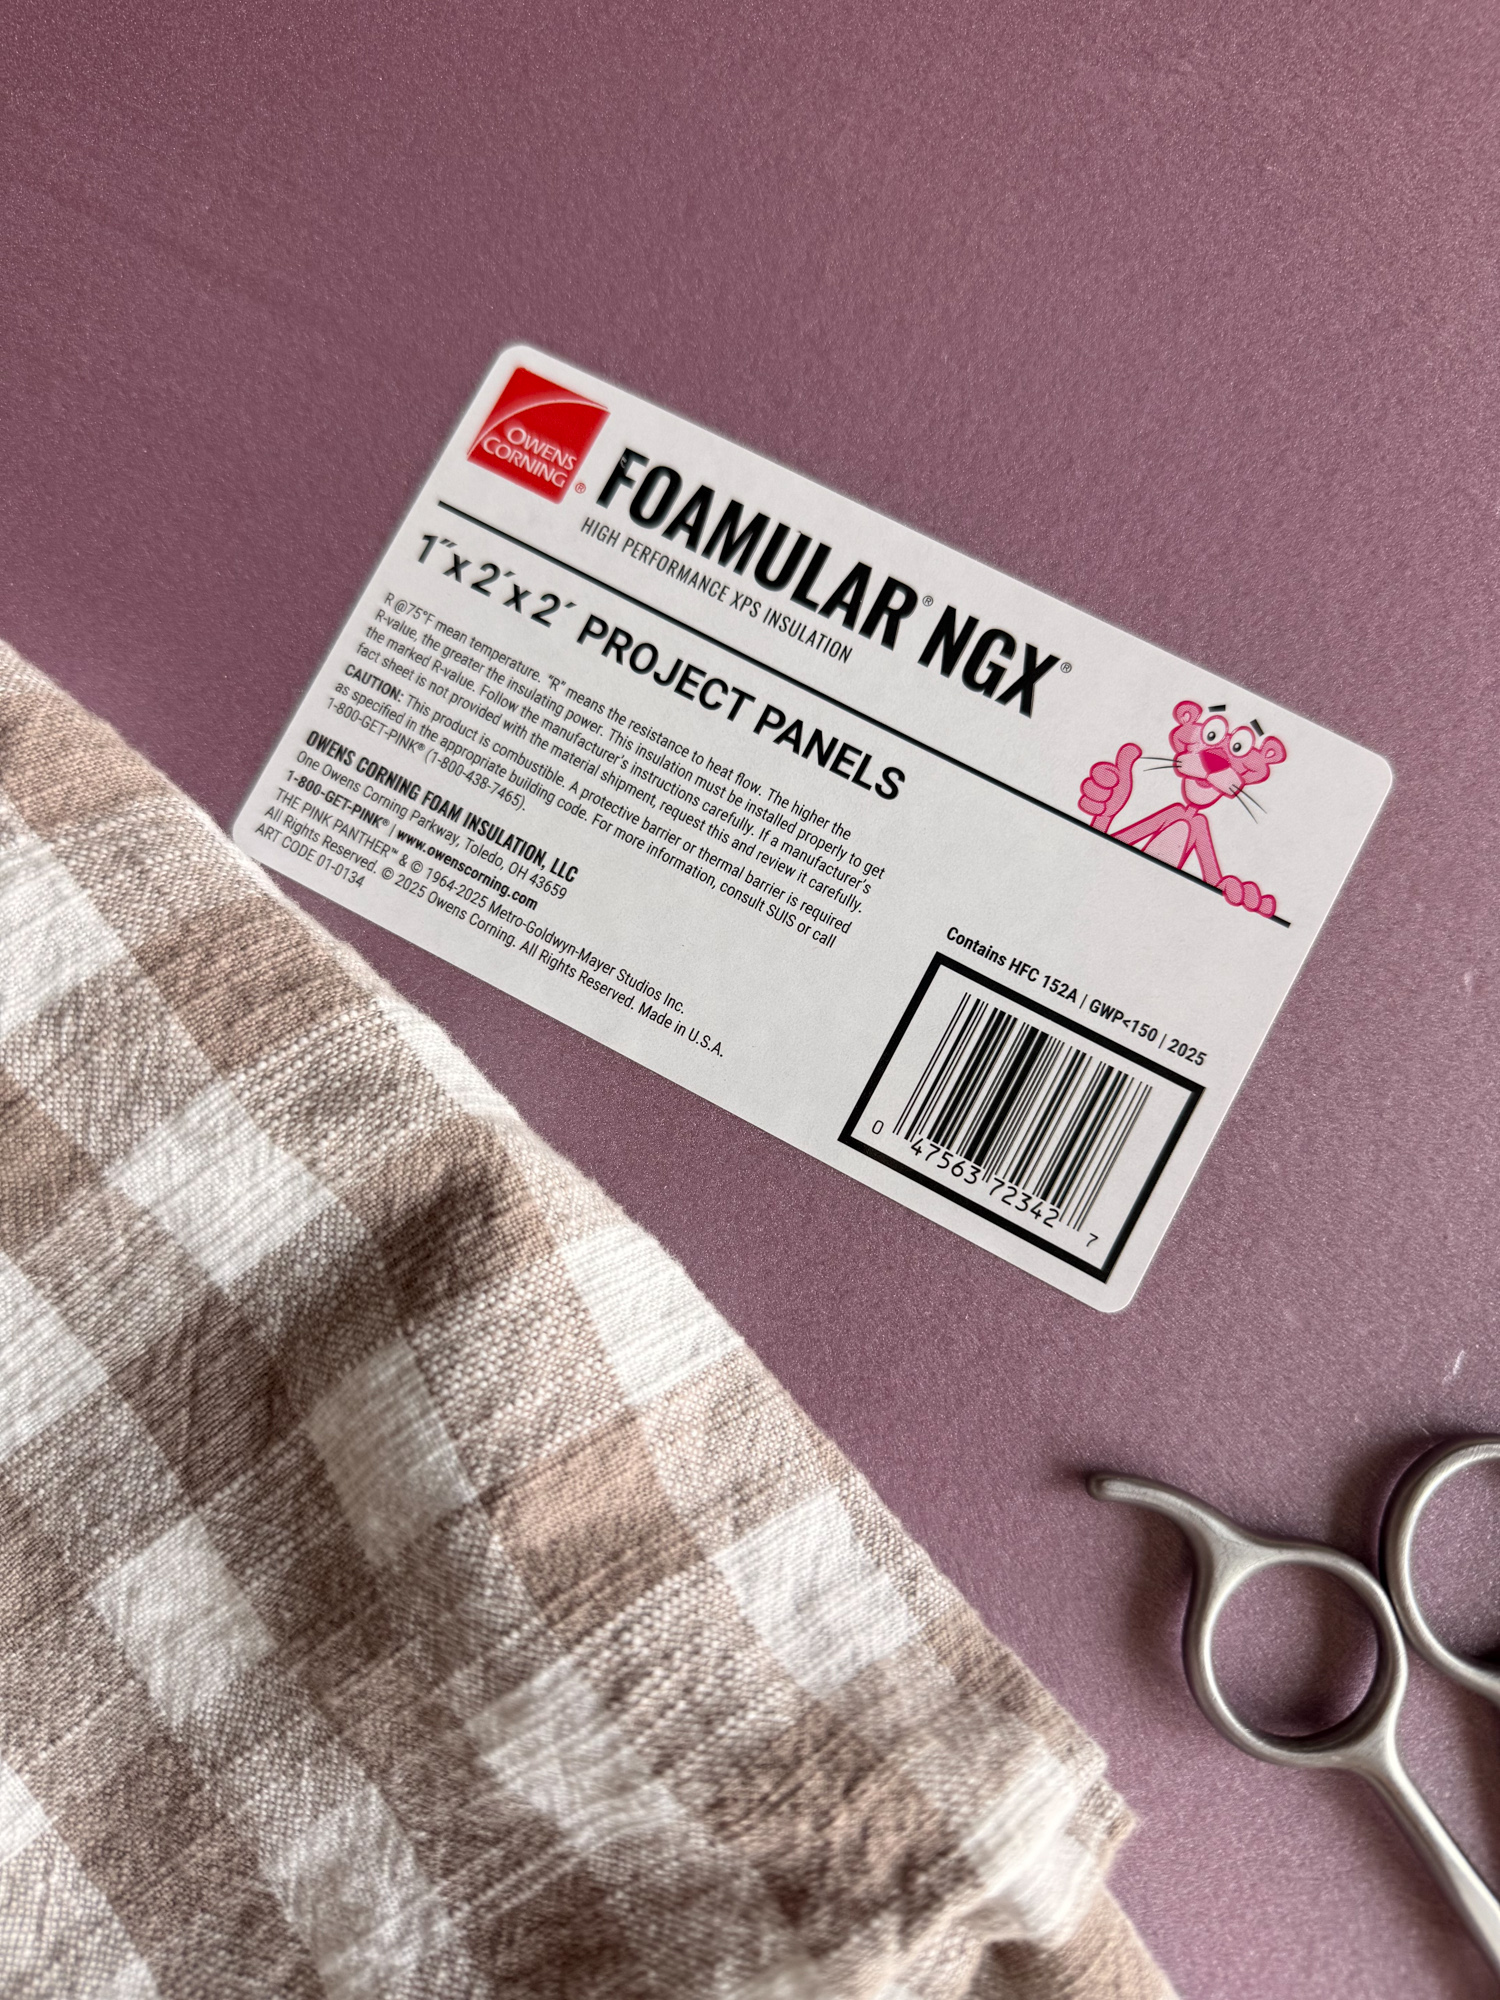
For this project, I actually chose a different route. Since I was shopping alone with my kids, I purchased two 2′ x 2′ insulation foam boards instead and glued them together at home. This cost me $5 more, but it made transportation easier and I didn’t have to track down a store employee willing to help me. Once the boards were joined, you couldn’t tell the difference!
This is the insulation board I used!
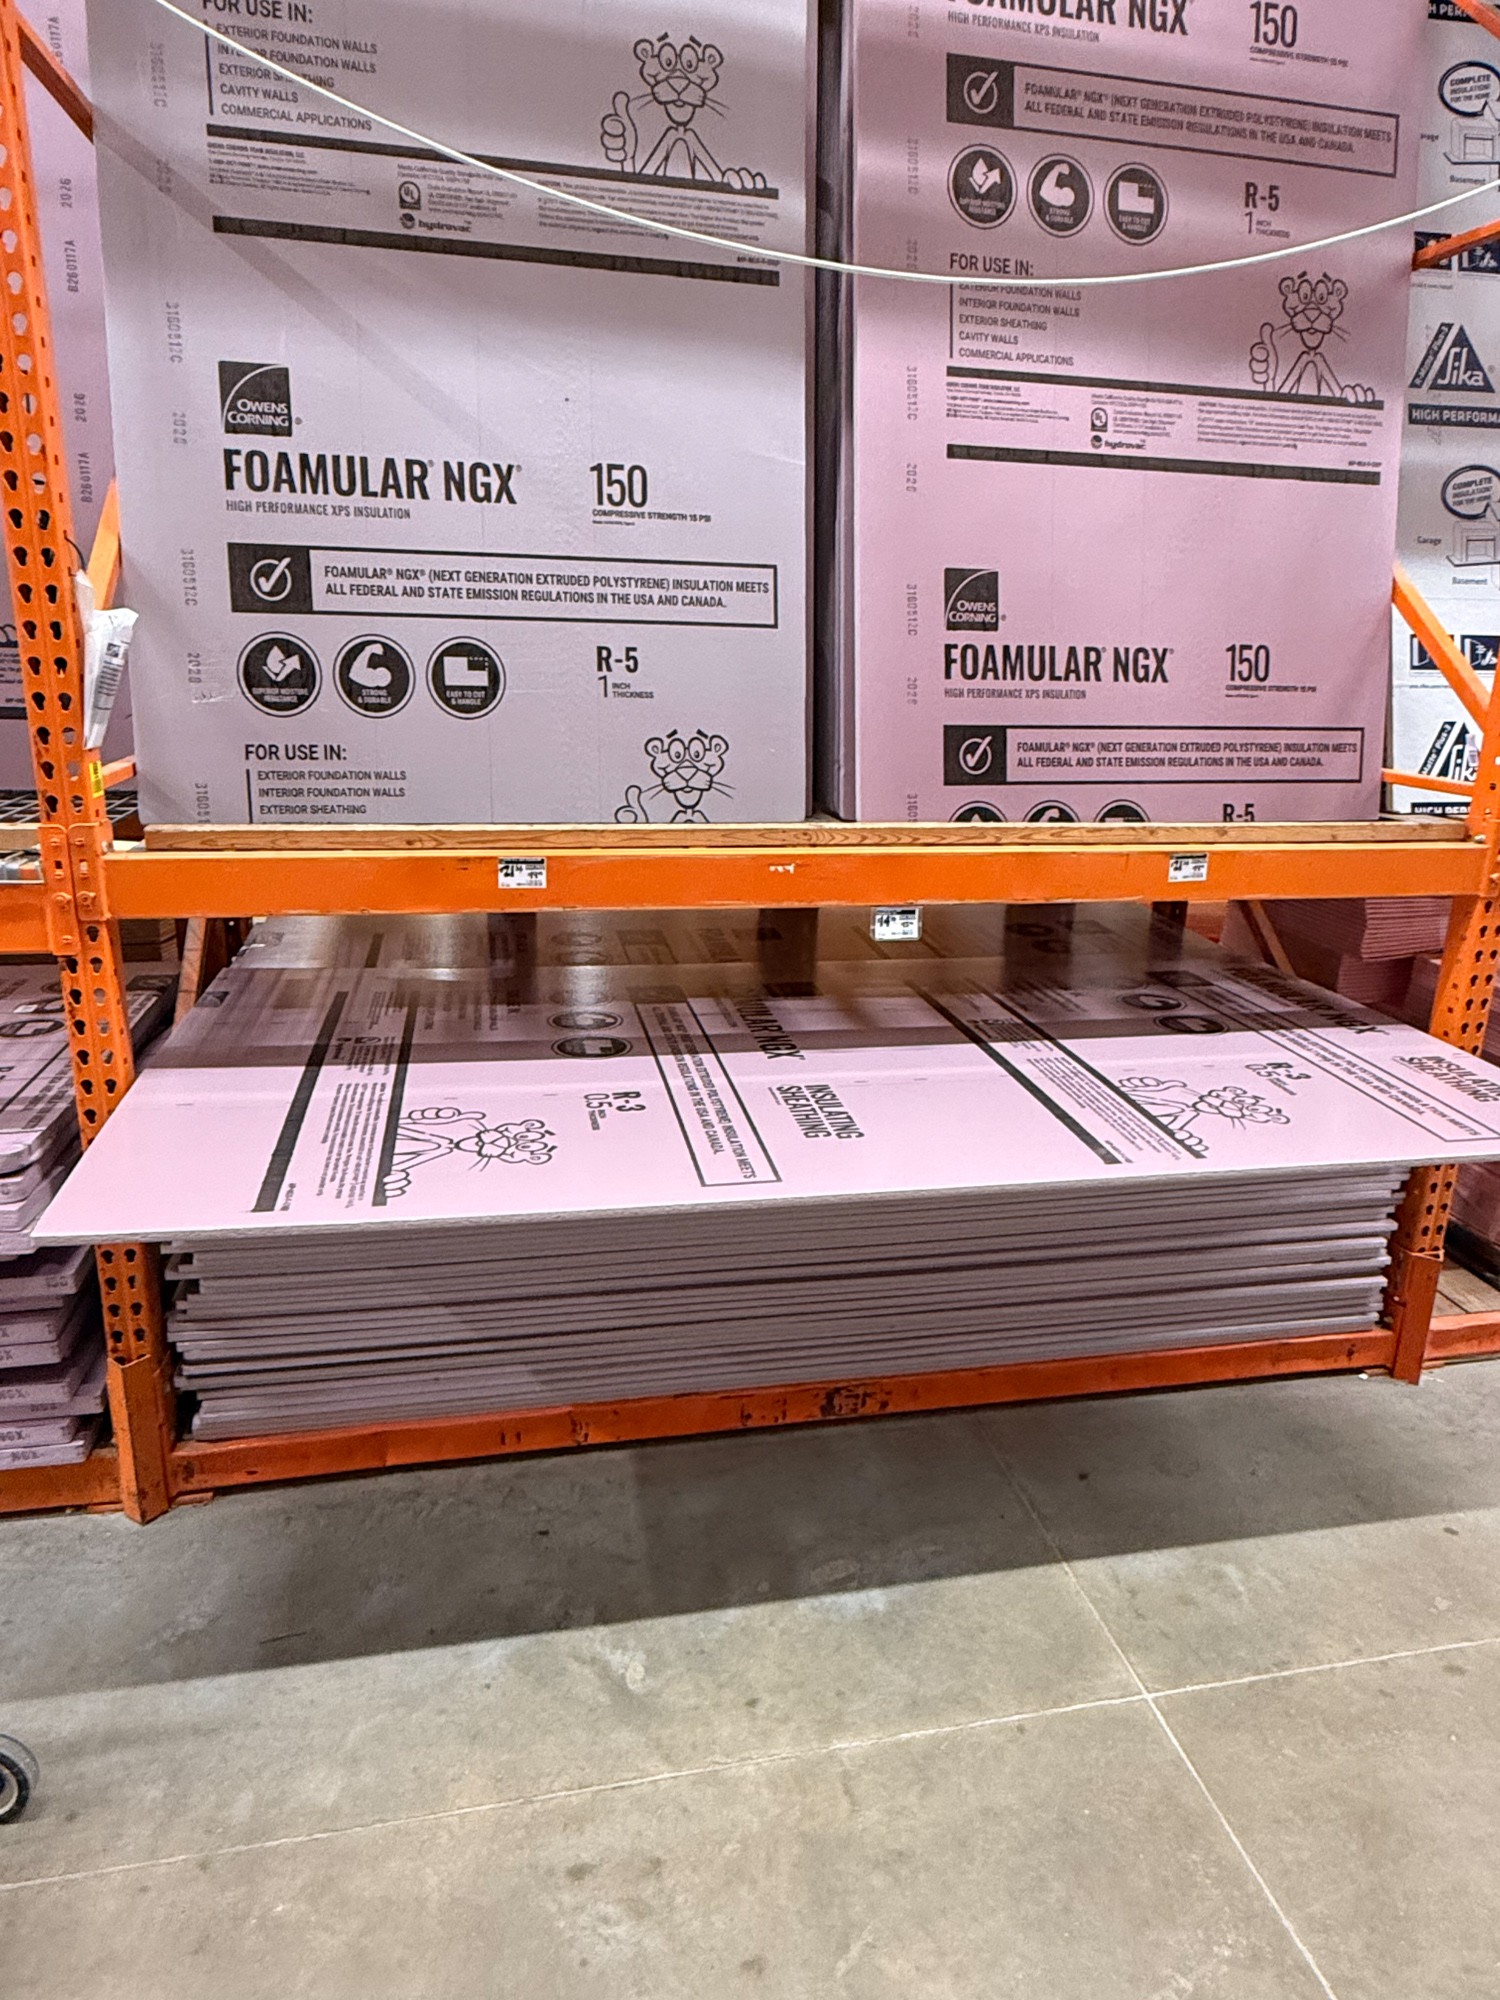
THIS BELOW is what we used.
2. Choose your fabric.
Next, pick a fabric you love!
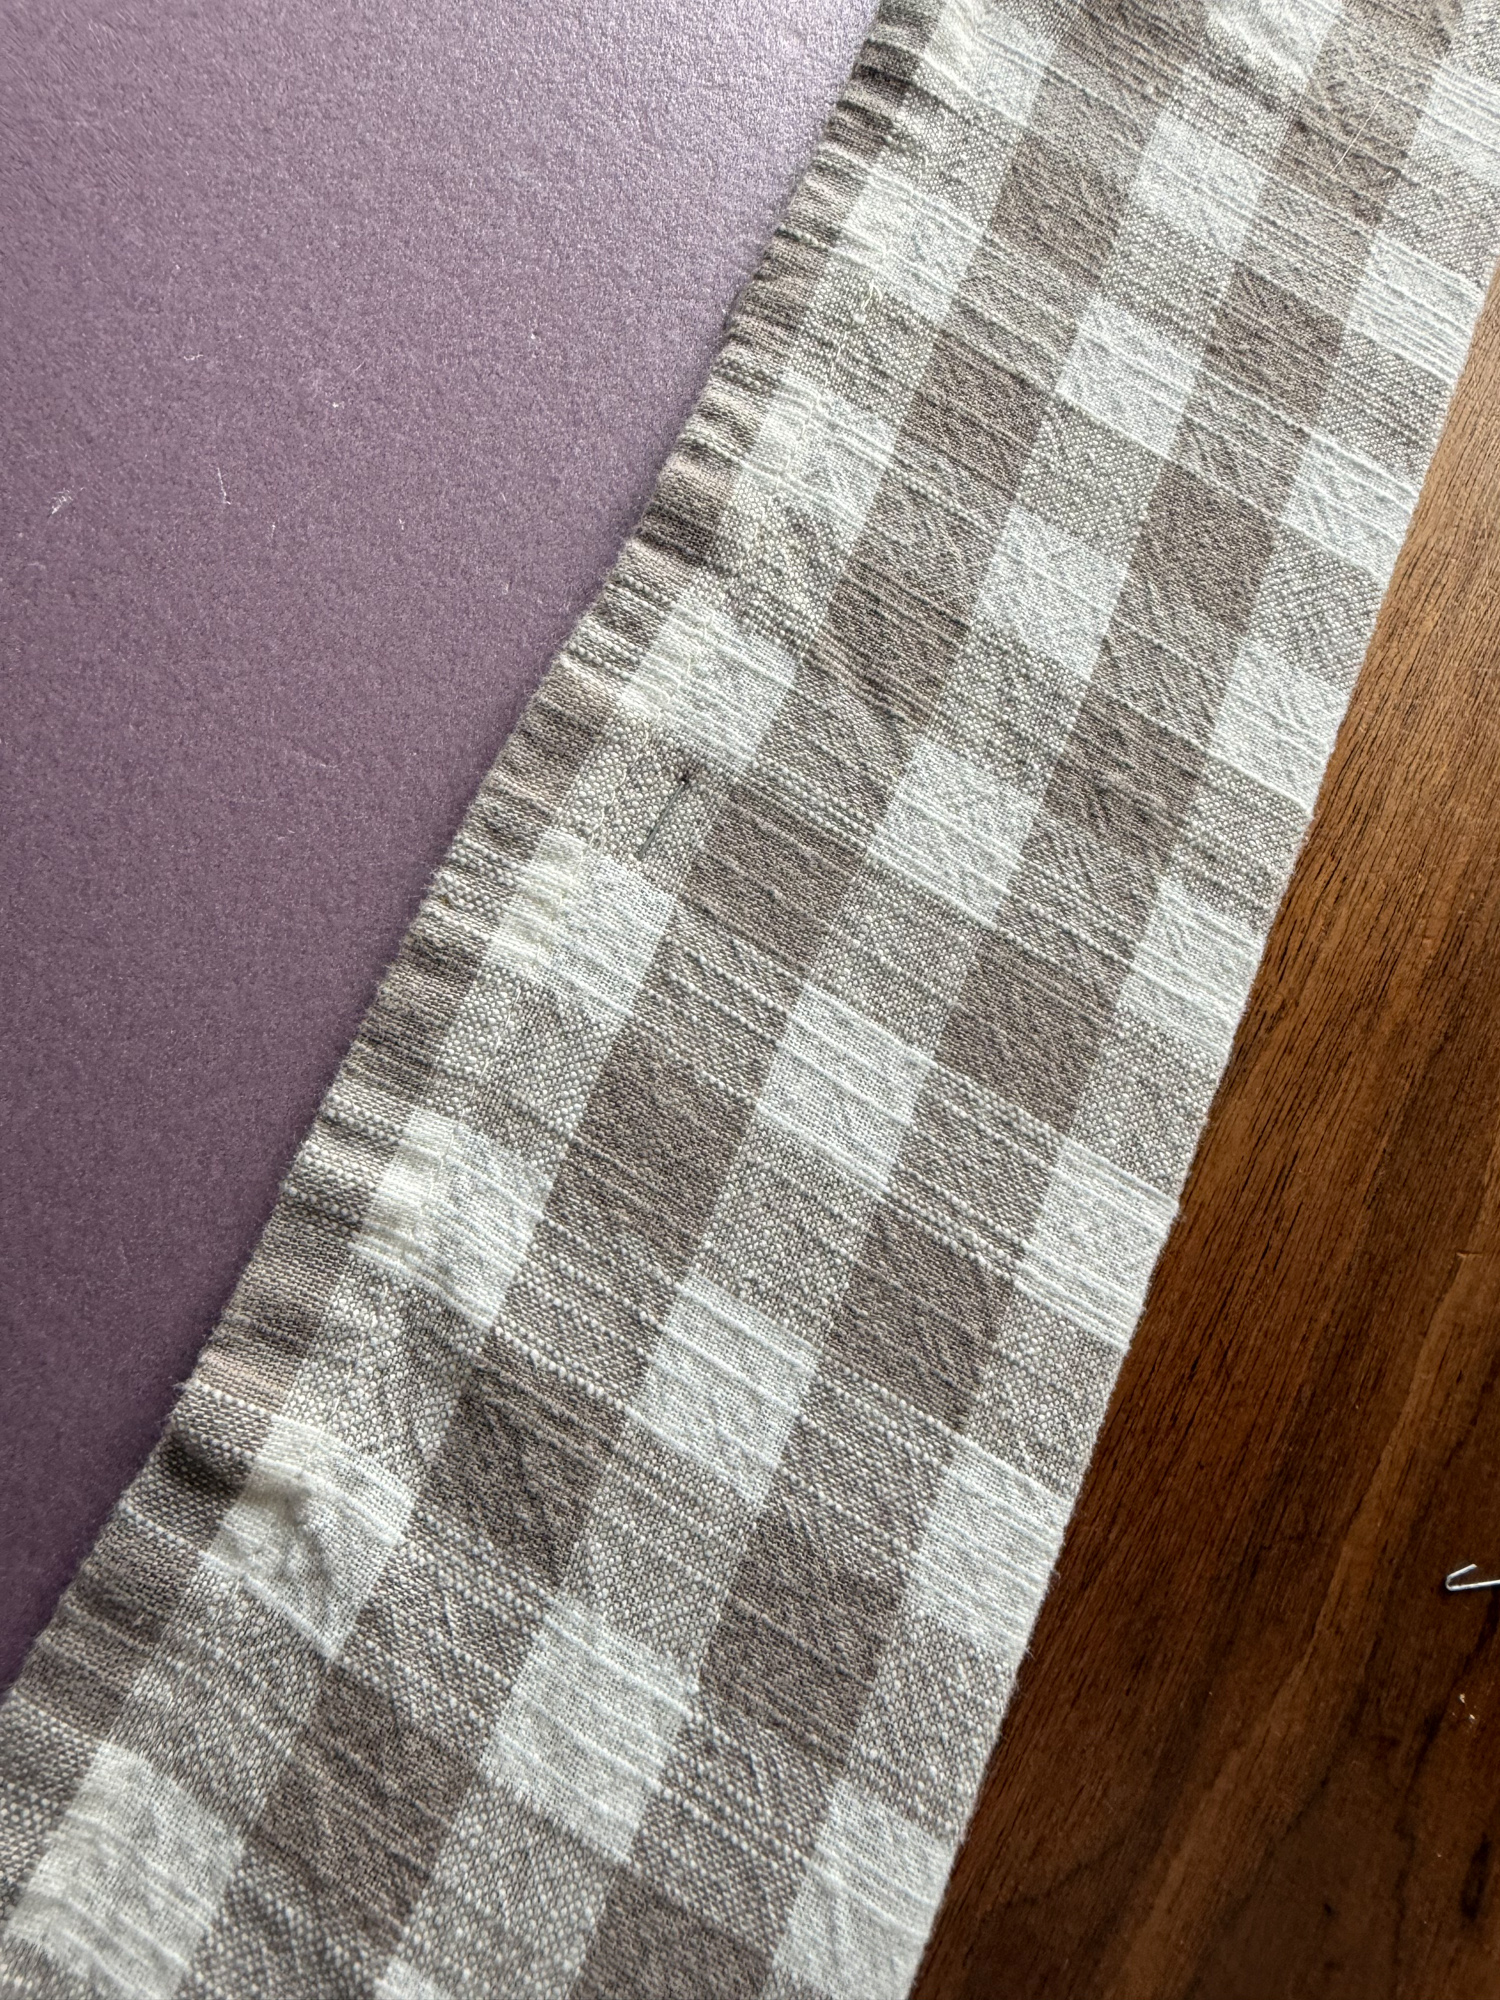
I repurposed an old tablecloth that had been sitting in a drawer for a while (turns out we’re just not tablecloth on the table people!). It’s a great way to save money and give something new life. Just make sure your fabric is large enough to wrap around all four sides of your board.
If you don’t have an old tablecloth, inexpensive cotton fabric is also a great option for this project.
The tablecloth I used was from Target and is no longer sold, so I’m linking similar ones here.
3. Assemble your board
If you’re using multiple foam boards like I did, glue them together first. We used hot glue because the boards are incredibly lightweight, then reinforced the seam on both the front and back with packing tape for a little extra stability.
As you can see, my six-year-old son had a blast helping with this part of the project!

Step 4: Cut your fabric to size
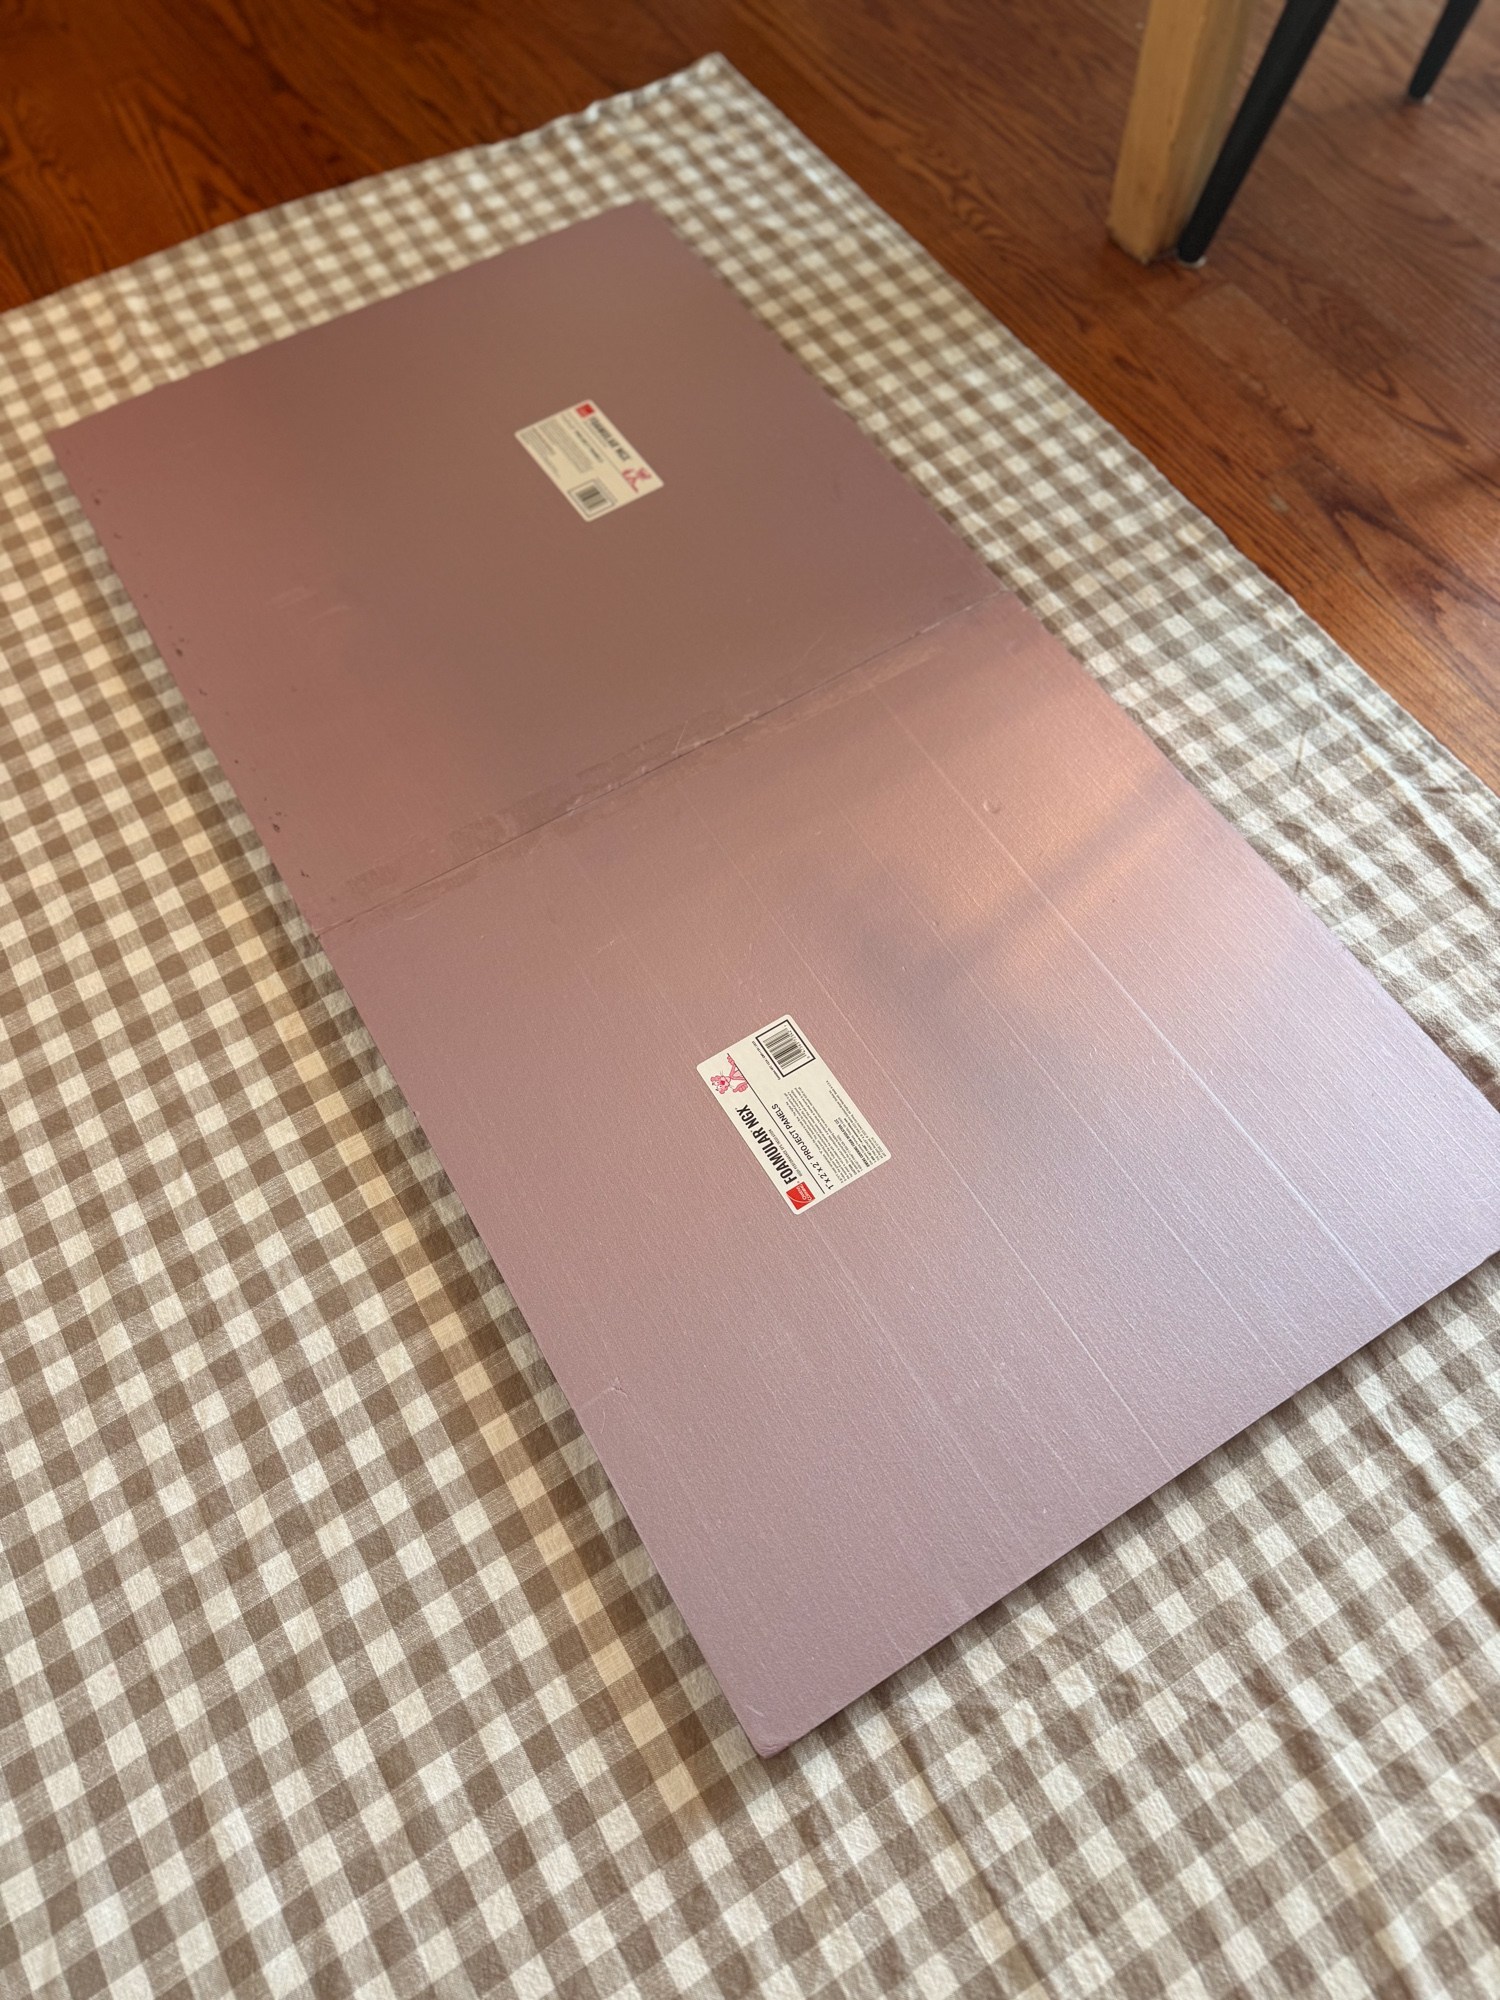
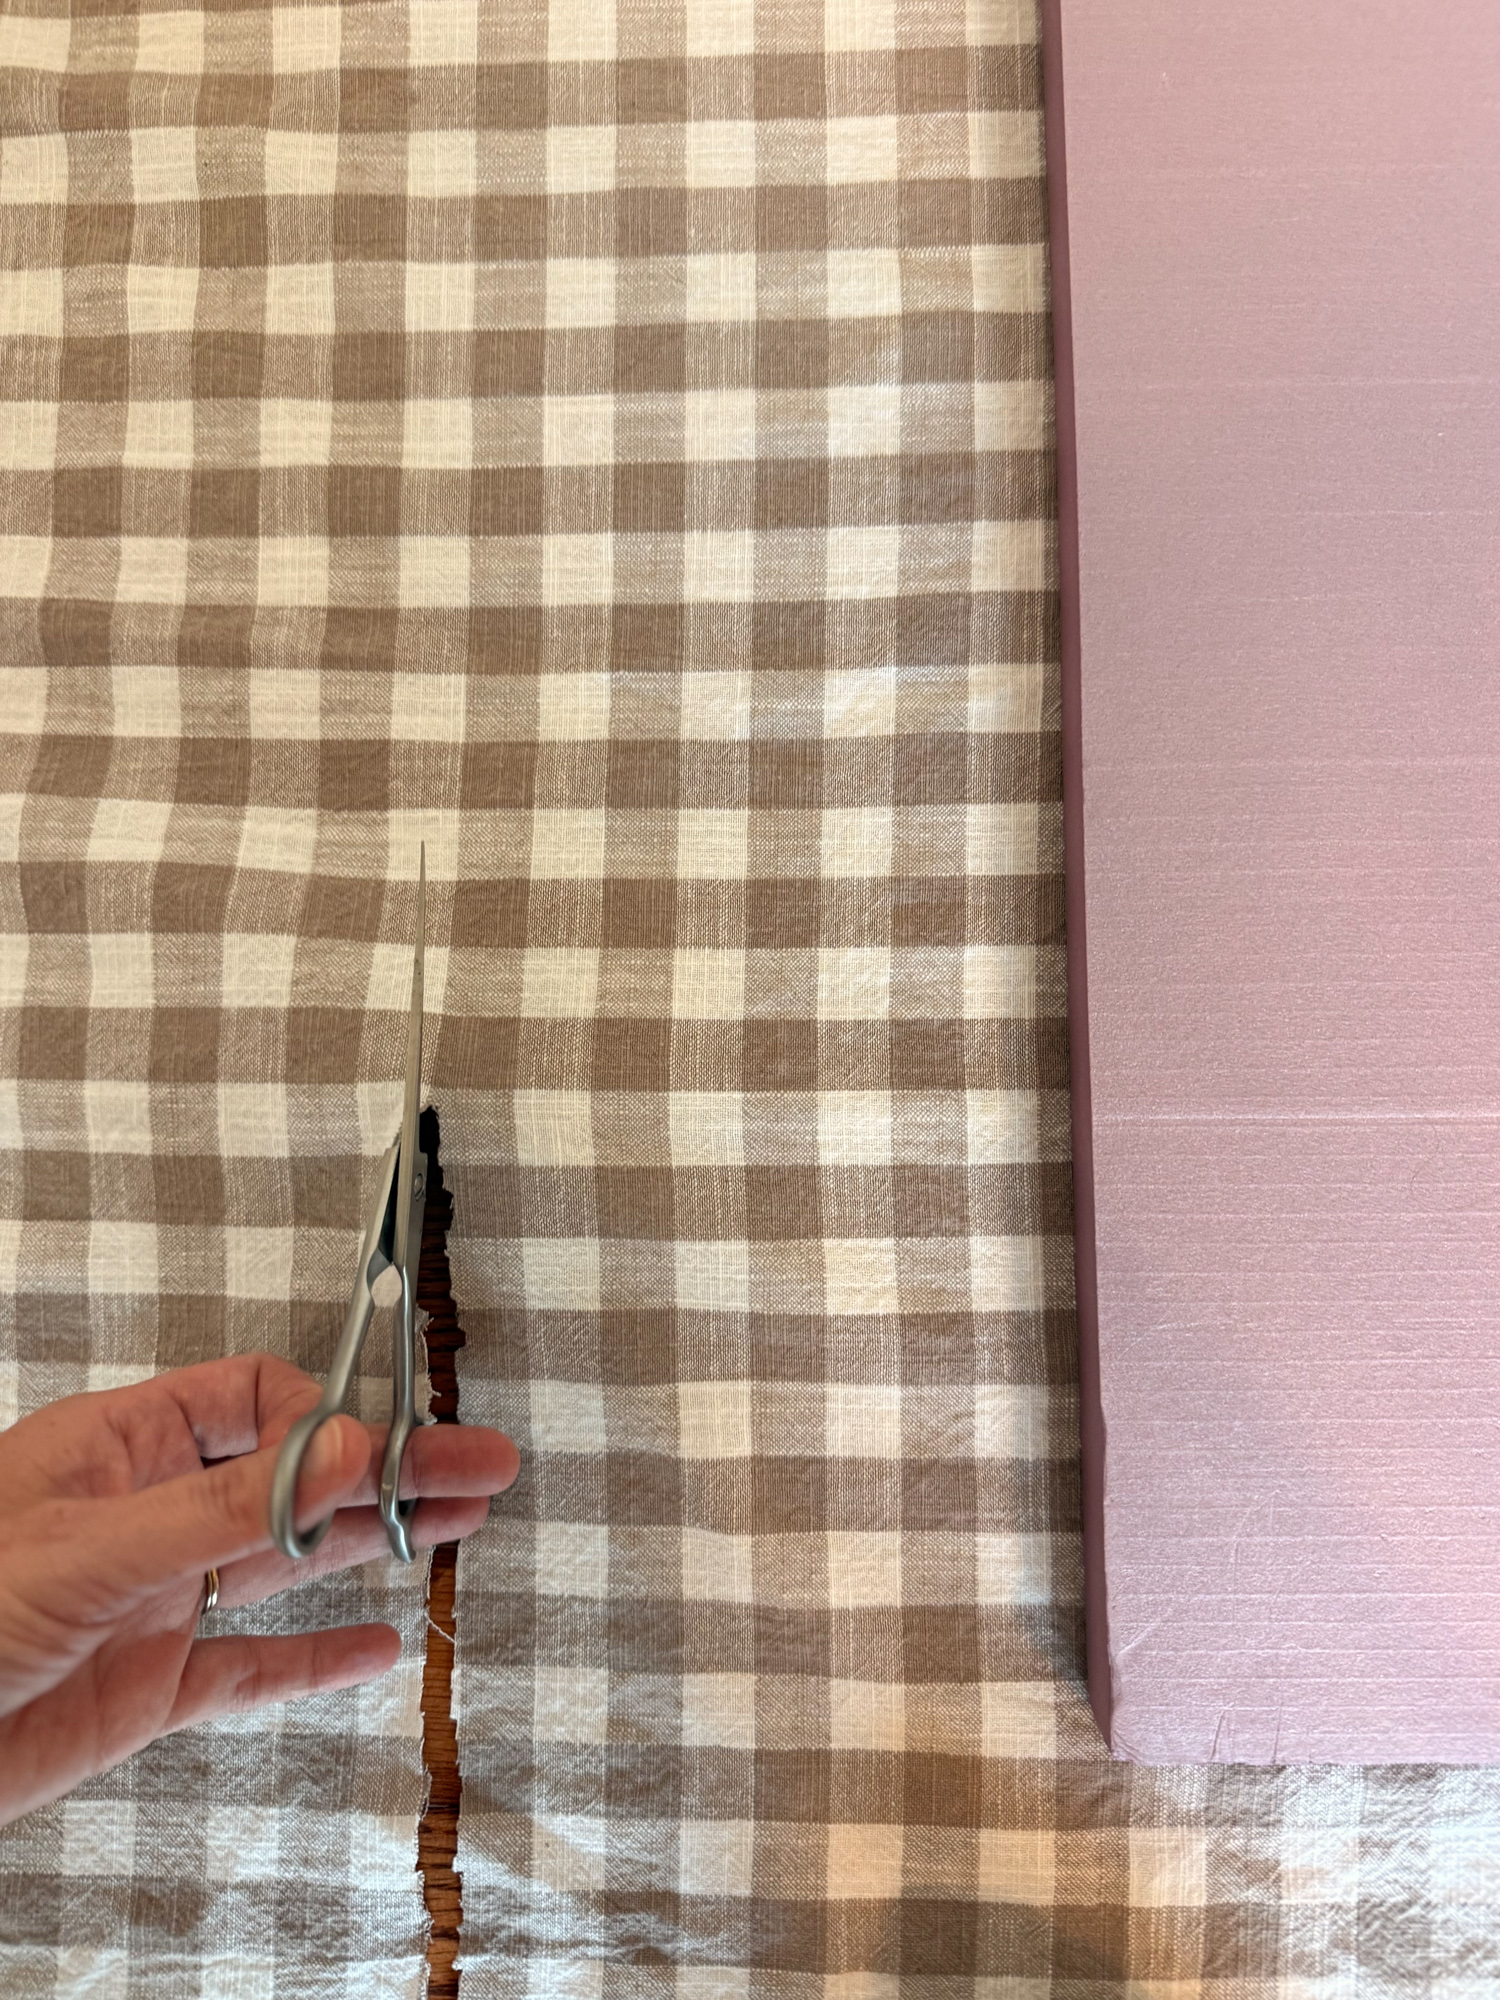
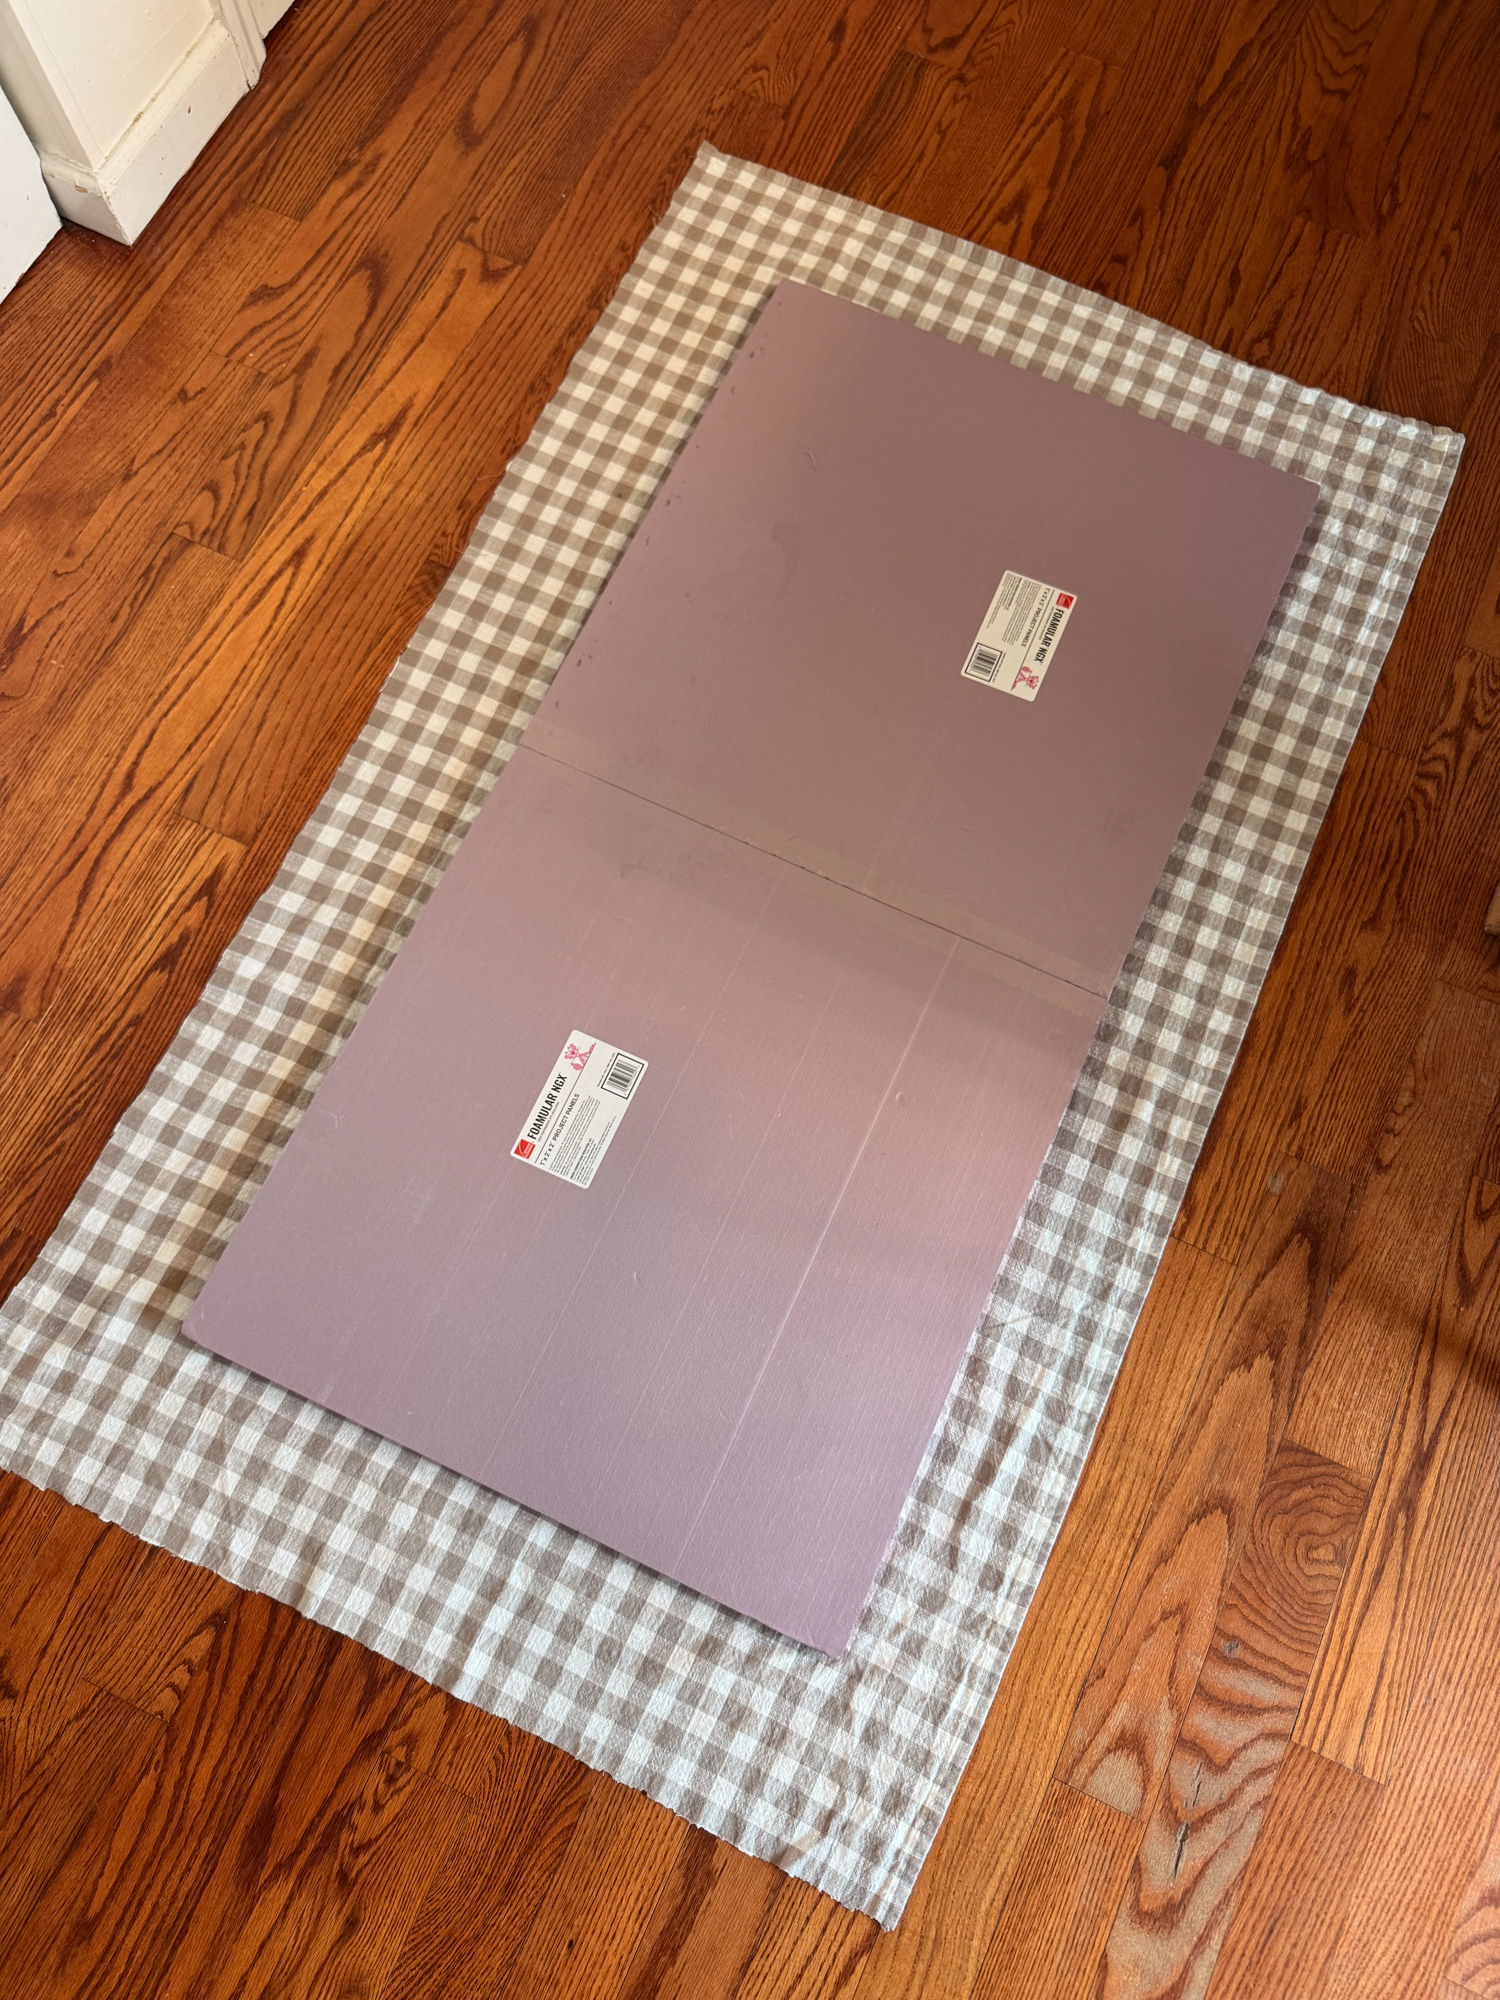
Lay your fabric flat on the floor and place the foam board on top. Trim the fabric, leaving enough extra to wrap around all four sides.
I was thankful this fabric had lines to follow while cutting. I also used hair-cutting scissors (which I definitely don’t recommend!). If you have fabric scissors, now is the time to use them. They’ll make this step much easier.
5. Glue the fabric to the board
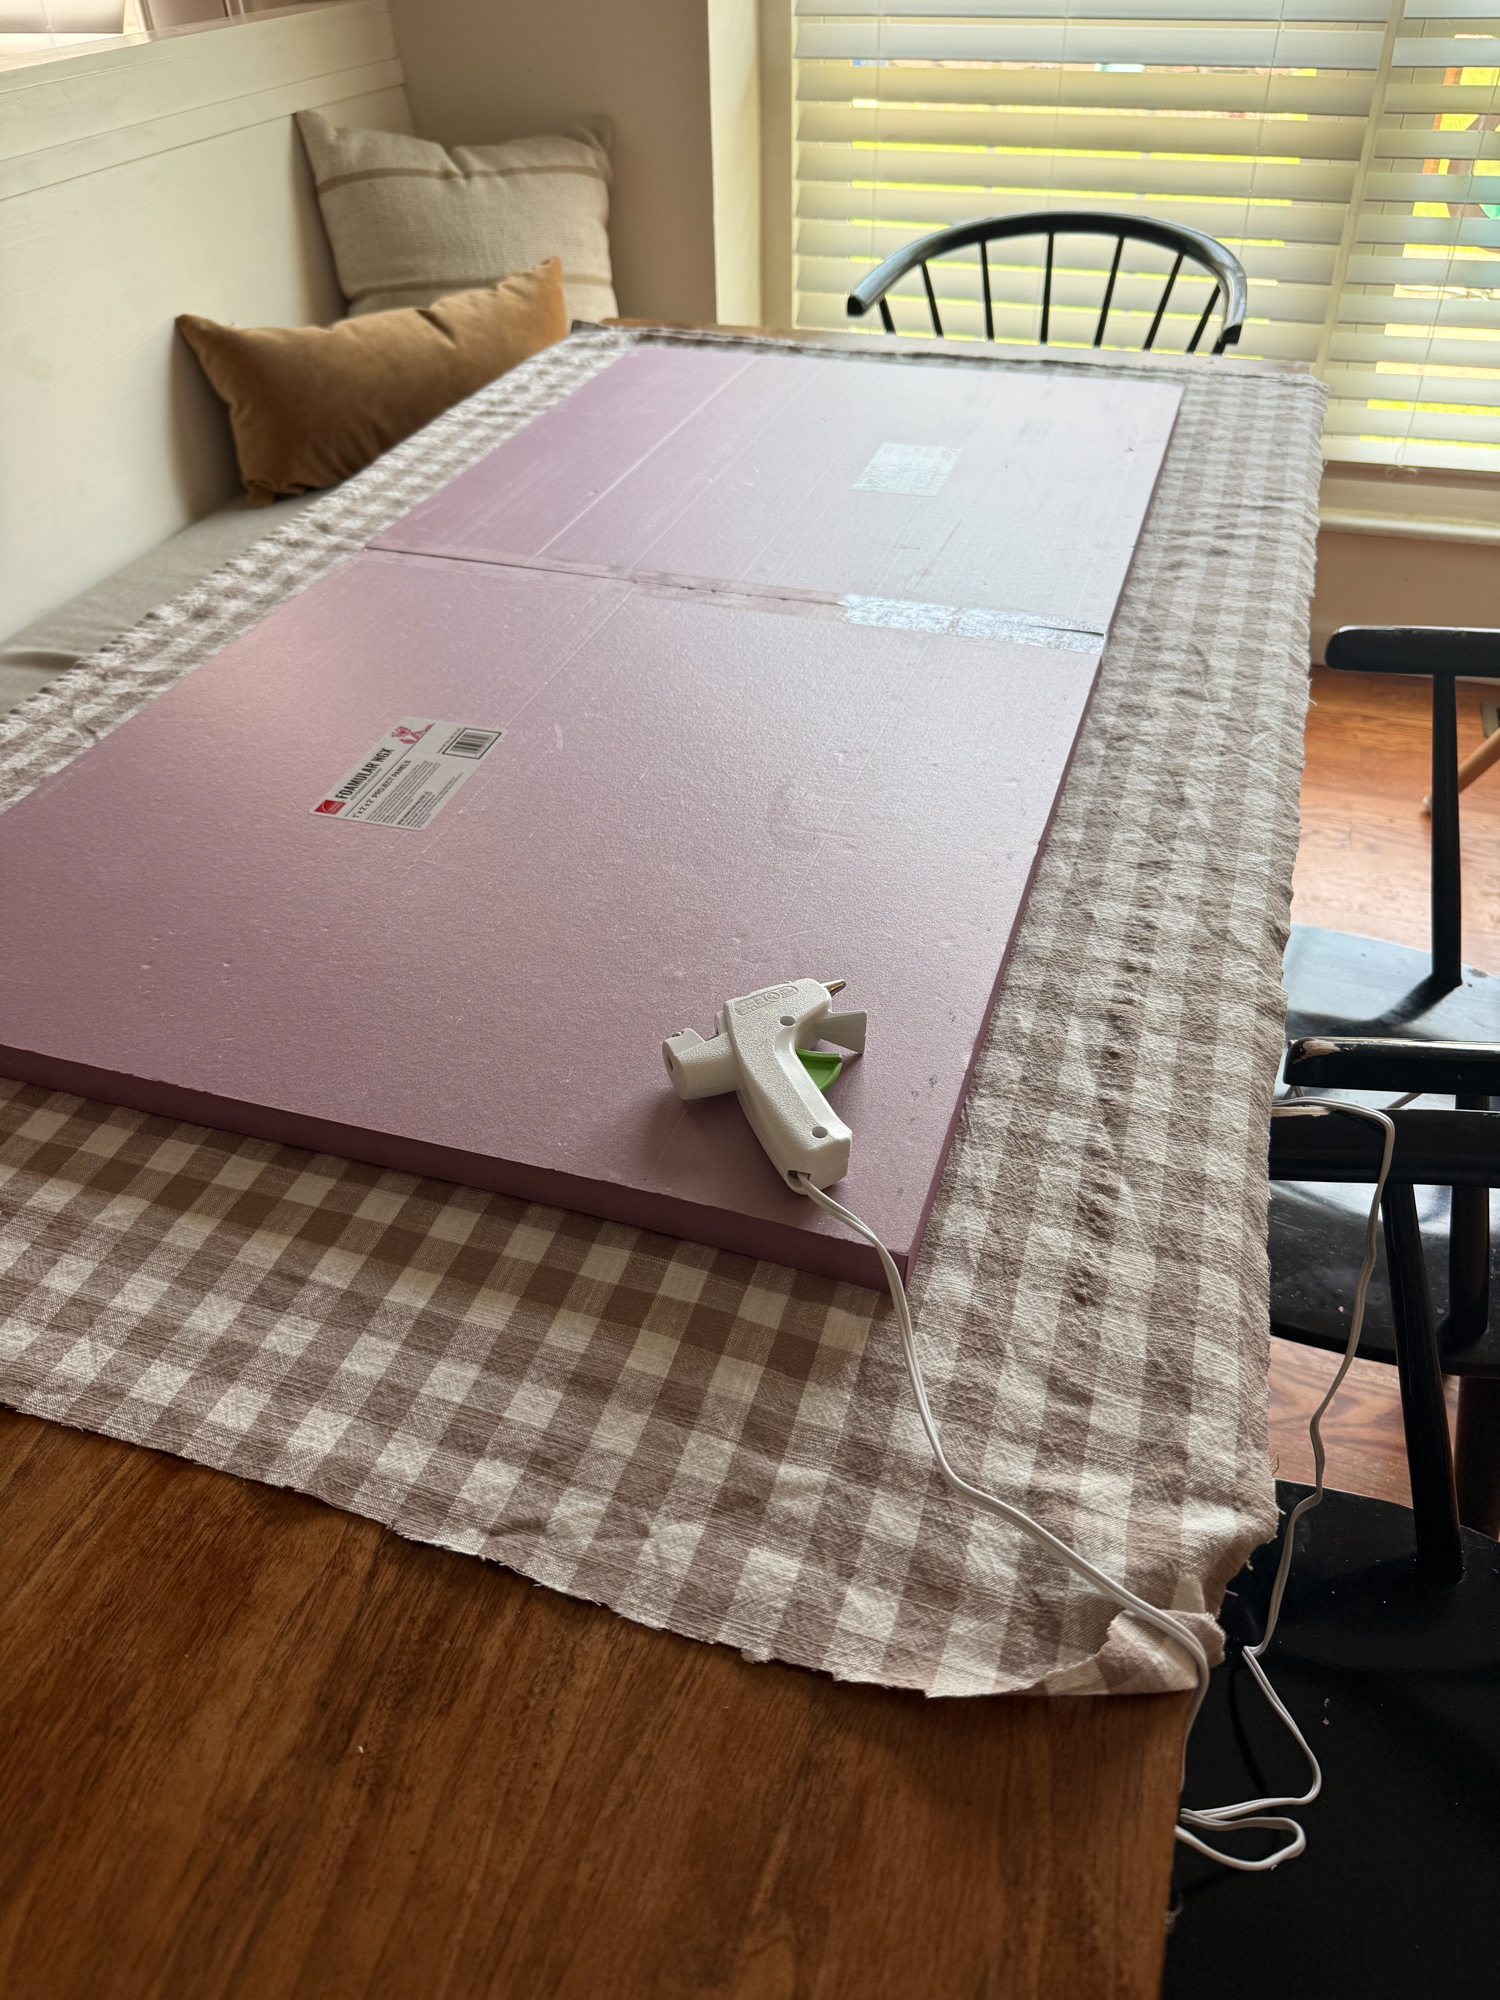
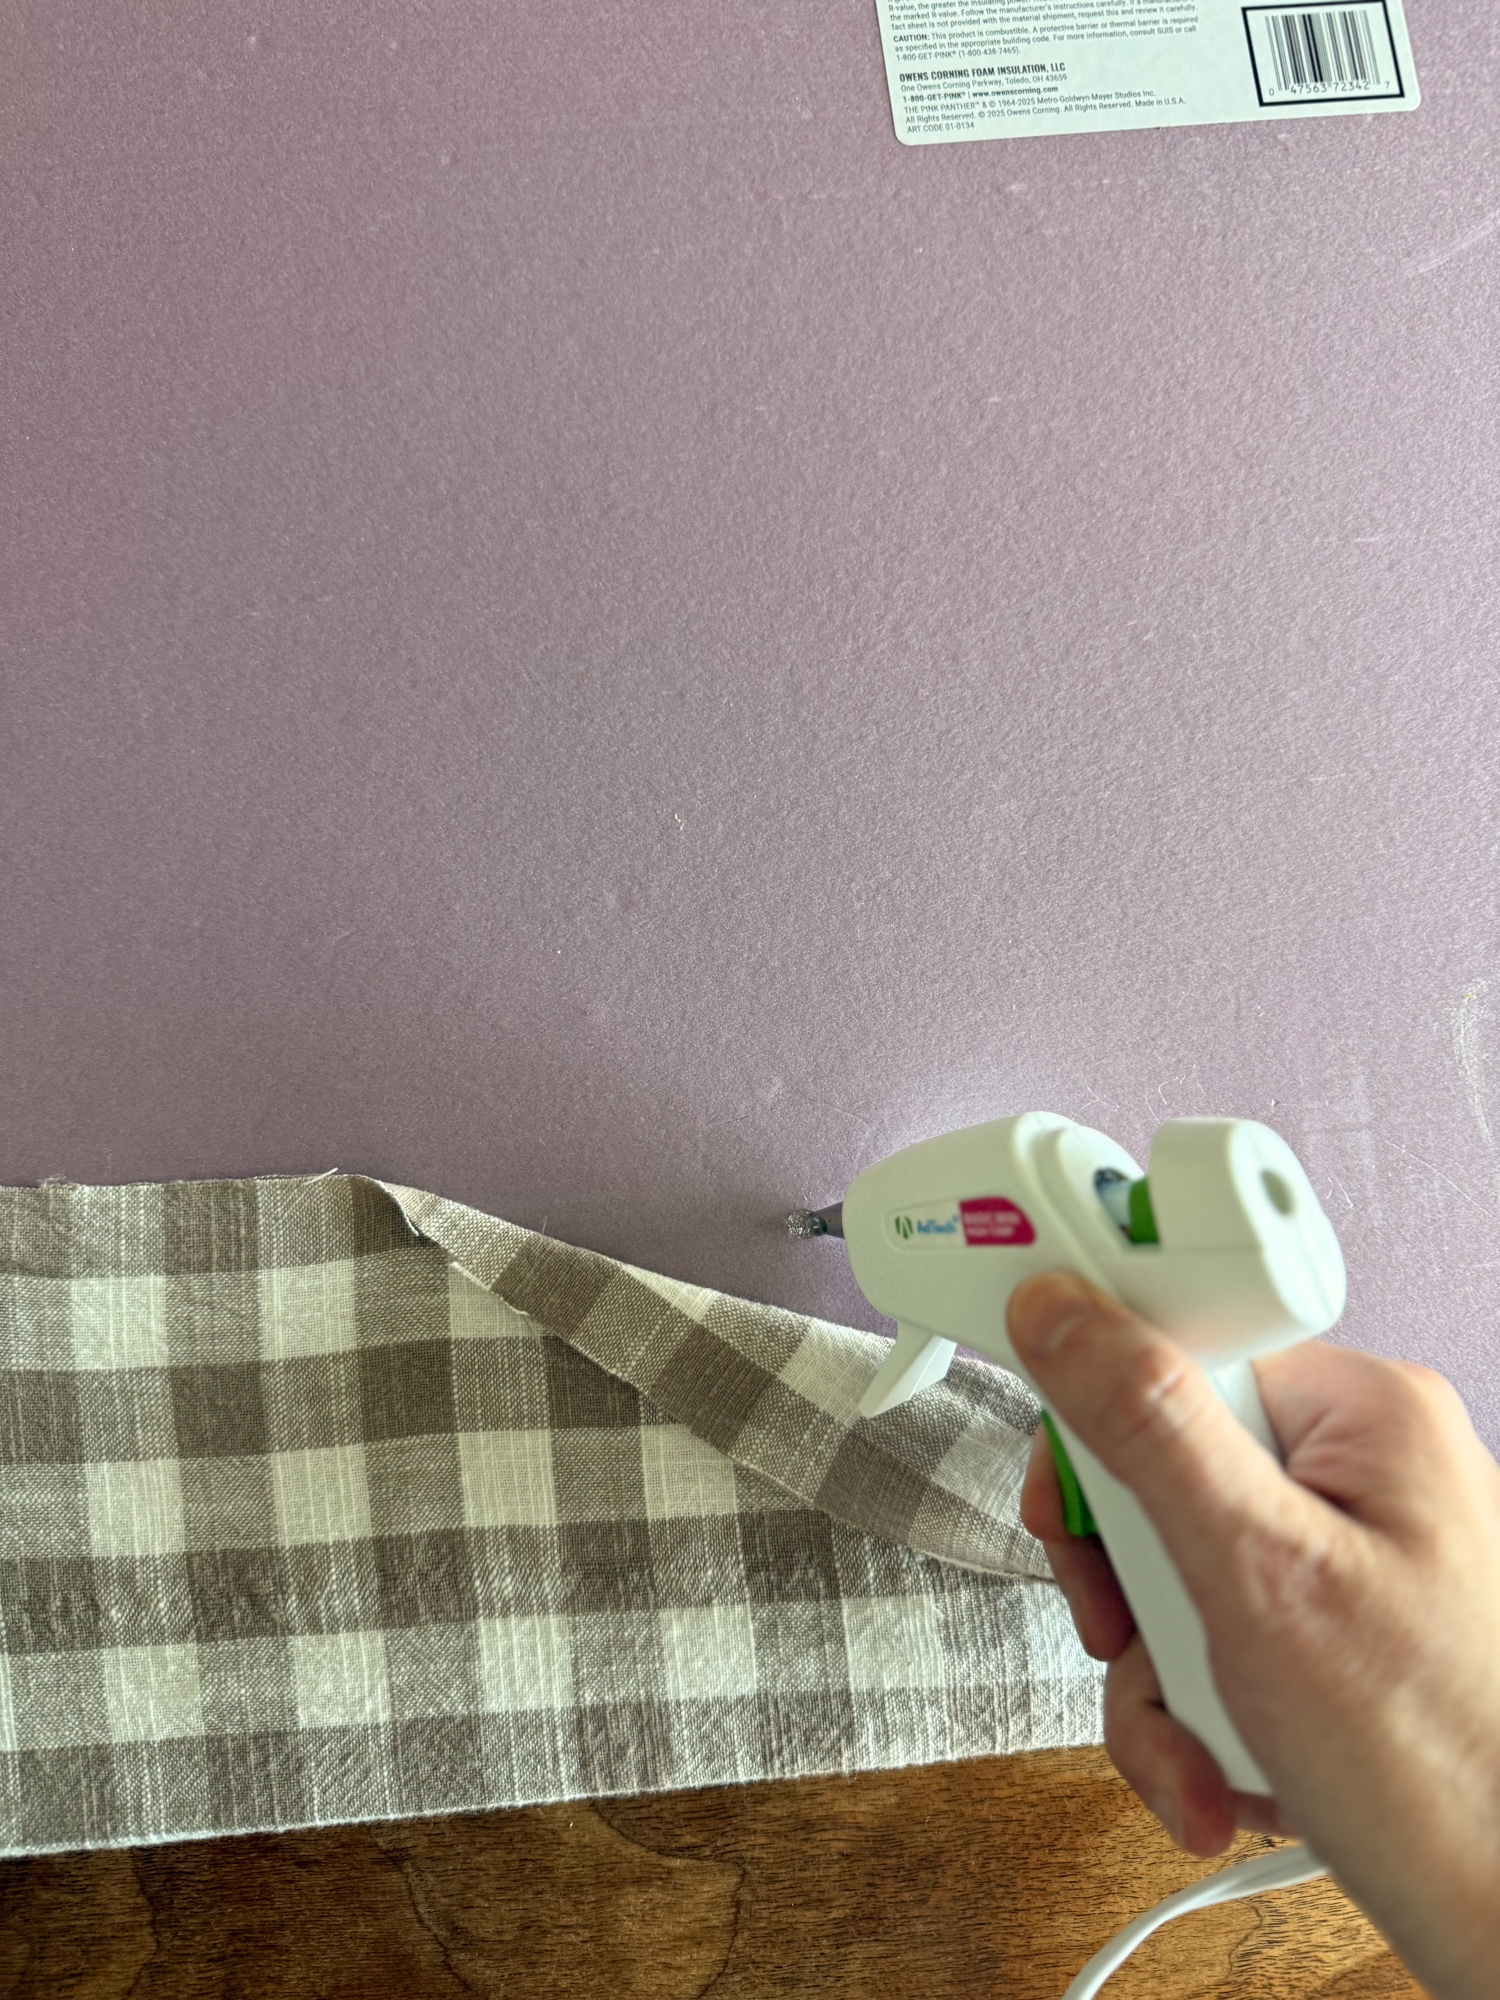
Start by gluing the two long sides of the fabric to the back of the board. Leave the two ends unglued for now.
As you work, pull the fabric nice and tight so the front stays smooth and wrinkle-free. I started by adding small dots of hot glue every inch or so before switching to longer lines of glue. Both methods worked well, so don’t overthink it.
If your fabric has stripes or a visible pattern, use those as a guide to help keep everything straight.
Step 6: Wrap and glue the ends
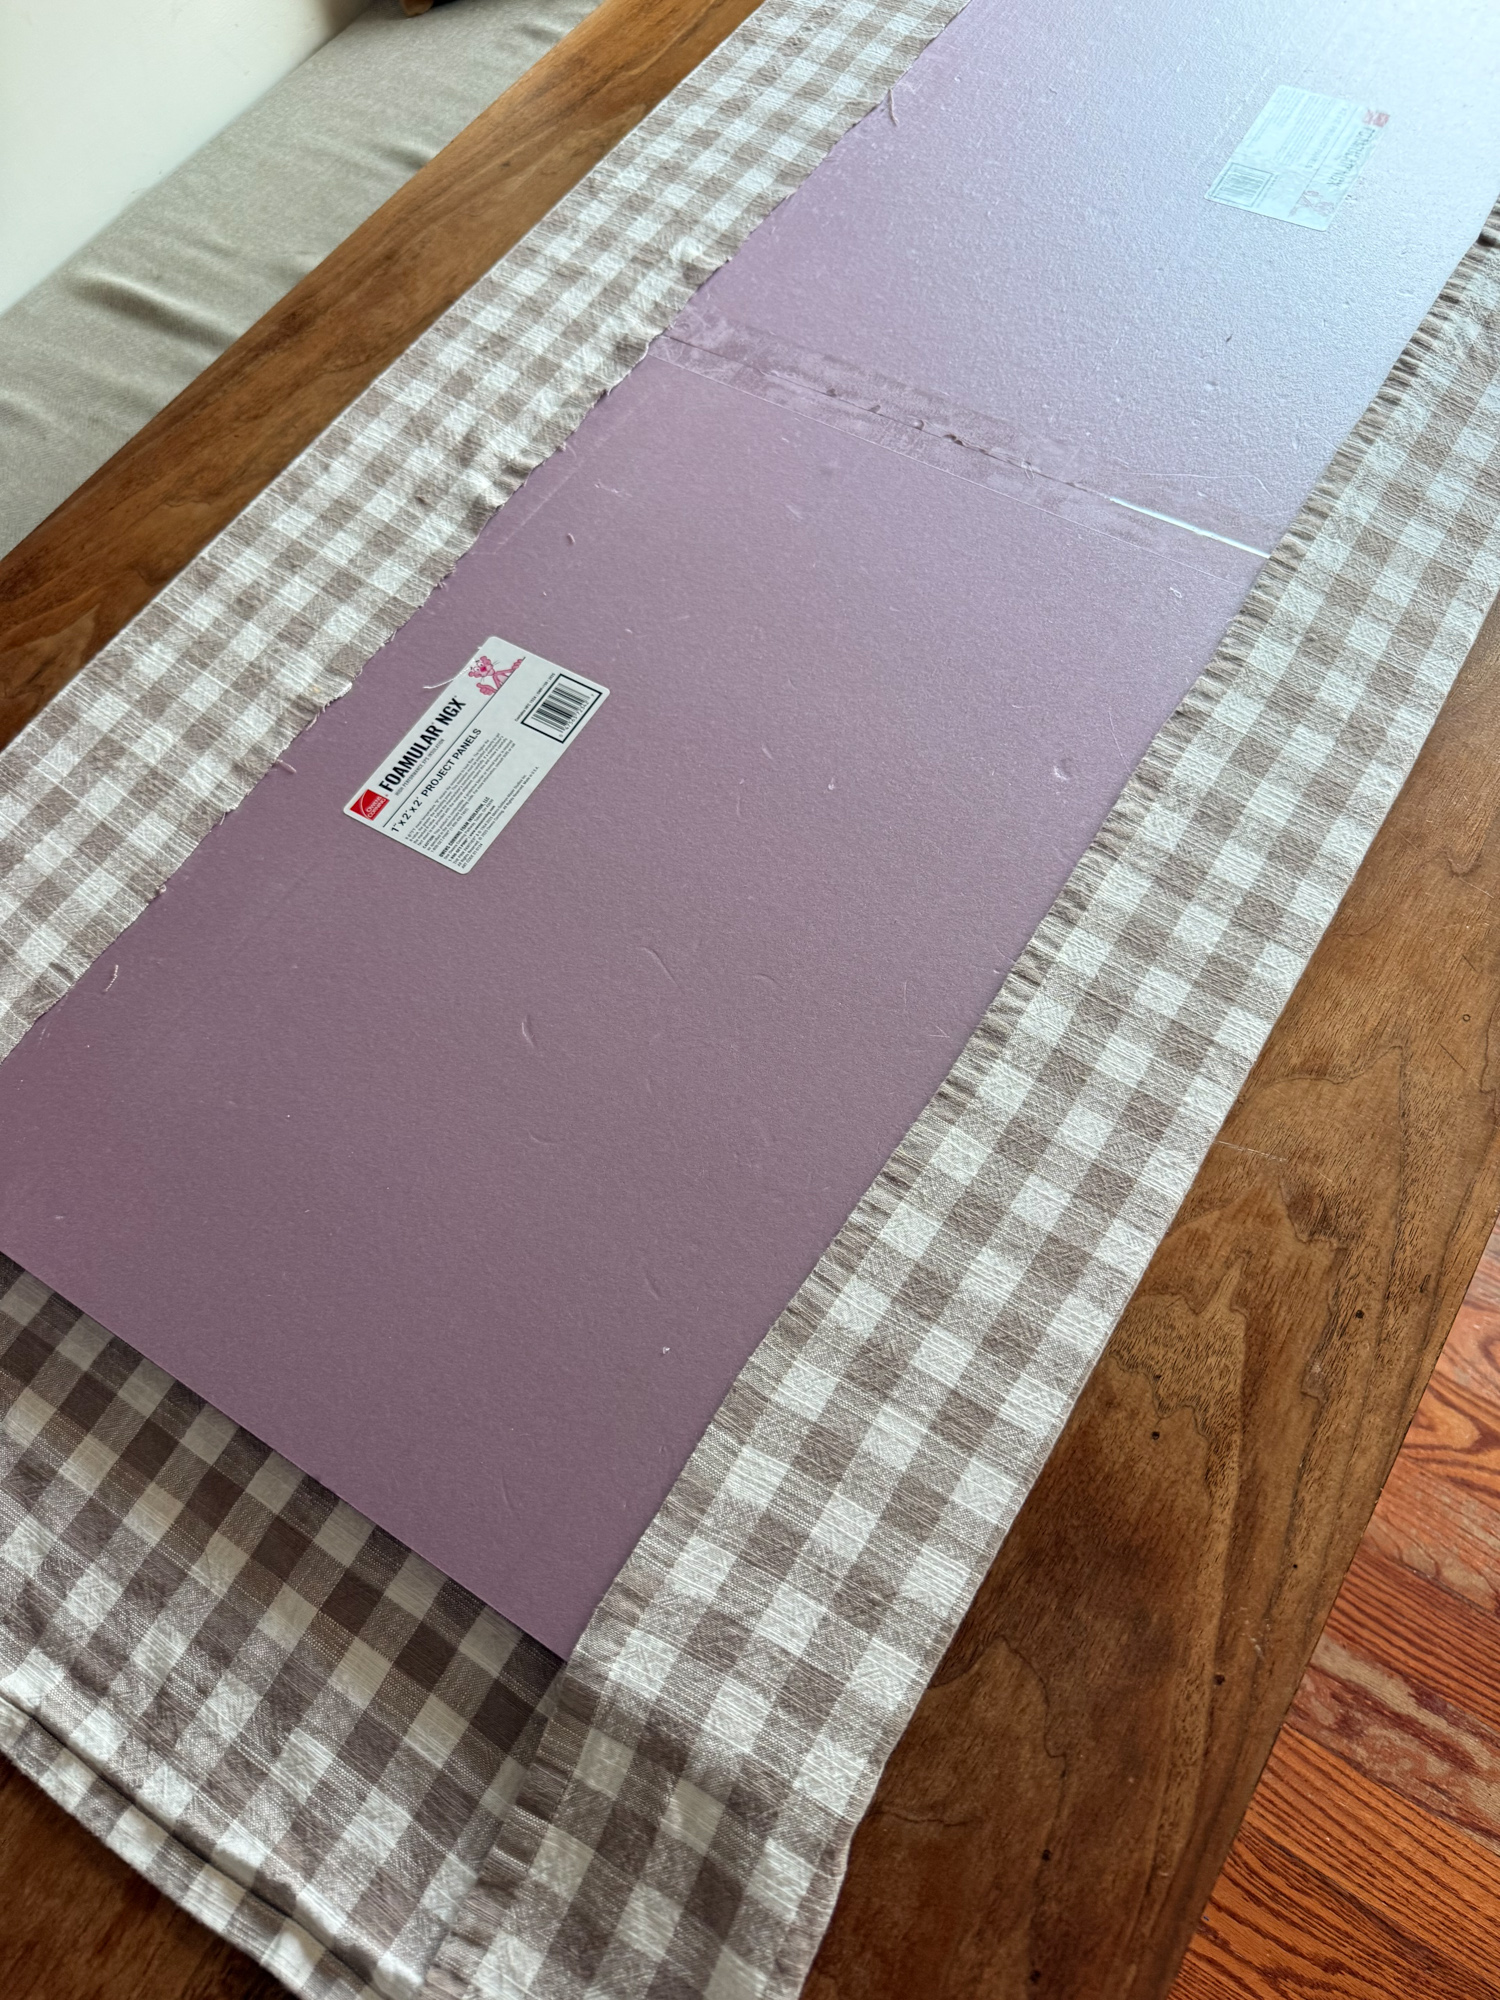
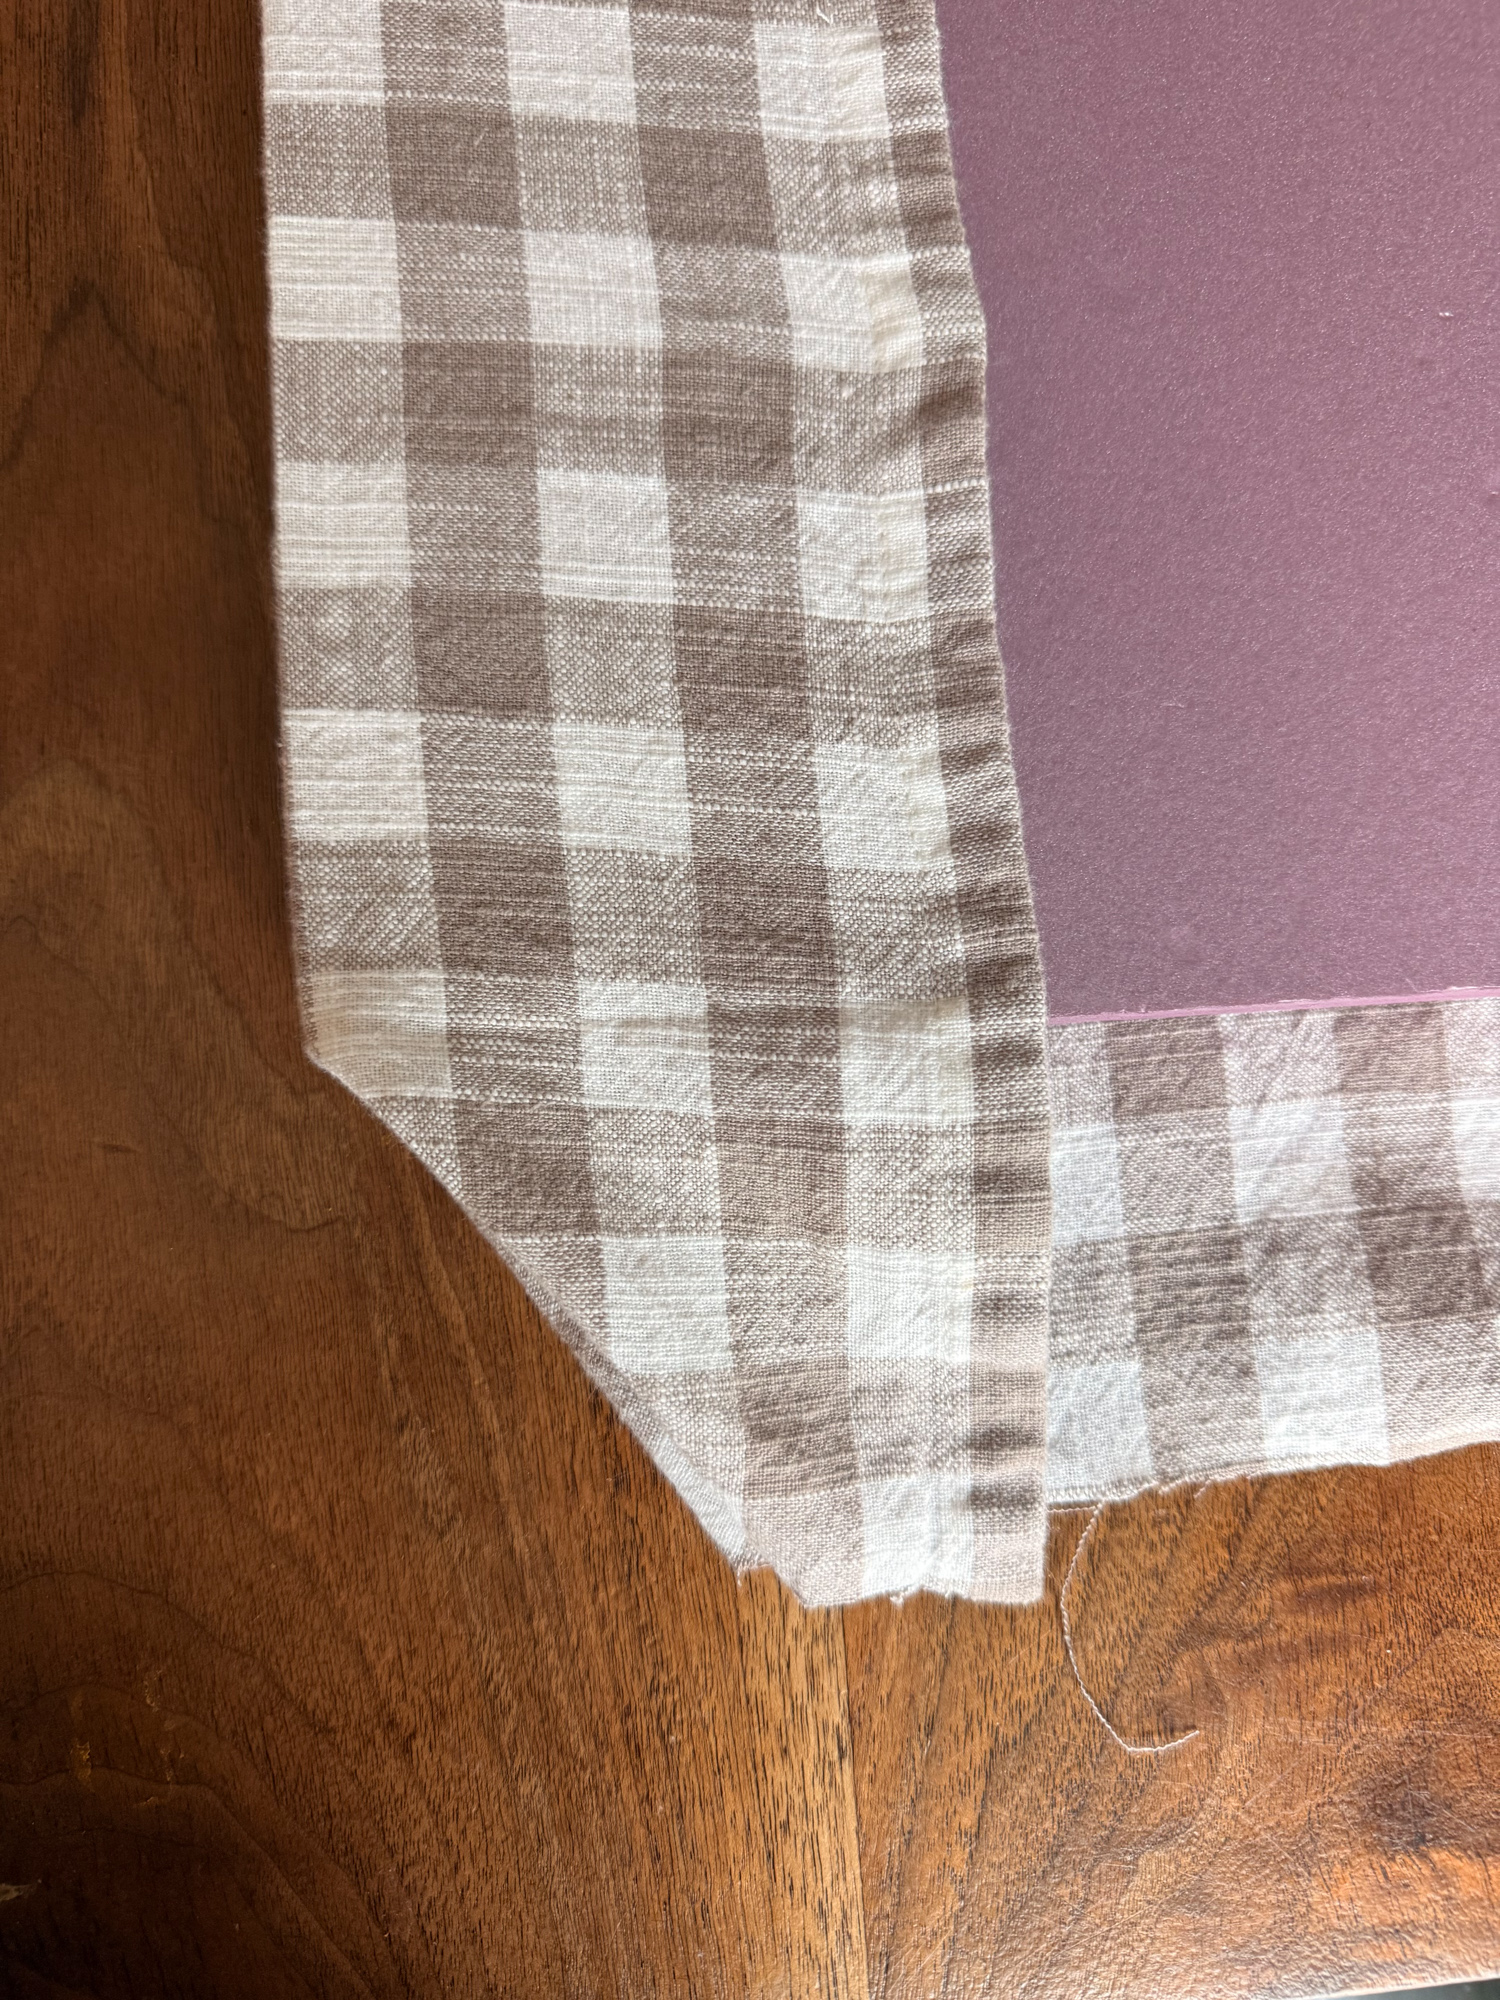
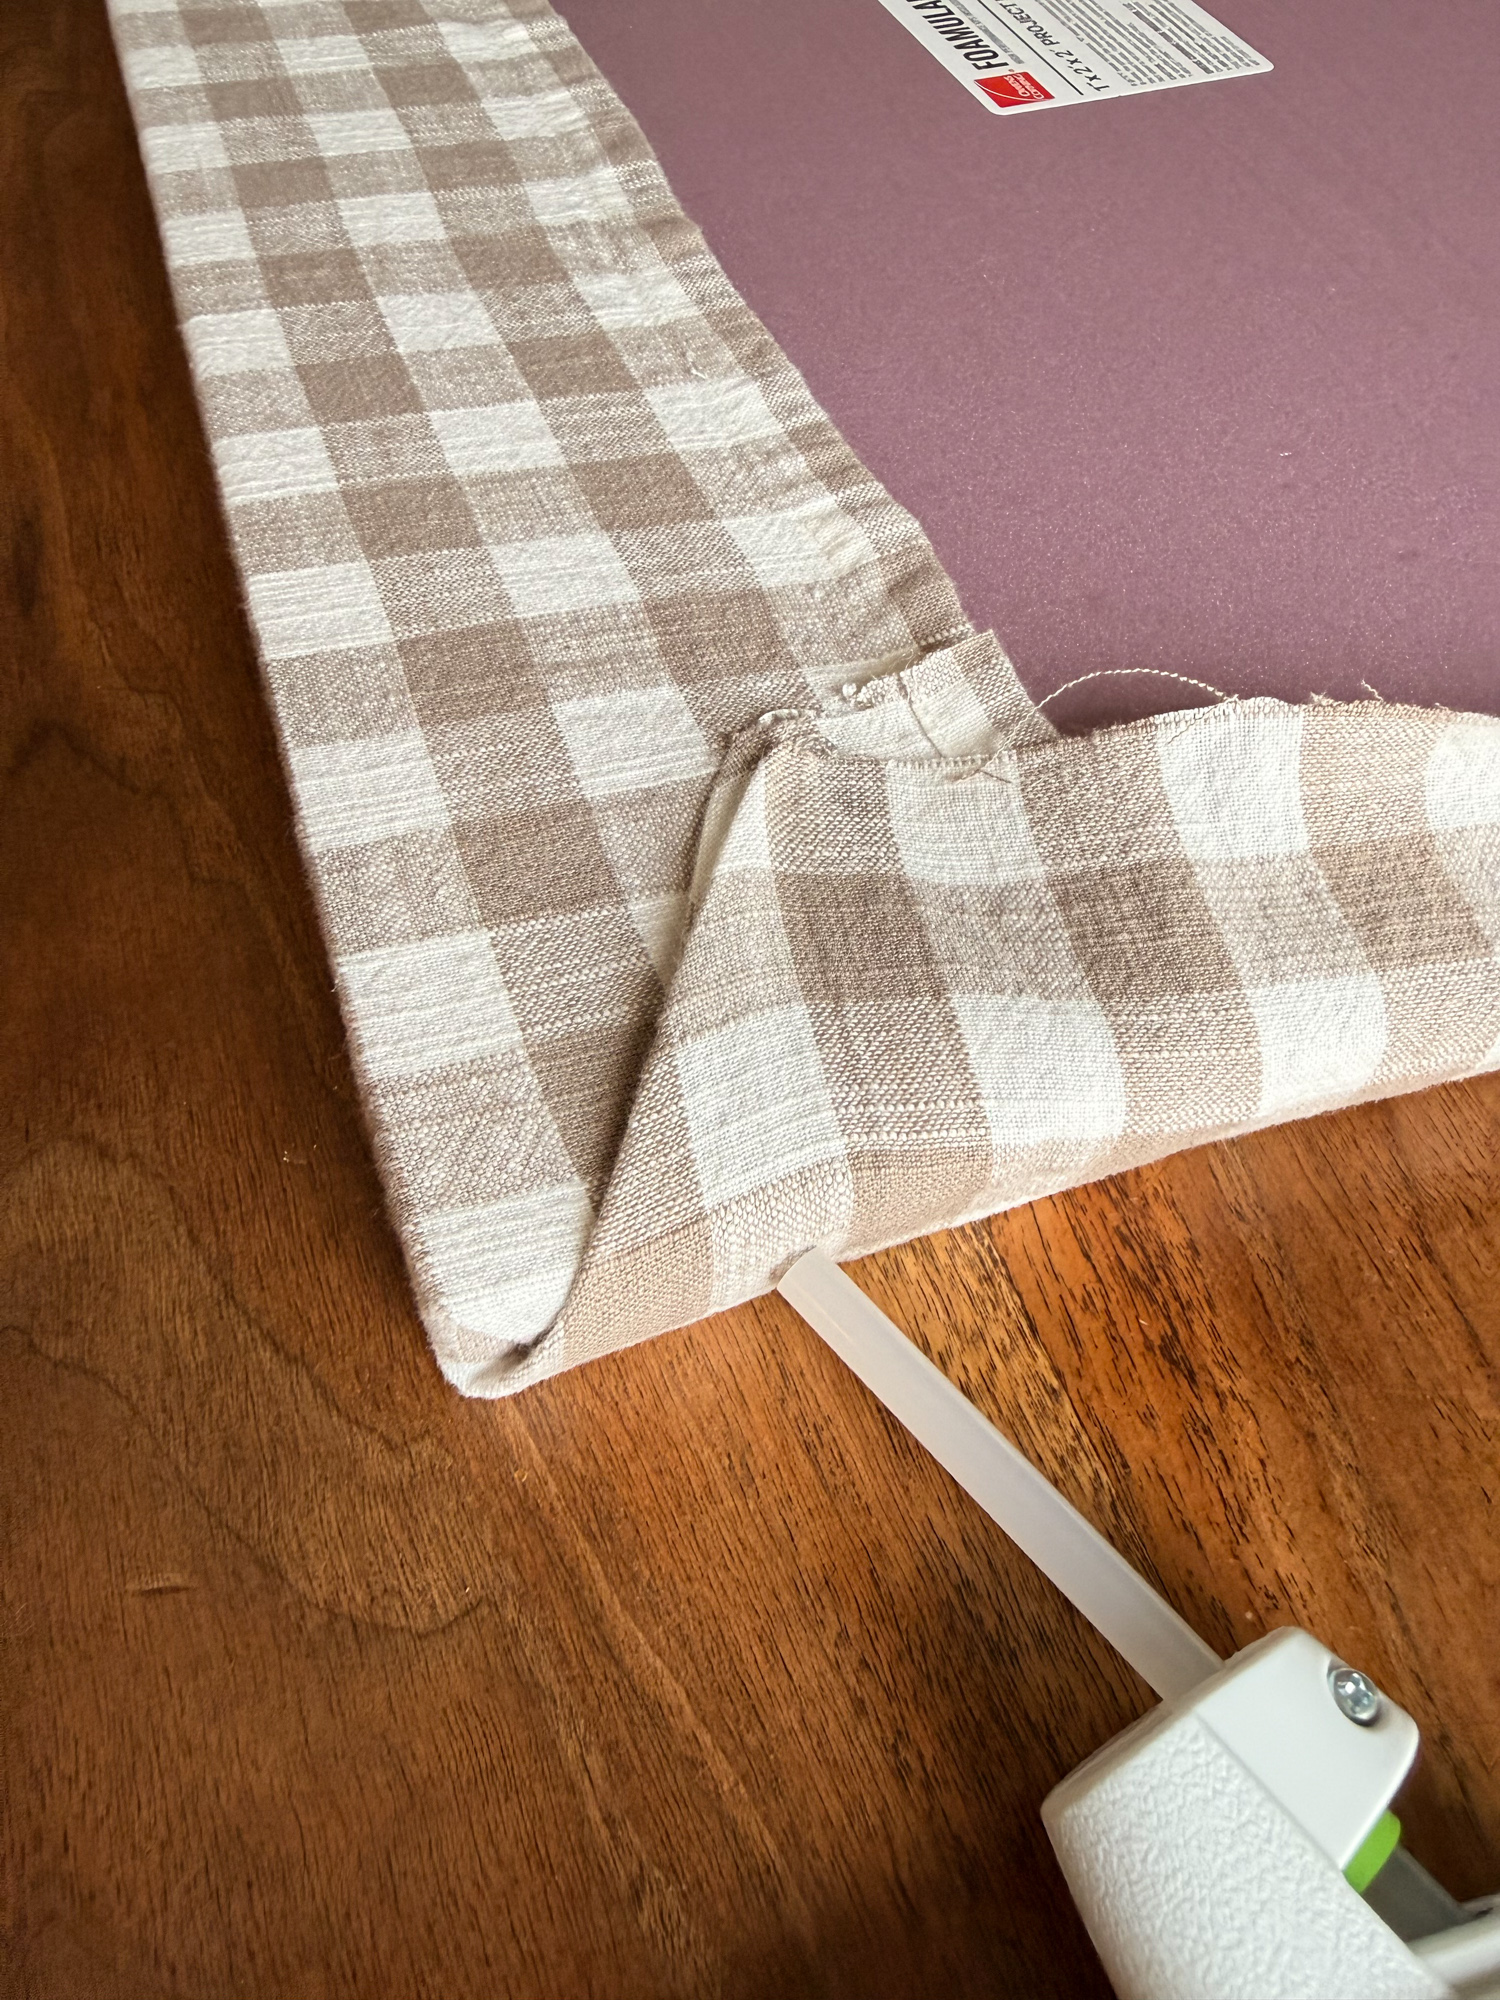
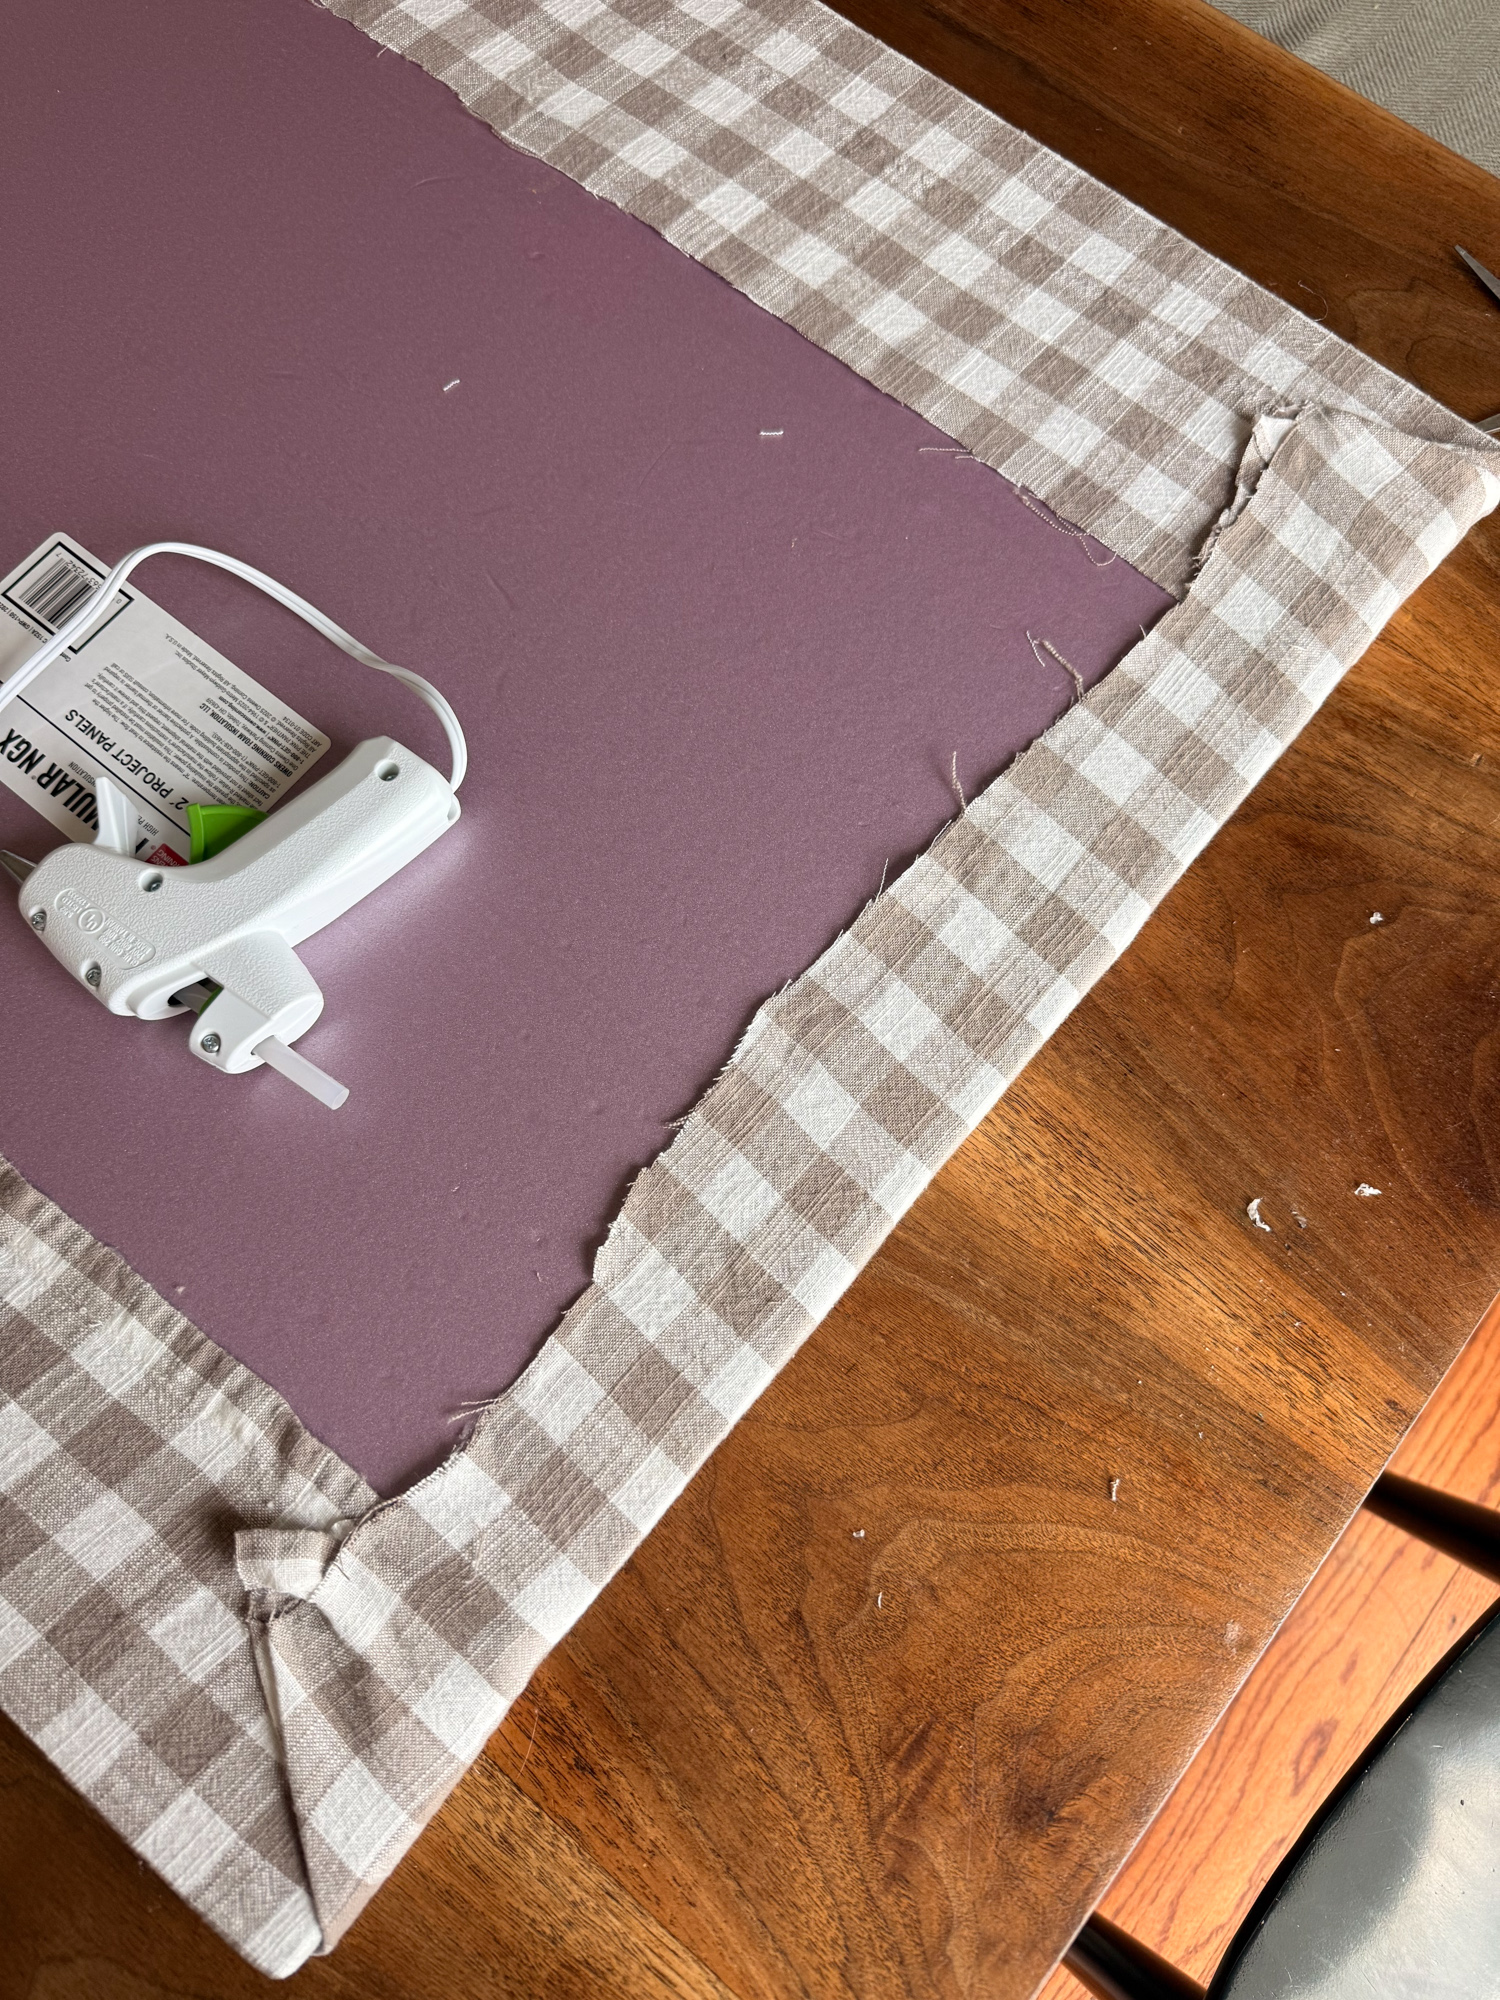
Once the sides are secure, it’s time to finish the ends. I realized I had left myself a little too much extra fabric, so I trimmed it down before wrapping each end just like you would wrap the end of a present. This gives the ends a more polished look!
Will the back look absolutely perfect? Probably not, mine sure doesn’t! But once it’s hanging on the wall, no one will ever know! Even if the back isn’t perfect, the front beautifully showcases your favorite pieces.
7. Add staples for extra security (optional)
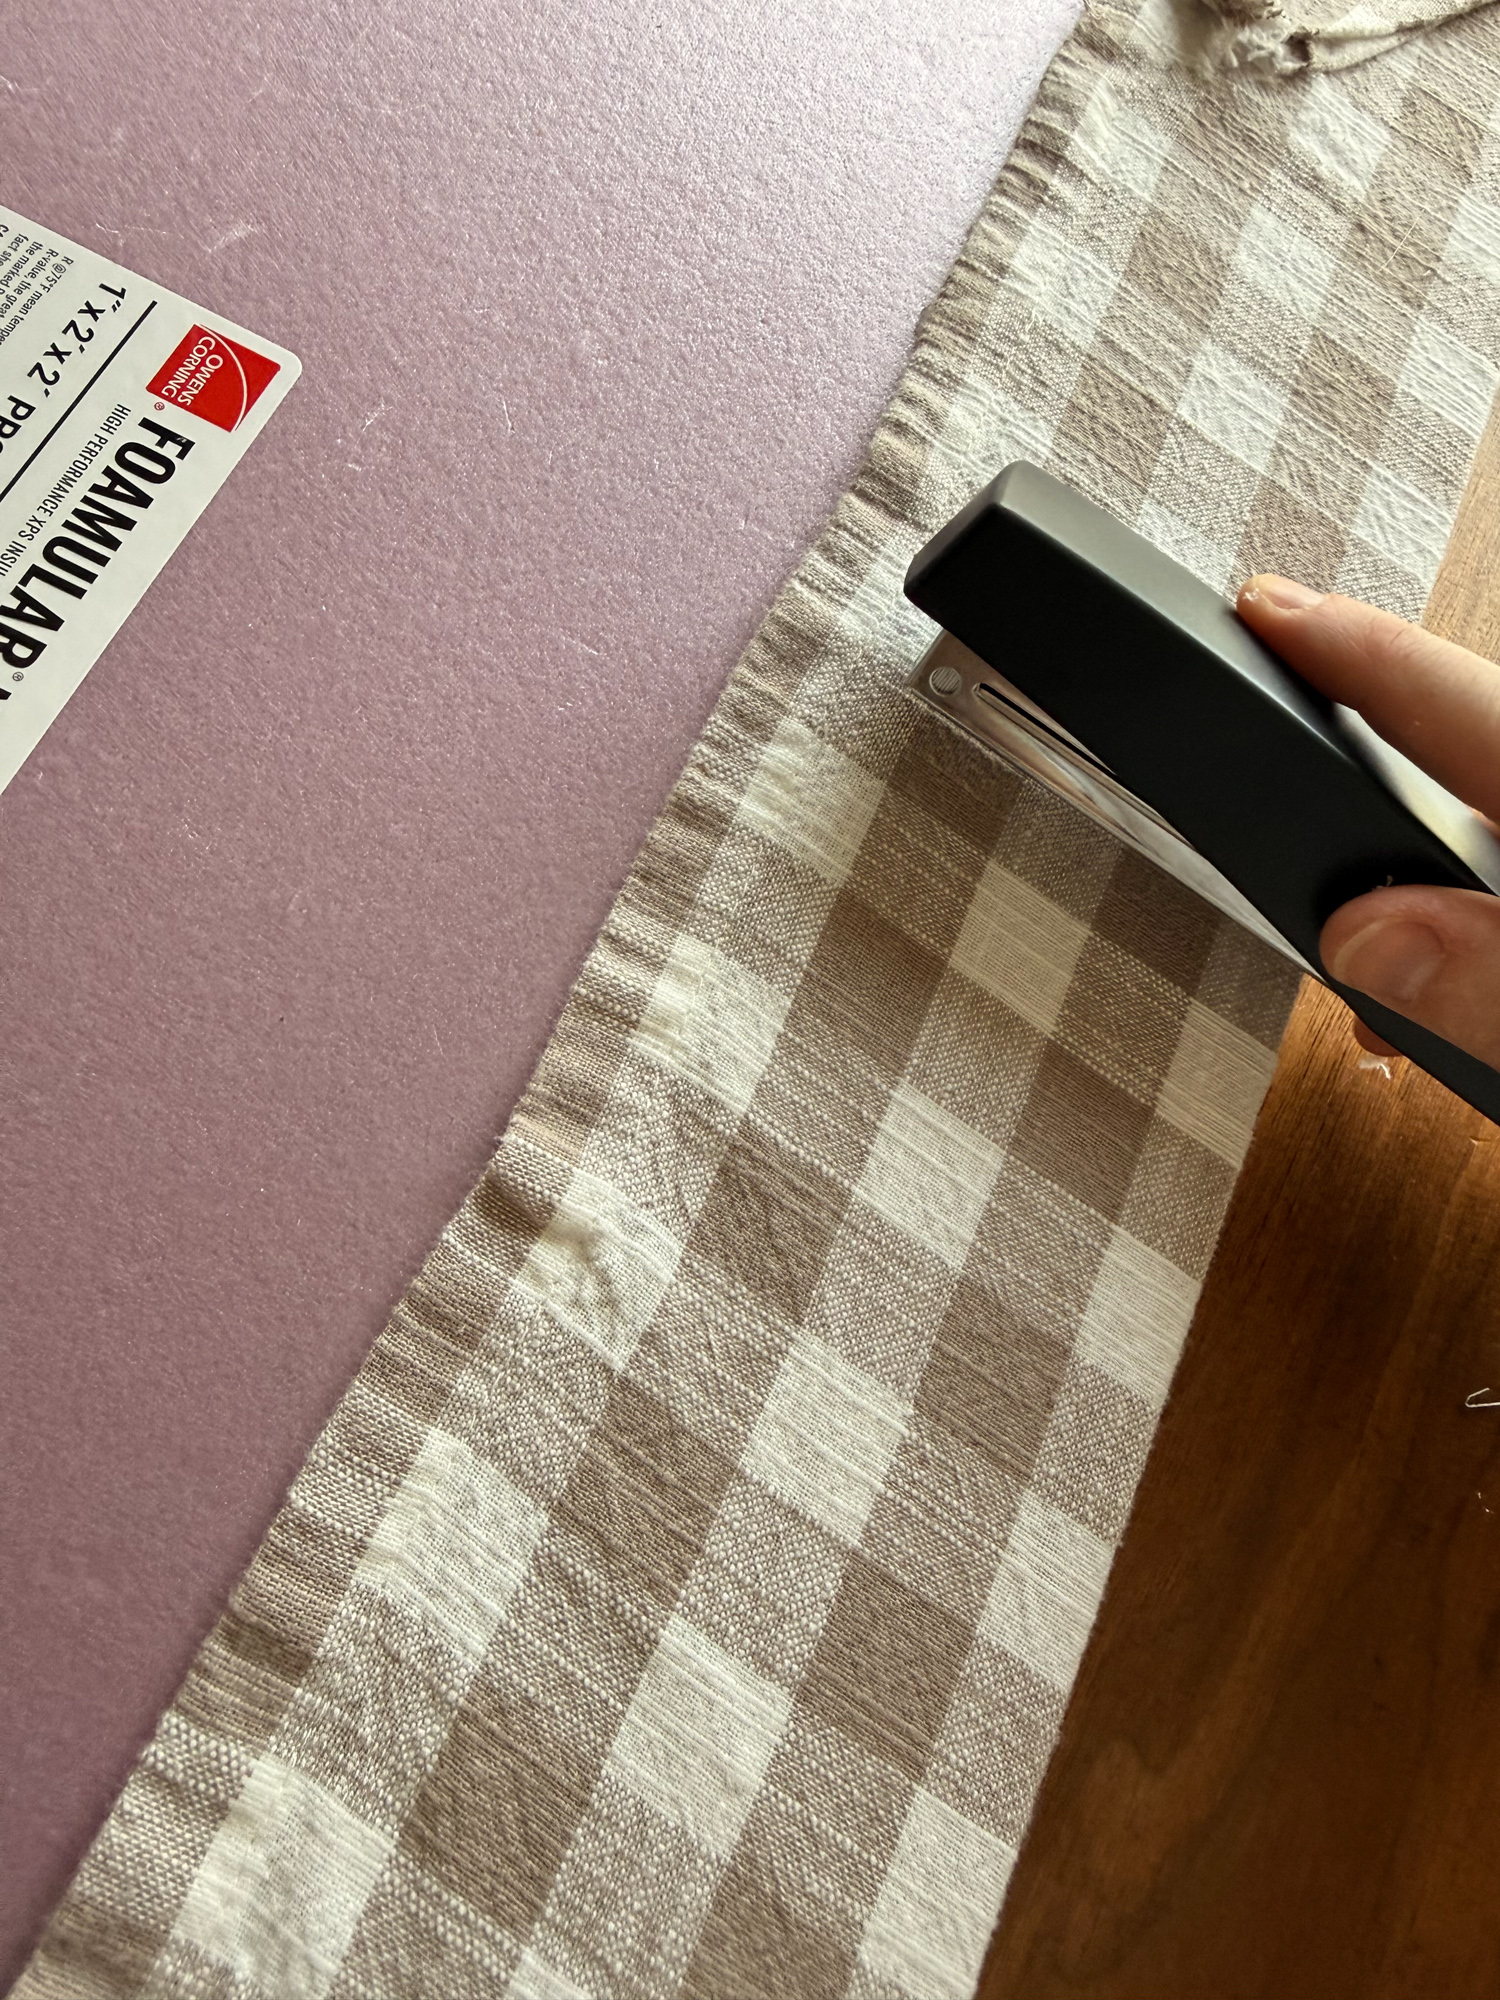
This step is completely optional, but I wanted to make sure this fabric wasn’t budging!
I used a regular office stapler to add a few staples around the corners and sporadically along the edges. Between the hot glue and staples, this fabric isn’t going anywhere!
8. Hang with one nail or command strips.
We already had a brad nail in the exact right spot that we had used for a photo frame. I simply poked the brad nail through the back of the foam, and then secured the bottom with a command strip.
This board is truly so light that command strips on each corner would easily hold it.
8. Enjoy your beautiful new art display!
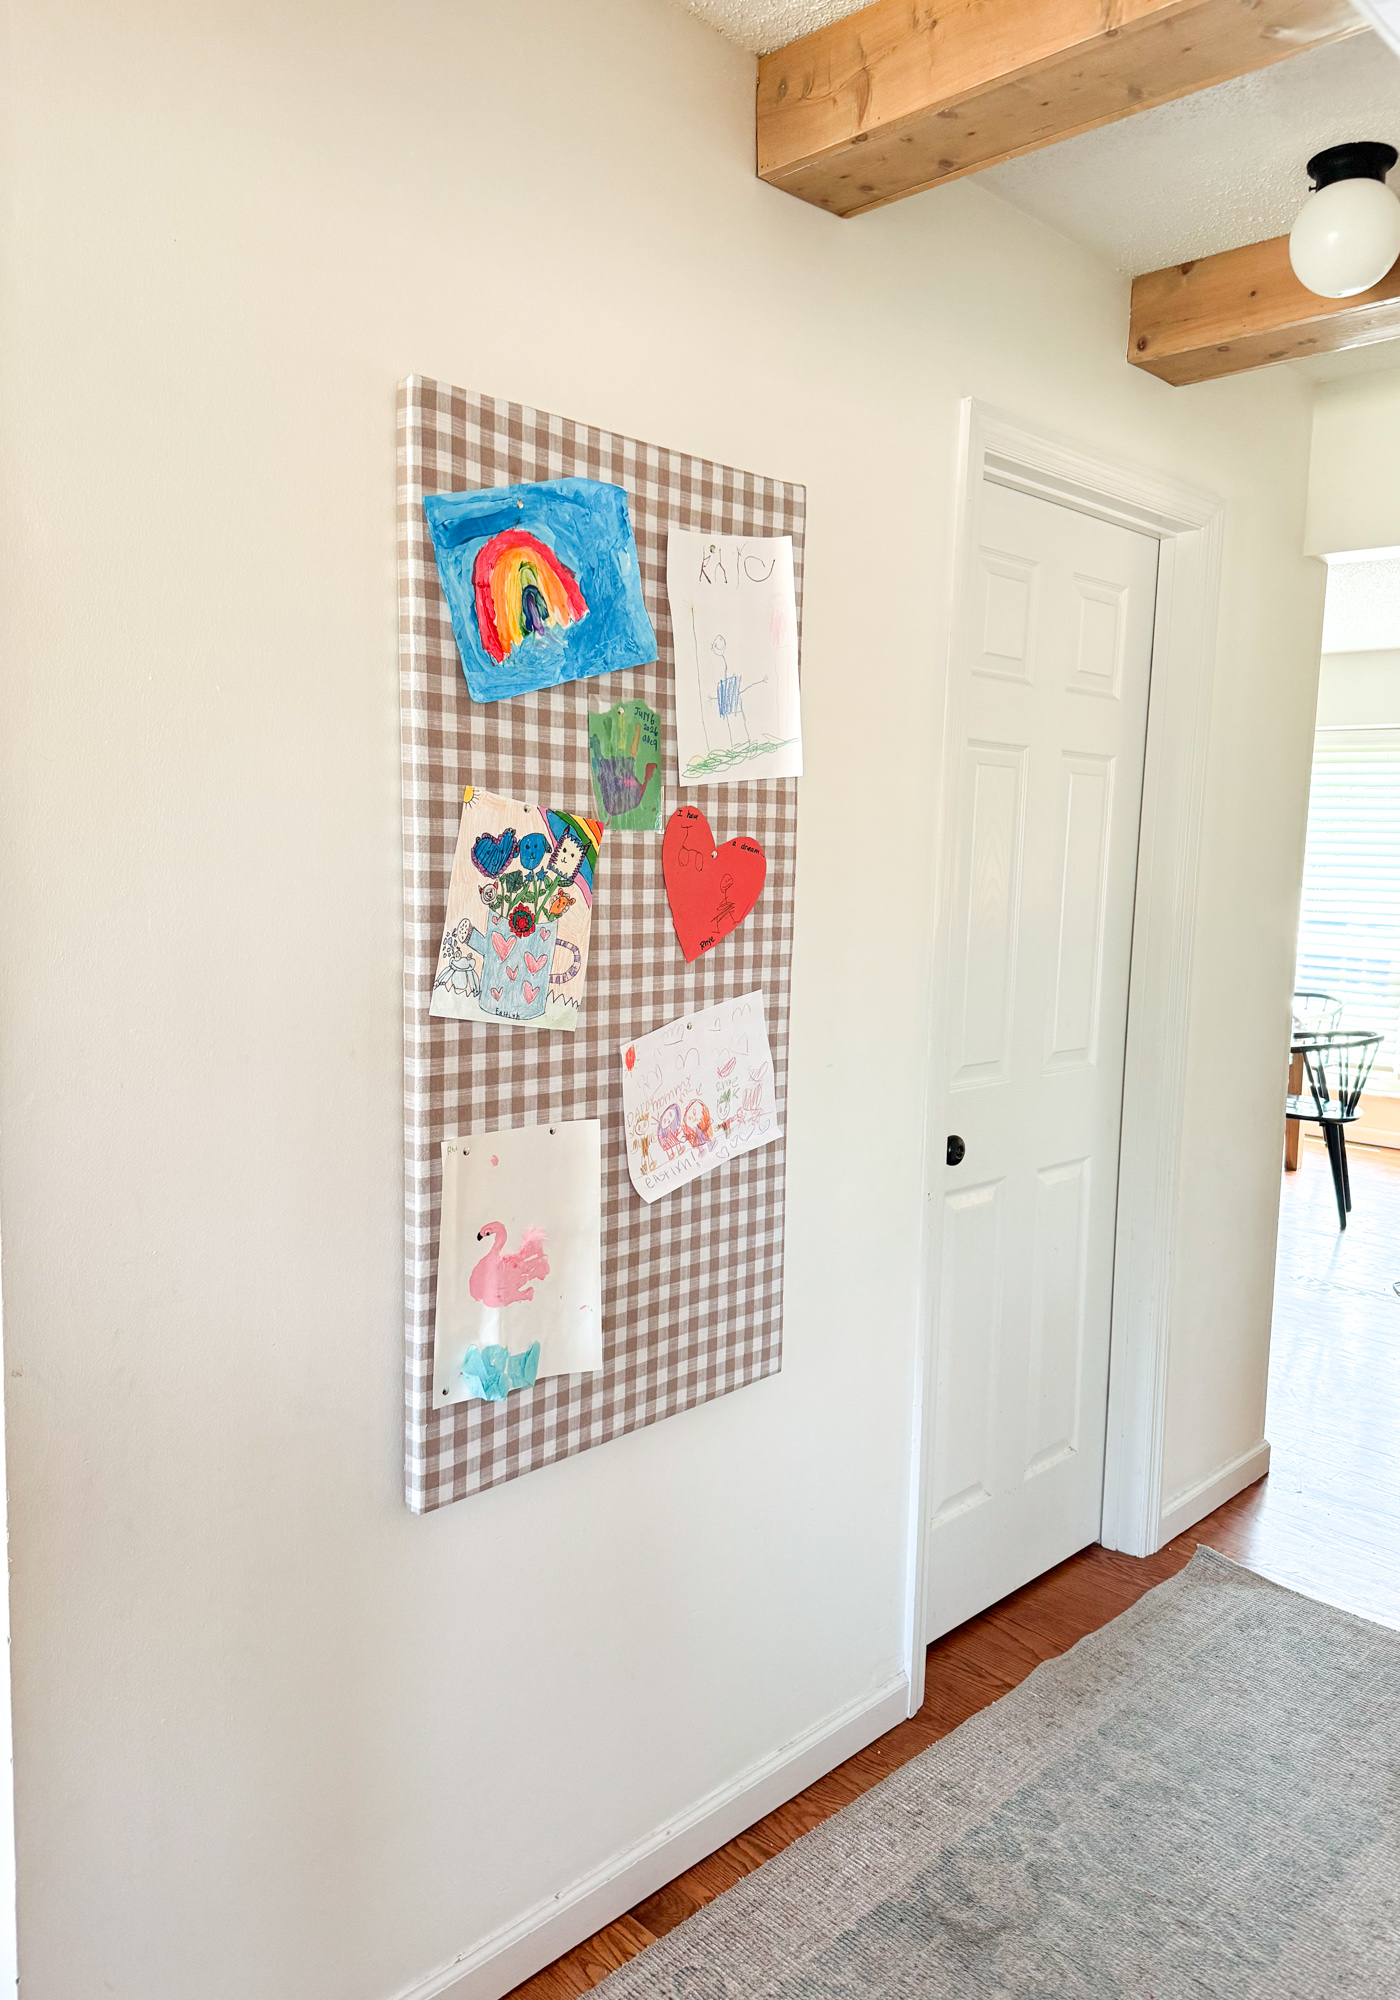
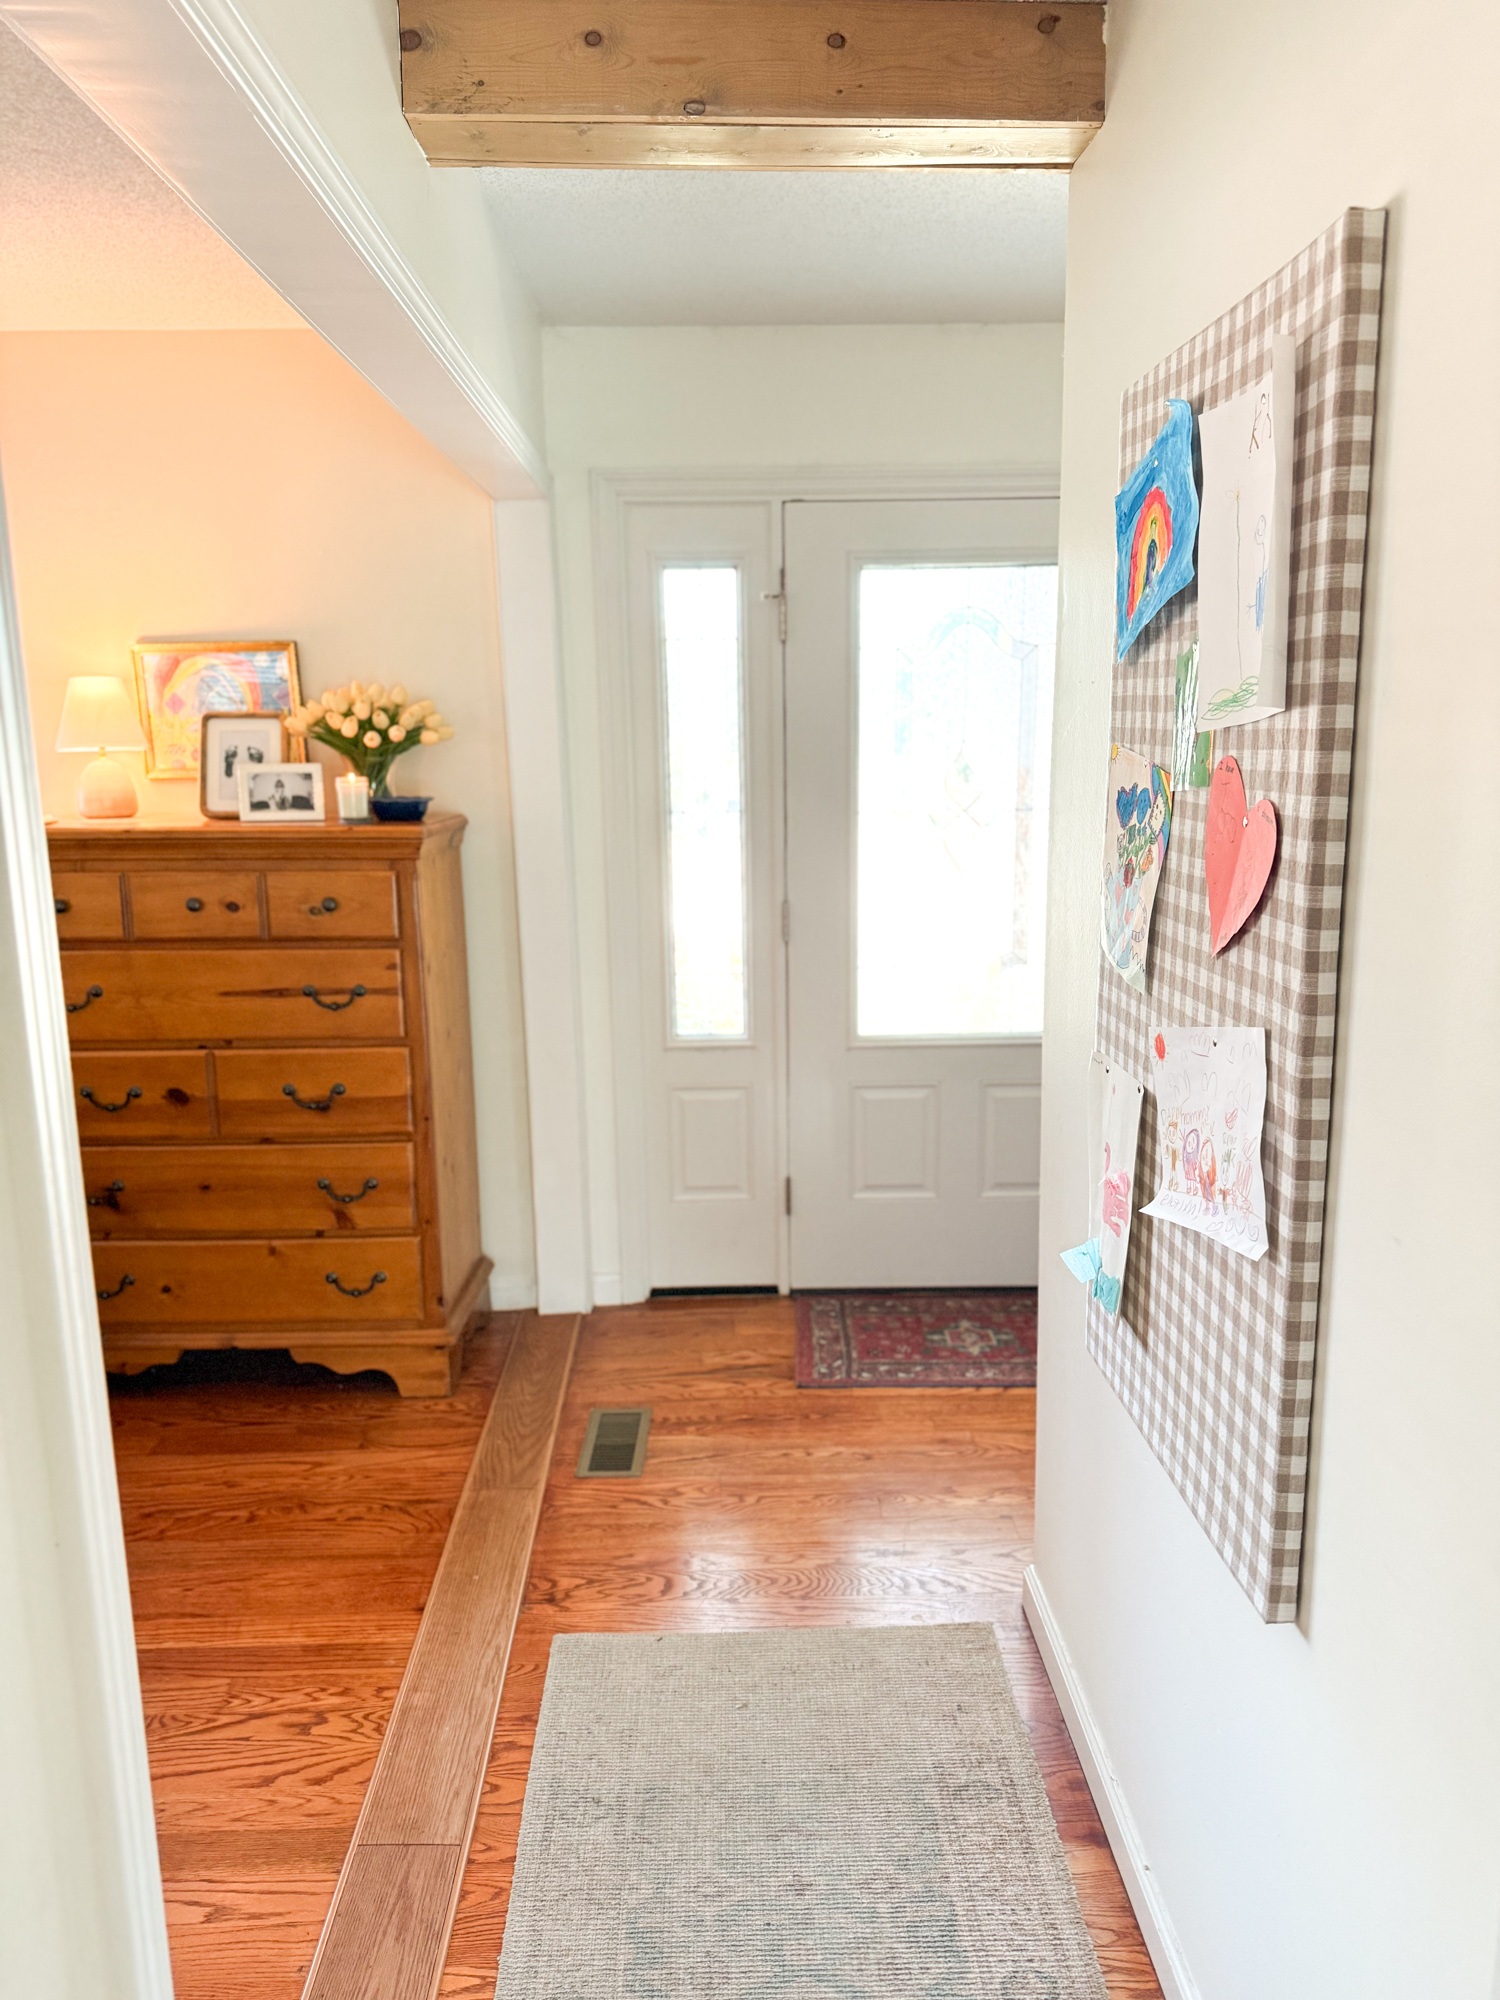
Voila! Fill your new display board with your child’s art, school projects, family photos, or seasonal crafts.This has quickly become one of my favorite little spots in our home. My kids have felt so special walking by and seeing their own artwork proudly on display.
It’s such a simple project and a really fun way to celebrate your child’s creativity while displaying their favorite pieces. If you’ve been looking for creative ways to display your kids’ artwork, I hope this simple project inspires you to make one of your own!

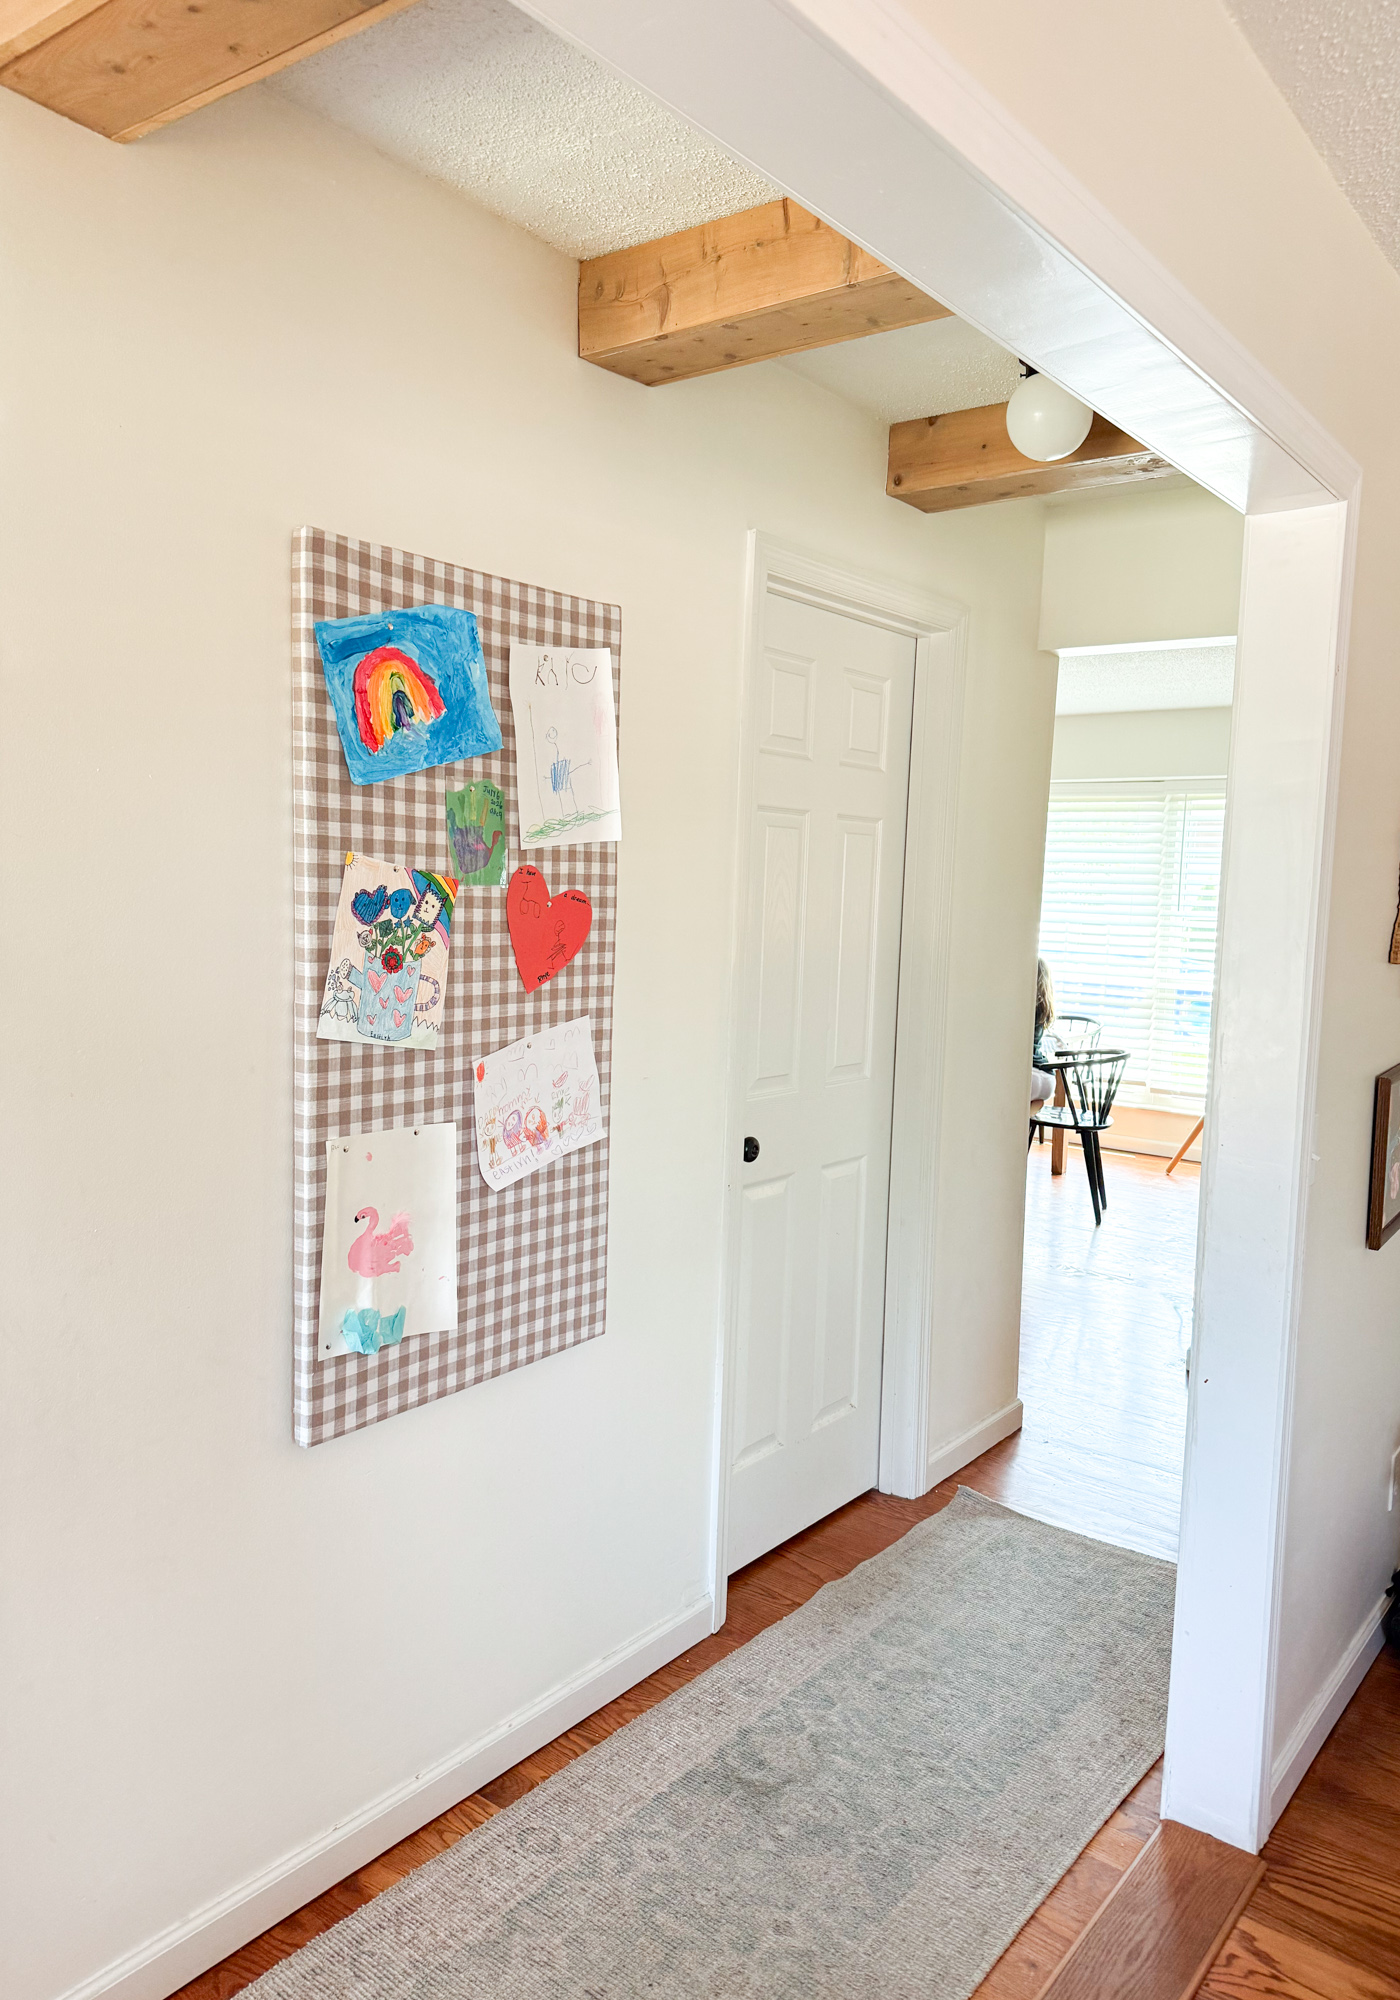
My new favorite view in the house. I cannot tell you how happy it makes me.
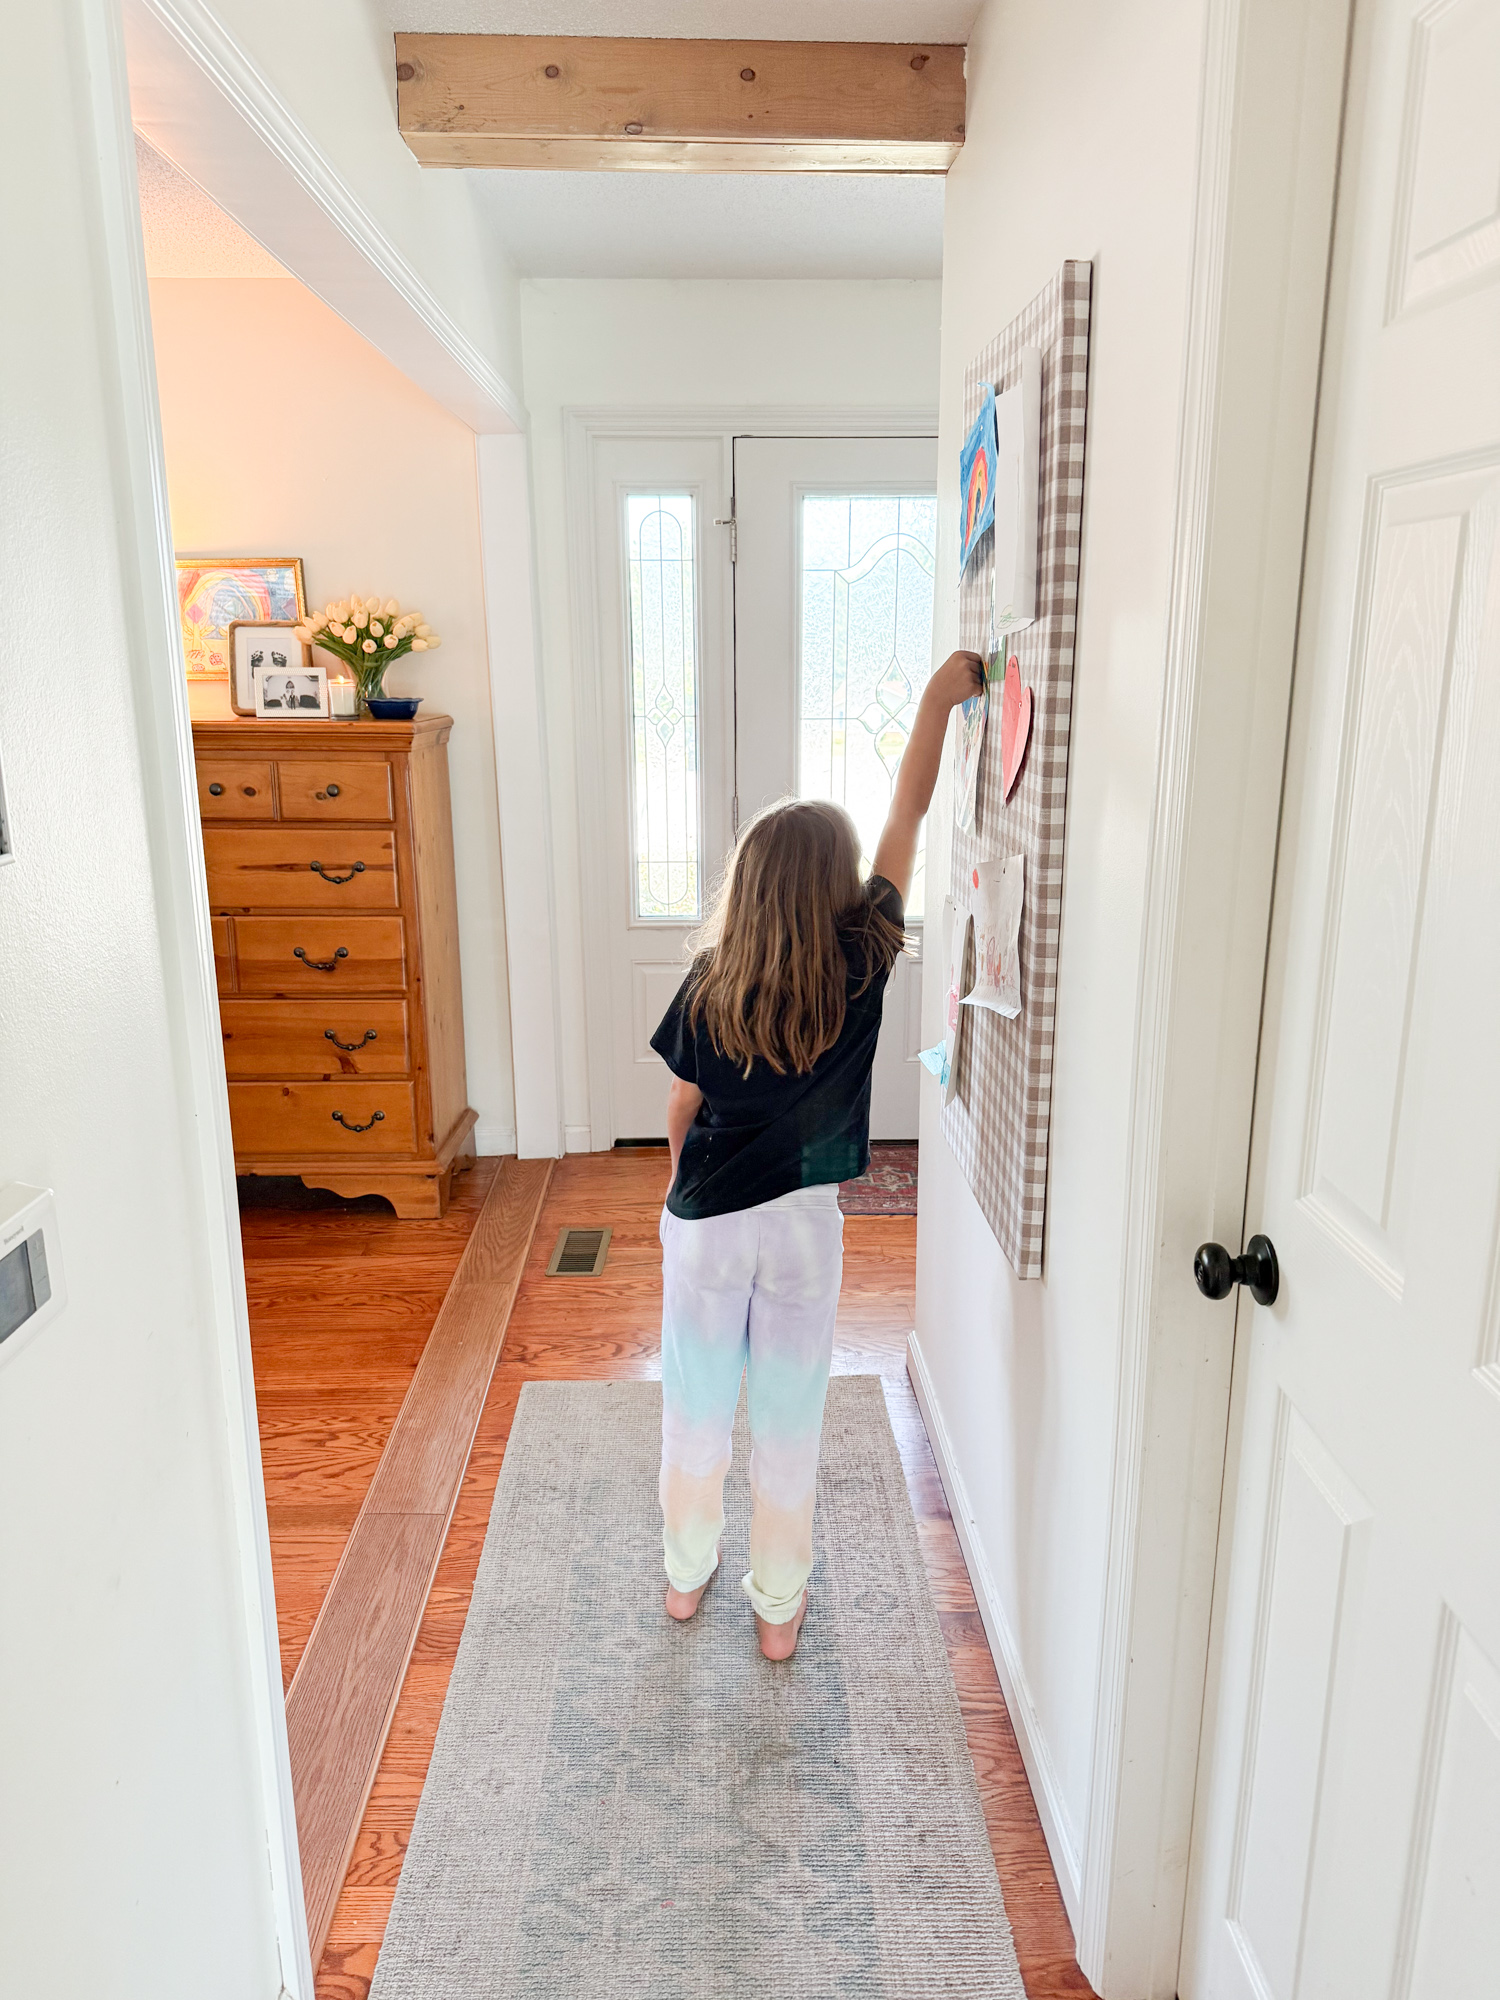

I hope this tutorial for a DIY Kids Art Display is the exact inspiration you needed! Whether you add one board or create a full gallery wall, it’s a simple project that makes your little artist feel incredibly special!
Until next time,
Courtney
SAVE THIS PIN FOR LATER:


