How to Refinish a Table (A Marketplace Table Makeover)
This post may contain affiliate links, please review my disclosure policy.
Hello friends! If you’re here, you’re probably looking into how to refinish a table.
I’m here today sharing our step-by-step how we gave a second-hand dining table a second life! I found our table on Marketplace for – guess what? FREE! It was covered in dark brown stain and shiny poly. It had been in the basement of the family’s home, and their kids had carved words into it and stuck gum all over the underside. FUNNNNN!
**I get a lot of questions about our table, and I’m not always able to answer here quickly. I no longer have a home instagram account, but you are welcome to message me at my photo business instagram account @courtneysmithphoto if you have questions!

The family had listed it for free, just wanting someone to take it off their hands. But when I found it, all I could see was the pedestal table for our breakfast nook that I had been dreaming about. Dave did think I was crazy after I sent him the link, but in his never-failing patience with me, he went and picked it up. And here is where our project begins!

It should be noted that if you are interested in doing this, make sure you double check that it’s REAL WOOD. We had friends pick one up and we quickly realized that the top was particle board. So just to be safe – double check before purchasing!

This post includes affiliate links. For more info visit my disclosure policy.
How to Refinish a Table
1. Use varnish stripper to remove stain and poly.
And scraping gum from the bottom (have to love it).
This step is important if there is a protective coating over the stain. I promise you won’t regret this step. If you try to sand it all off, it will take four times as long and a lot more muscle strength! So don’t skip this if possible.
We used this varnish stripper because we had it on had from a previous project, but Citristrip is actually my favorite. Either one would get the job done! Make sure to wear gloves when applying, because this stuff is no joke. We put on gloves, sprayed it all over the table, and then let it sit for a while. Follow the instructions on the bottle.

This is what it looked like after a few hours! Look at all that shiny poly just peeling right off and making all my table dreams come true!

We used a cheap plastic scraper at Home Depot to scrape of all the gunk. I tried to use a putty knife and found that I was scratching the wood, so plastic is the way to go on this.

2. Sand it down!
It’s important to give your table time to dry after stripping, so that you don’t gunk up your sander (for lack of a better term).
Also, if you don’t have a handheld sander and are interested in projects, I HIGHLY recommend that this be one of your first purchases. You can do SO much with one of these bad boys. Maybe you aren’t great at building things. That’s okay, because a handheld sander allows you to refinish marketplace finds 😉 We own this one.

We used 80 grit sandpaper discs to thoroughly strip all the stain from the table, and then used 220 at the end to give it a smooth finish! SUPER important to remember for something like a table, you’ll want to go back over it with a finer sandpaper to make sure that the finished product is smooth to the touch.

Can we take a moment to just appreciate the gorgeous wood that was underneath all that dark stain?!

3. Clean the table thoroughly after sanding before staining!
Also, since we didn’t have the middle leaf for the table, I chose to fill in the crack with a matching wood putty. In hindsight, I wouldn’t do this again. So no instructions on this part!
Make sure you wipe the table well and leave no dust behind!
4. Whitewash your table (If the wood is yellow)
For stain, I chose to use a combination of Minwax White Wash, Behr Cordovan Brown (this is an exterior stain that has to be mixed at Home Depot), and Minwax Special Walnut.
I’ll explain the steps in a second.
For whitewash, the kind that we used has actally been discontinued. This is what it was replaced with. That being said, I don’t know how it effects how many coats you will need to do.
I applied one coat all over and then wiped off the excess. Repeat as many times as possible until enough of the yellow has been taken out of the wood. This is really a personal preference, but I did 2 coats of whitewash on our table. (Again, the exact whitewash we used isn’t sold anymore, so use your best judgement!)


After the table has been whitewashed! It gives such a nice, clean base to stain.
5. Apply Special Walnut stain.
I applied one coat and then wiped off the excess without letting it sit.


6. Apply Cordovan Brown stain (optional)
This step is honestly probably not *necessary*. I had the stain on hand and wanted to add a more weathered, deeper color to the table. However, another coat of special walnut may have done this. Again, this is where it’s up to you and your eye! AND how your table is taking the stain. Don’t be afraid to play around with it!

6. Once the stain is fully dry, go back over the top with two coats of satin polycrylic.
This protects the table without adding shine or another color! I didn’t bother doing this to the bottom.

7. Repeat the process for the bottom of the table.
As you can see, the grooves aren’t easy to sand with an orbital sander, so we sanded what we could with it. And then I went back and tried to get in the hard to reach places with a piece of rough sandpaper. Once the bottom was stained, I decided that what was left of the old stain in those areas just adds character. So if you have a similar table you are looking at refinishing, don’t sweat this!

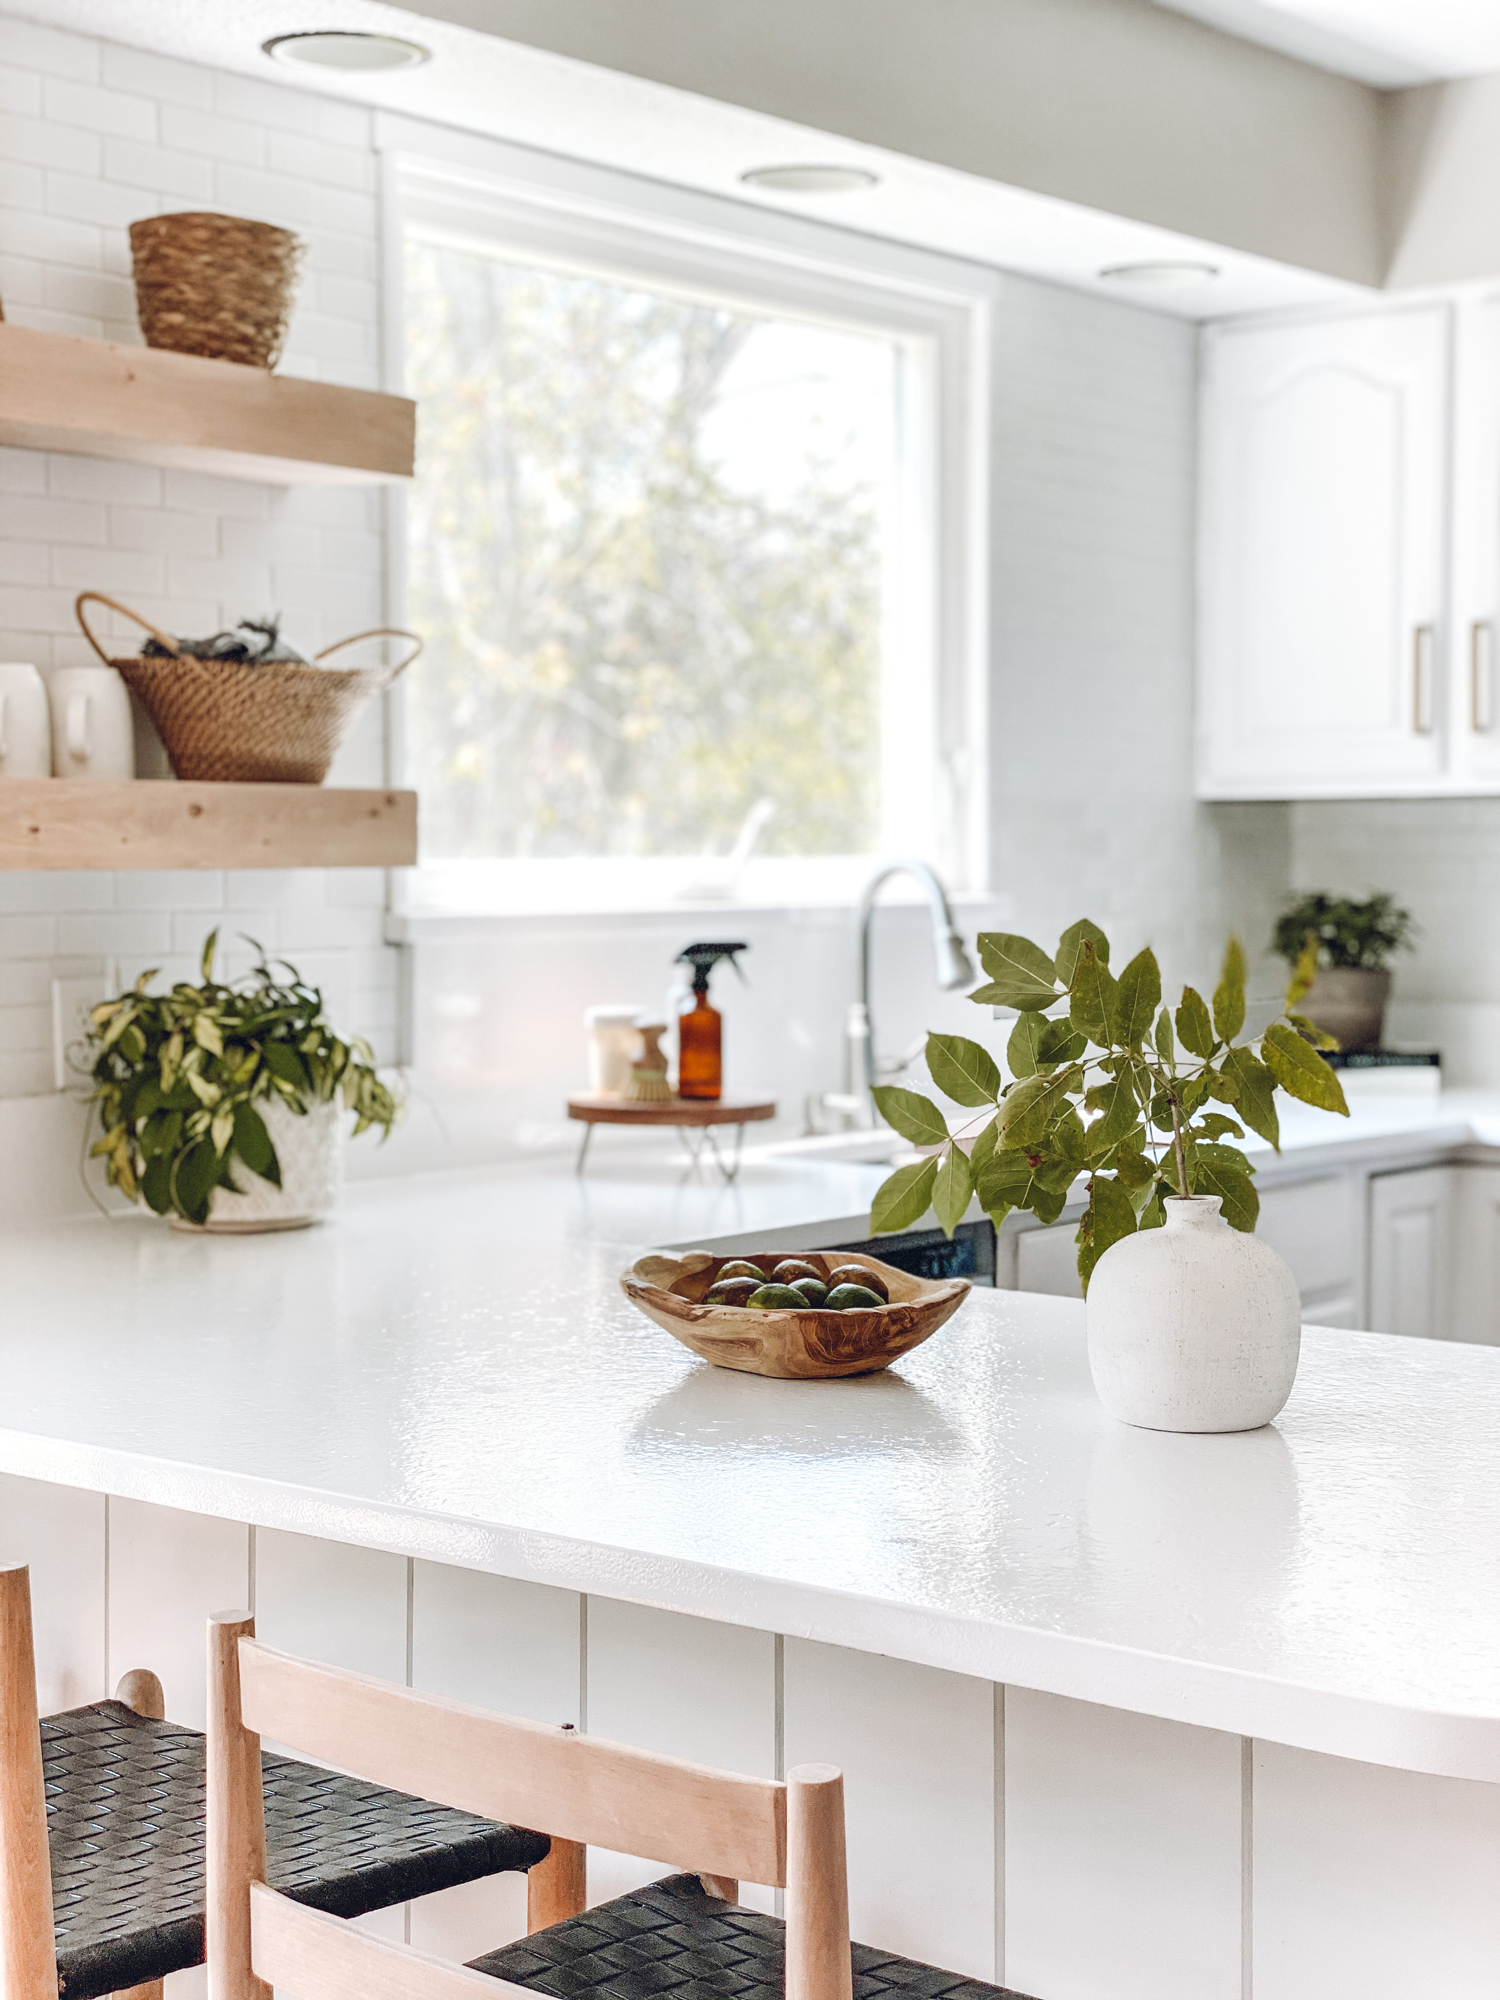
And then – drum roll, please – all my breakfast table dreams came true. Our kitchen table makeover in all of its glory!


I hope this tutorial on how to refinish a table is helpful to anyone on the hunt for a table to fit their space that won’t break the bank!
We spent next to nothing on this beauty other than the cost of a couple cans of stain. So the lesson in this is… check your local thrift store and Marketplace! It might take a little time and effort, but I think the end results are more than worth it for the money saved.
Until next time,

Need more affordable home DIY ideas? Check out these posts!
How to Paint Chairs (The Easy Way!)