

DIY Wood Porch Columns (Stain Color)
This post may contain affiliate links, please review my disclosure policy.
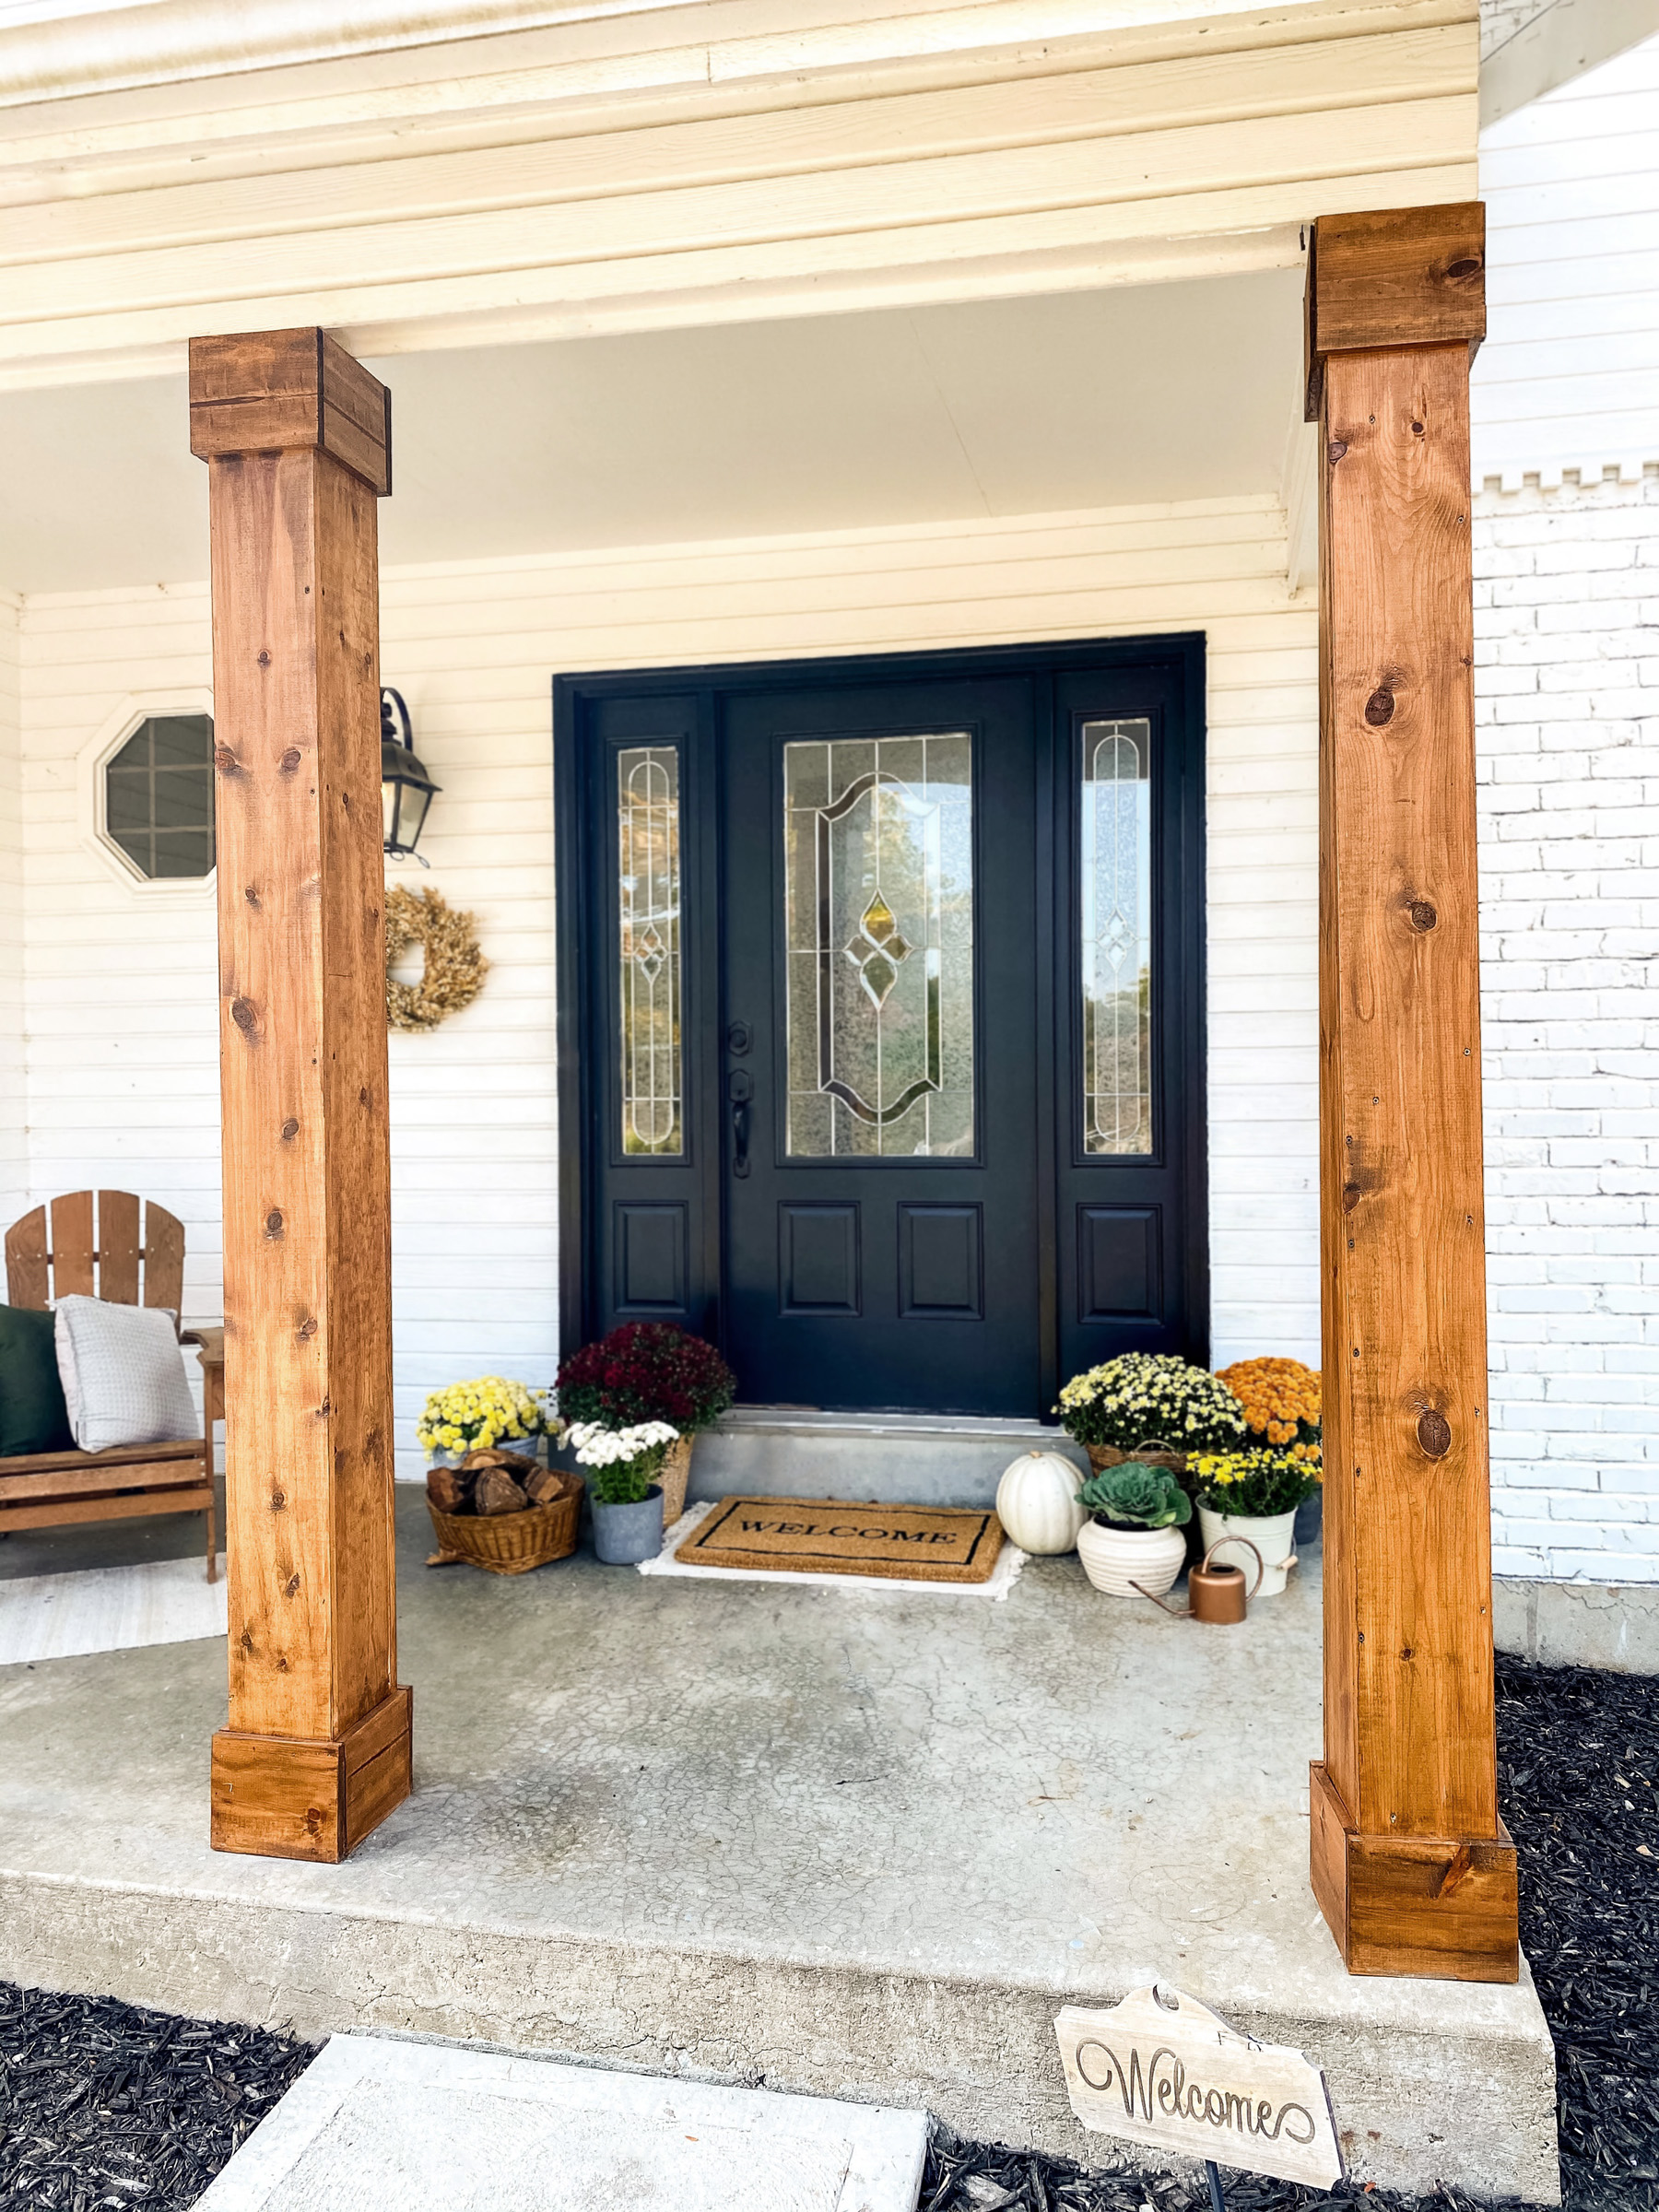
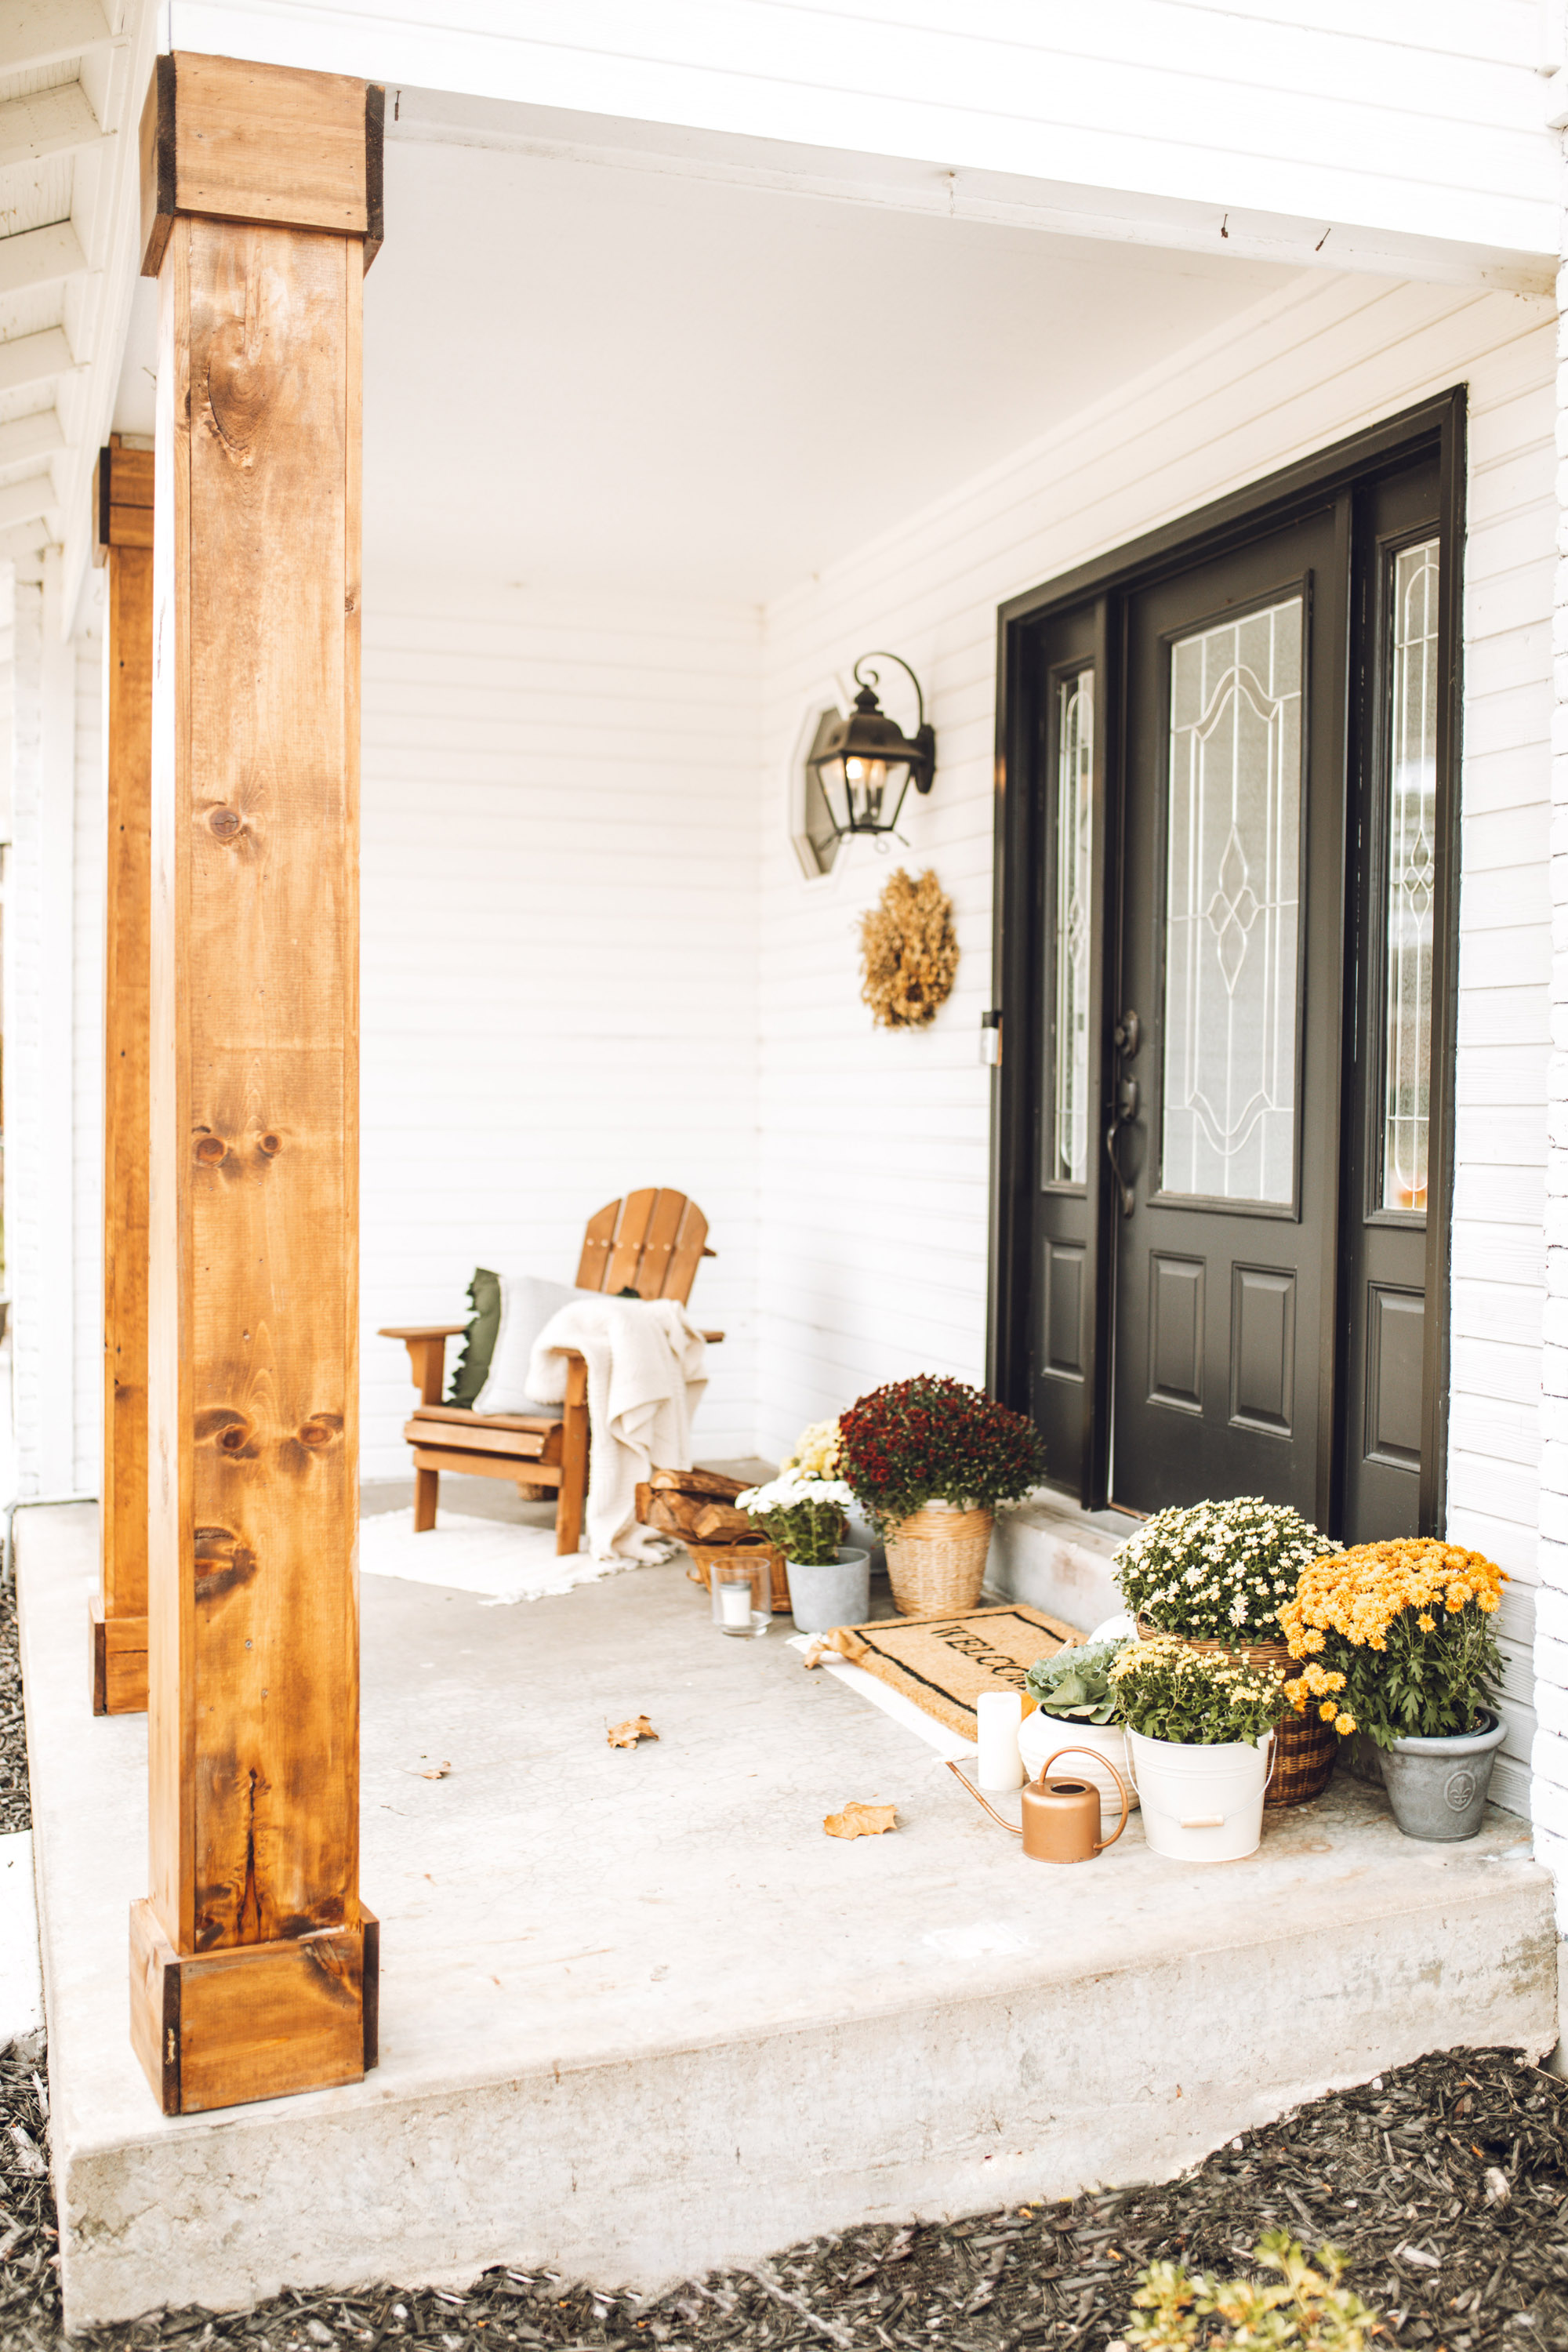
Hey friends! Today I’m sharing all about our DIY wood porch columns, specifically on the stain color we chose to get a beautiful cedar-like finish on common pine. These were easily one of the best decisions we’ve made for our home’s exterior, and were surprisingly not too much work! We completed them, start to finish, in a single day. The columns gave our home’s exterior instant curb appeal and made everything feel more finished and intentional.
If you’re looking for a way to give your porch a fresh, polished look without a full renovation, framing your own columns might be just the project for you!

Why We Decided to Build DIY Porch Columns
Our front porch originally had those super skinny structural columns that just kind of faded into the background. You know the type – technically doing their job, but definitely not adding any charm. I wanted something more substantial and classic. I wanted the timeless cedar look that is not too rustic, and not too modern.
We didn’t want to mess with replacing the actual supports, so we decided to frame them out with pine boards from the lumber yard. This method is MUCH cheaper than buying real cedar posts, but I still wanted that warm cedar look. With my final stain combo (which I’ll discuss below), I tried to find a nice medium between the bright orange columns that are often seen and a darker, weathered look.
We used tools we already had on hand – like our handy miter saw, circular saw, tape measure, and a nail gun – and knocked the whole thing out in pretty much one day. My kind of project!

The DIY Porch Columns Made a HUGE Difference!
I wish I could properly show you how blah the porch looked before. The columns were so thin and awkward (just not right for the scale for the space!) And if I’m being honest, they kind of made the whole front of the house feel unfinished.

We started by pulling off the railing (not necessary, but we wanted the porch to feel more open), then got to work framing the columns.
We finished framing them out late into the evening, and I’m sure all my neighbors thought I’d really finally gone off my rocker this time. Squealing in delight and using my husband’s work light to take photos ASAP.


I knew that framing out the columns would make a difference, but I don’t think I realized how much!
We’ve been slowly upping our curb appeal over the past two years. I actually just wrote up a post on what we’ve done so far. One of our first projects was framing out our old porch columns. It’s been an absolute game changer for the front of our home!
See what else we’ve been doing to up our curb appeal.
We finished framing them out late into the evening, and I’m sure all my neighbors thought I’d really finally gone off my rocker this time. Squealing in delight and using my husband’s work light to take photos ASAP.
The Stain Combo That Made Our Pine Look Like Cedar:
Because we used pine boards, I was really particular about finding a stain combo that would look warm and natural (more like cedar and less like, well, orange wood).
After testing several mixes on scrap wood (ALWAYS test first!), I found the perfect combo:
Our Stain Mixture:
- 3/4 Ipswich Pine
- 1/4 Early American
- Finished with a heavy-duty satin outdoor polyurethane
The Early American added depth, and the Ipswich Pine kept it warm and not too dark. We applied it with a rag, then sealed everything with three coats of outdoor poly. That part is non-negotiable (especially if you want them to last through all the weather).

Also, everyone please say hello to our “watch dog,” Charlie. This window is where he sits to bark at every falling leaf and passerby.
TESTING YOUR DIY WOOD COLUMNS STAIN MIXTURE:
My recommendation is to mix your stain and try it on a piece of scrap wood before applying to your columns.
Every board takes stain a little differently. Start with a smaller amount of Early American so that you can add more if you think it’s too light! Increase it until you have your desired color.
In a separate container, I created a mixture of about 3/4 Ipswich Pine and the 1/4 Early American. This is what worked for me! But I would definitely test it out on your wood first. This way, you can add more early American if you’d like it a little richer.
It’s also SUPER important to seal your columns so that they hold up to the elements. More on that below.

HOW TO SEAL YOUR DIY COLUMNS:
After the stain dried, we went back over the columns with a heavy duty exterior poly in satin. DO NOT SKIP THIS STEP.
I did this in pretty quick succession. I would simply wait for the poly to be dry to the touch, and then apply the next coat. And it dries pretty quickly!
This really helped to give the columns a polished, finalized feel. We applied 3 coats of this to ensure the wood was protected!

How we built our DIY Porch Columns
We built our DIY porch columns out of common pine boards to save money on this project and loosely followed this plan from Beneath My Heart to fit the dimensions we needed.
**For anyone worried about using pine, keep reading!
Do Pine Columns Really Hold Up Outside?
Yes! These hold up, and I’m writing this with experience!
UPDATED TO ADD: We built these DIY wood porch columns 5 years ago, and JUST this summer decided to give them another coat of stain and poly, as the poly had started peeling. and But make no mistake, they still looked amazing (I just wanted them to CONTINUE to hold up).
As long as you seal them well with exterior poly (top and bottom of the column included!), pine can totally work.
So are they maintenance-free forever? No. But for the price and the impact? 100% worth it.
If pine makes you nervous, you could always use PVC boards or go the custom route with cedar posts. But if you’re working with a budget and love a hands-on project, pine is a GREAT option.

A Few Tips Before You Start:
- Use a miter saw for cleaner corners and tighter seams (don’t skip this if you want that polished look!).
- Always test your stain mix on scrap wood as every board absorbs differently.
- Take your time sealing. I did one coat of poly, waited until it was dry to the touch, and added two more.
Final Thoughts on our DIY wood porch columns
If you’re even thinking about tackling this project, here’s your sign – do it! These completely transformed the front of our home and made it feel so much more welcoming and finished.
You don’t need a huge budget or a contractor. Just a plan, some pine, a few tools, and a Saturday. It’s still one of my favorite before-and-afters we’ve done!
Let me know if you try it. I’d love to see how yours turn out!
Until next time,
Courtney
Need more curb appeal ideas?
See more of what we’ve done to the exterior of our home here!
I hope this has been helpful for your own DIY porch columns!
Until next time,


Absolutely beautiful! We are doing exactly the same thing and we have looked at that same stain the Ipswich Pine, haven’t ever mixed stains before. Looking for a warm color to go with our also white house with black door and shutters.
Hi, do you know if these stains are semi transparent? I want the cedars wood grain to show through once I stain them!
Thanks!
Such a perfect stain mix! Thank you for sharing! My front porch posts look amazing!
I am SO glad to hear it!! Thank you for letting me know!
What brand stains did u use? I just wrapped my columns using pine as well love this color mix I am going for the same look
Hi Emmanuel! We used Varathane brand. I link it in the post 🙂
Courtney, what type of annual maintenance have you found to be necessary now that you have had these in place for five years, please?
Hi Marc! After 4 years, we were seeing some weathering and felt like these needed to be spruced up. We sanded them down, re-stained, and re-applied exterior outdoor poly!